Showing posts with label Friends. Show all posts

Saturday, 15 December 2012

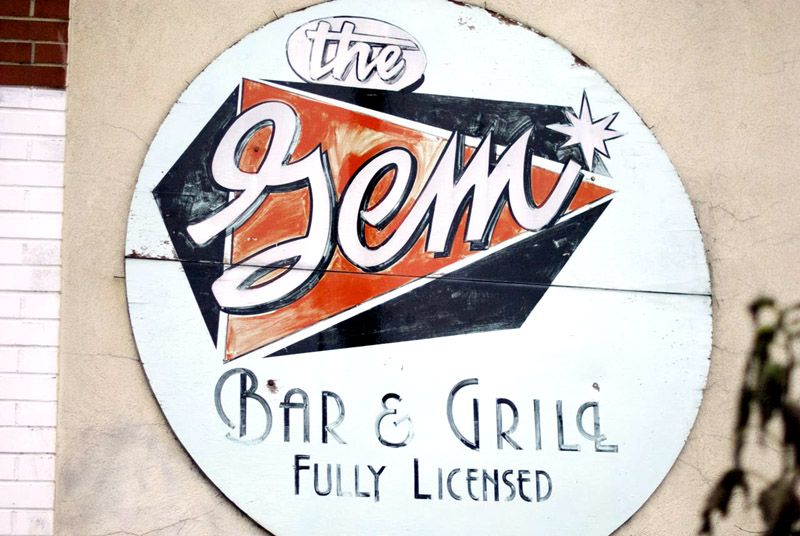
Super Brunch Sunday: The Gem

Now that it's no longer my restaurant-less November, I'm expanding Super Brunch Sunday to include restaurants (the majority of which will be located in the Toronto area). I love brunch, and the one thing I like more than eating it, is not having to cook it myself.  I'm sure I'm not the only one.
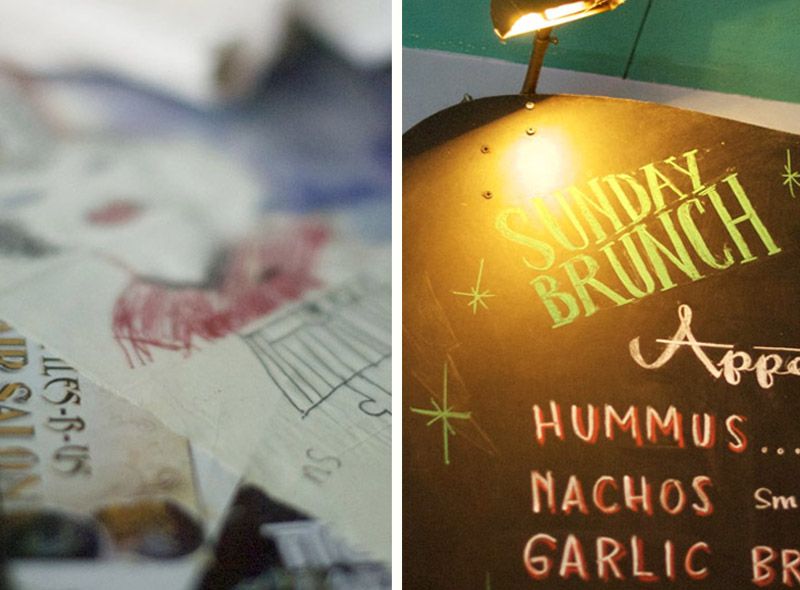
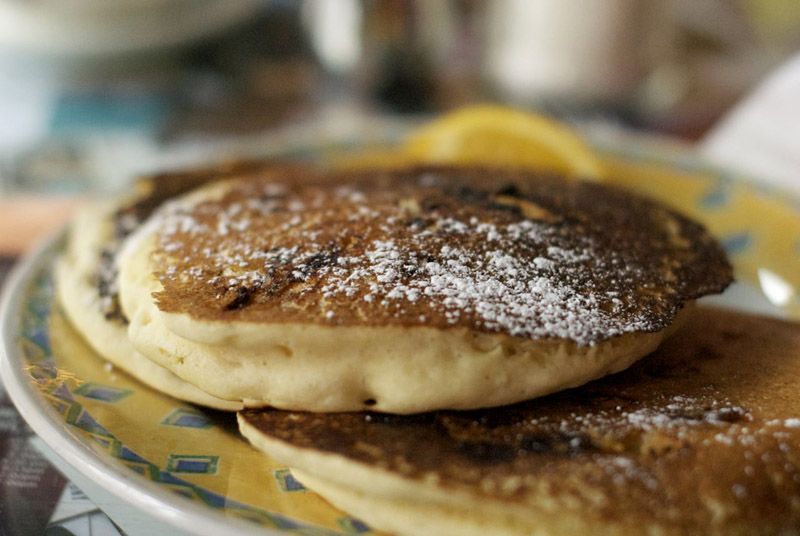
 The Gem, located on Davenport at Ossington in Toronto, is more renowned for their nachos and beer (SO GOOD by the way.  And the burrito is nice.  Great vegetarian options for once!), but they prepare an outstanding brunch spread on Sundays as well.  From 12-4pm, all kinds of eggs, french toast, home fries and much more can be YOURS! On this day, I ordered the butterscotch pancakes.  They were perfectly fluffy, but honestly the butterscotch chips tended to clump together and were too sweet! Next time I think I'd just get the regular pancakes, because the texture was just perfect! 
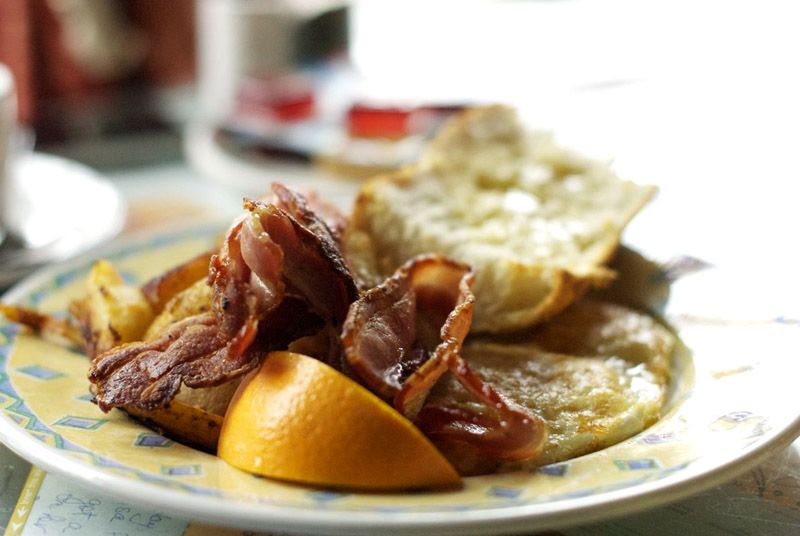
Ephraim got the eggs over medium with bacon and french toast.  We both have a sort of "standard" breakfast order, and this is his! I love that for the toast they give you a big hunk of toasted baguette, well buttered.  I am totally a butter person.  I don't care how well margarine spreads, I'll never pick it over butter!
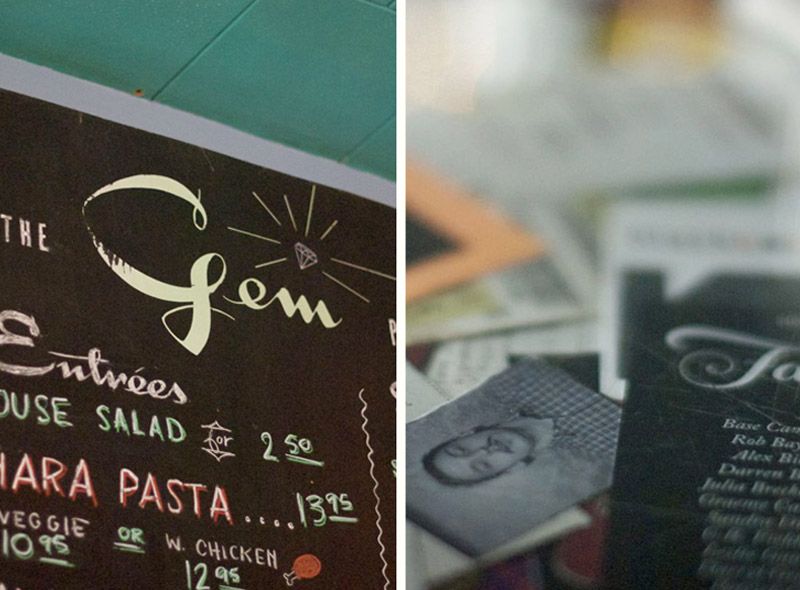
One of my favourite parts of The Gem is the decor.  Unfortunately I didn't capture the best of it, as there was a small brunch crowd and I got all self conscious about having my camera out.  We go every couple of weeks though, so expect a supplementary post chalk full of Elvis busts, Pin Up wall art, and lots and lots of glitter.  OH the glitter! I did get a couple shots of our table for your enjoyment.  All of the tables at the Gem are topped with glass, but the table tops themselves are filled with postcards, business cards, doodles, photo booth pictures, the works.  I've added a couple pieces to the tables in the last year, and it's pretty fun to see a ticket from a show you went to (but someone else's seat!) or a card from your friends business, while you sit down to a pint or some eggs.  It's my favourite neighbourhood haunt!

--Erin

** apologies for the tardiness of this post! I was home ill yesterday and just wasn't up to looking at any food that wasn't toast or tea.  Feeling much better today, but still taking it pretty easy.  Hope you're all having a good weekend so far!**

Tuesday, 16 October 2012

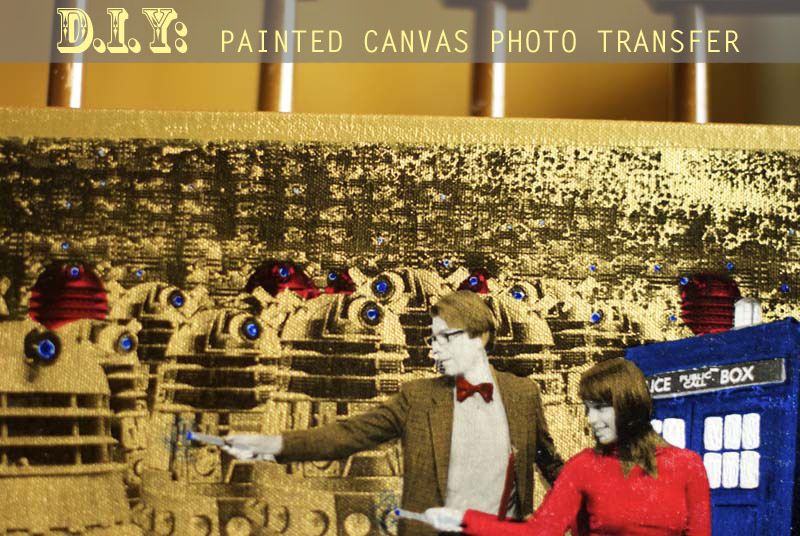
DIY: Painted Canvas Photo Transfer


As promised, here's a little DIY showing the step by step process of how I made my photo transfer.  It was really fun to work on, though it was a touch time consuming.  Most of the work is pretty mindless though, so you can have yourself a little movie marathon while you work.  I know I did.  Aw yeah, The Two Towers and Newsies.  

Anyhow, I digress.

Here's what you need!
  • Gel or gloss medium. I used liquitex liquid gloss medium, as I already had a (giant!) bottle.
  • Canvas (your choice of size, I used a gallery depth 11x14")
  • A computer with photoshop
  • pencils
  • scissors
  • paper of appropriate size and laser printer
  • paints and brushes
  • washcloth or rag and hot water
  • movies and/or patience.
 And now here's how it was done!
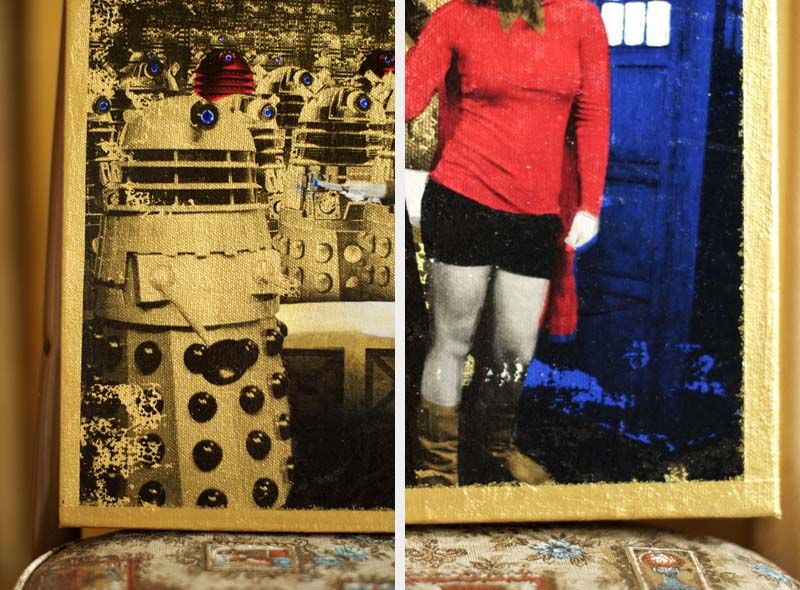
  1. Edit the photo/s into the desired format, sized to fit your canvas.  For this project, I combined a photo the couple had taken at a convention, and the promotional photo for the new season of Dr.Who.  Why? Because the provided convention background was lame.  Moving on.
  2. Using photoshop, convert the image to black and white.  Make sure that you have ti set to include as many white portions as possible, as the white areas will show the colour you lay down the best.
  3. print out 2 versions of your image: one in the format you would like to see it in, and one that has been flipped across the horizontal axis.  The flipped image is the one you will use for your transfer, as the image will transfer reversed (and thus normal. Double negative style).
  4. Using the print out that has not been reversed, cut out sections to create stencils based on the colours you want to paint.  I chose to use a limited colour palette, and let the shading of the black and white image spice things up for me.  Think of the finished product as being an Andy Warhol-esque screen print!
  5. Paint in your colours block by block.  I started with the gold, so that I could keep checking with my stencil to make sure that the floating bits of red were lined up properly.
  6. Continue on to your secondary colours, checking your allignment as you go.  It doesn't have to be perfect (a little shift looks super cool actually!), but you want it to be close so as not to look confusing to the eye).
  7. Finish painting your colours and let completely dry.
  8. brush on a thick coat of gloss medium, and press your reversed image printed face down onto the wet gloss.  Smooth it out and burnish it on with a blunt object.  Be gentle, you don't want to warp the canvas! Let dry over night.
  9. Lay a hot, damp cloth over the paper, until the paper is soaked through.  Gently rub with the washcloth to remove the paper and reveal the image beneath.  Be patient, and repeat this step several times.  You can see in my image above that until all the paper is gone, the image will appear cloudy.  Don't despair, it's worth taking it slowly and making sure you've removed it all! Toward the end, I rubbed the paper off with my damp fingers, so as to avoid taking off too much of the transferred image along with the paper.
  10. When the paper is all gone, brush on a coat of gloss and let dry.
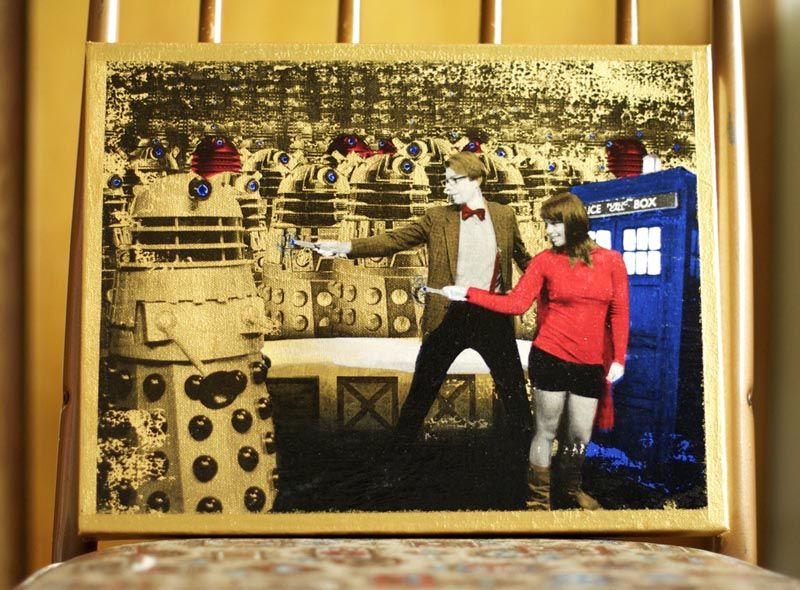
  11. Add some fun details on top of your transfered image! I added in the white panels on the Tardis, glowing eyes for the Daleks, a clean gold border and the Sonic Screwdrivers.  Have fun, and get creative!
  12. Hang that sucker up!!
If you use this DIY, I'd love to see your project!! Feel free to leave a link in the comments letting me know how it turned out!!

--Erin

**This project and DIY were the first completed goal of my 4 simple goals before 2013.  Check out my list of goals HERE**

Monday, 15 October 2012

Four Simple Goals Update: A Craft Skills Remix

I finally finished my first simple goal before 2013!! I made a photo transfer onto painted canvas for my childhood best friend and her new husband.  I did some photo transfers over top of colours back in high school, which is where I get the remixing element of this craft skill in.  I had never attempted anything on this large a scale before (11"x14"), nor had I worked with pockets of colour isolated in a plane before, which meant that I had to plan very carefully so as to keep the image lined up properly.  I liked how a bit of the shift looks on this, I think it gives it a really strong pop art feel. To keep details popped, I painted in a few elements after I had transfered my image.  This kept details like the Sonic Screwdrivers looking clearly silver, and made the Daleks' eyes stand out.

As Elsie explained in the photo transfer post on A Beautiful Mess (which differed from my method slightly.  DIY to come!), the result is perfectly imperfect, with some parts rubbed away.  At least on mine it rubs away to reveal bright gold paint! 

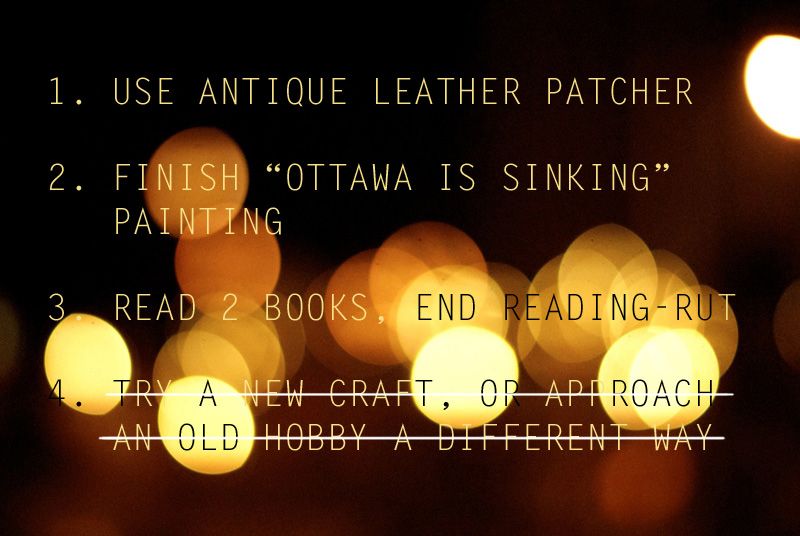
So to recap, here are the Simple Goals Before 2013 I have yet to complete:
--Erin

This post is part of my Four Simple Goals before 2013, an exercise in list making and achieving proposed by Elsie of a Beautiful Mess.  See the original post HERE and check out my post about my own goals HERE.

Monday, 20 August 2012

My Weekend in Retro Specs v.6: Occupy NOTL

Howdy friends, and happy Monday!

This past weekend was a real blast.  I had a couple friends staying with me, so naturally there was much good food, some wine, some cheese, lots of laughter, the good stuff, ya know?

Some highlights:
  • Friends from different points in my life all hanging out together, getting friendly themselves
  • Wine and cheese!  7 year old cheddar.  Hell. Yes.
  • Treating my friends to a play.
  • Breakfast Massacre: Niagara Edition
  • Getting to make good use of my waffle iron at said massacre.  Tasty tasty carnage.
  • Talking and laughing till 4 am.
  • The most delicious of frozen chocolate peanut butter pies.
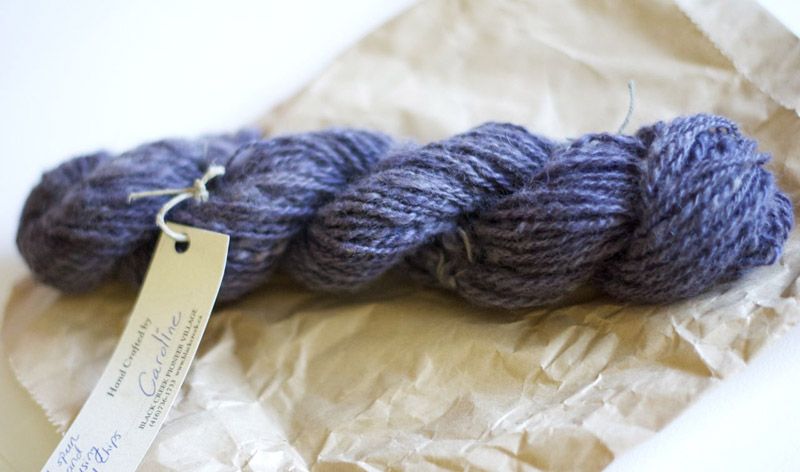
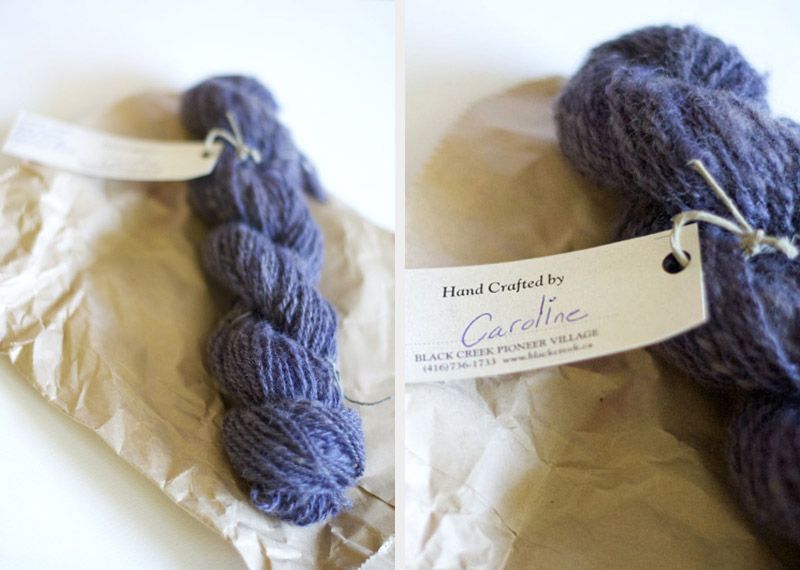
  • Receiving a skein of wool that my friend Caroline made! I'm talking cleaned the wool, spun into yarn with a spinning wheel and then hand dyed, all using techniques predating 1860.  Hardcore!!
I kept my camera in my purse and a smile on my face.  It really is the little things. 
LOGWOOD CHIPS MAKE THINGS PURPLE.  Natural dyes are weird, and totally cool.  BTW, logwood, is more than just logs of wood.  We learned this weekend!

I am so ridiculously impressed by this being even possible, let alone one of my friends doing this as her job.  If you visit Black Creek Pioneer Village, be sure to pick up some of Caroline's yarn from the gift shop. I hear they have trouble keeping the stuff in stock, and now that I have my own skein, I can see why! so cool!

In preparation for cooler temperatures, I think I'm going to use the yarn to make some boot toppers, though I think I'll need another skein.  I've totally given up on ever figuring out the heel turn, so socks are officially out of the question.  I'm not much of a knitter, but I'm learning! 

In other news, a year ago this evening I had the most amazing and ridiculously long (8.5 HOURS) first date.  Thankfully we went to a 24 hour coffee shop and bistro, because no where else would allow us to have just sat and talked and drank coffee/tea for 8 hours.  Well I suppose at some point we did order dinner, but we also witnessed a couple shift changes.
Needless to say, it has been a really, really, really great year.  I can't wait to celebrate with Ephraim next weekend!

But first, I have an insane work week to tackle.

--Erin