Showing posts with label Crafts. Show all posts

Friday, 26 April 2013

A Very Crafty Community: Cut Out + Keep

For those of you who live only to scour the interwebs for the coolest and craftiest of websites, this will be old news, but for those of you with other tasks that must get done (and really, I'm sorry, because all of those other important things are about to go straight out the window) I'd like to introduce you to Cut Out + Keep.

Cut Out + Keep is an online community where people share their crafty tutorials in categories such as cooking, sewing, papercrafts, and crocheting (but it doesn't stop there!).  I first discovered Cut Out + Keep about 7 years ago, sitting on my tiny dorm room bed using Stumble Upon (THE internet discovery tool, for those of you who do enjoy a little scour now and again) into the late late hours of the night, looking for something to DO.  And from that moment on, I knew I'd never be bored again (materials willing).

What I didn't know, or rather, haven't bothered to pay much attention to - I'm there for the crafts.  What do you mean I can whiten my teeth with clove oil?! - is how much the community has grown since I first happened upon it so many years ago.  Cut Out + Keep is now in its 10th year and boasts over 120,000 members and 50,000 projects; not bad considering the community started as the personal craft blog of founder Cat Morley.

Cut Out + Keep was also recently  featured by google in a video promoting their advertising service, that offers an amazing look around Cat's creative space, and a little information behind the business side of Cut Out + Keep.

When Cat emailed me to tell me about how much Cut Out + Keep has grown over the last few years, I was a) Super flattered to be on her radar (I mean, guys, WHOA) b) SO inspired by how many individuals are getting into crafts in a serious way.  I think that resurgence of the cottage craft industry is incredible, and websites like Cut Out + Keep make people feel empowered to do things themselves, try something new, and maybe even find a new passion.  Plus, I think that some healthy competition in capitalism is really important (and serves to save us all a little bit of money, as well as offer up an abundance of choice).  So, that's a win, win, win, win... right? Right!    
If you were totally enchanted by the chalkboard bunting in the video like I was, Cat was also kind enough to send along a tutorial on how to make your own! See? Empowerment! Crafts! Joy for all, and bunting for every occasion! (I'm excited.  Sue me)  
1// Start by cutting triangles out of thin wood. We used some scrap shipping wood that came as packaging with a piece of furniture. You can buy wood triangles in craft shops, if you struggle to find a piece that works well. You'll need about 12 triangles to be able to write a nice long message.
2// Paint your triangles with a coat of chalkboard paint and leave to dry.
3// Paint with a second coat of paint and leave to dry again.
4// Punch a hole at either side of the top of the triangle. My wood was thin enough to use a hole punch.
5// Loop some string through the hole.
6// Secure at the back with a knot and then string through the second hole, securing with another knot. 
7// Leave a small length of string between each triangle and continue threading them all on to the string.
8//  Now the fun part. Write on your bunting with chalk. I used a ruler to give mine a neat outline, but you can decorate yours however you like!
9// Hang up and admire your handy work!


Umm, so, that was awesome.  I would love to make this for my dream studio! Well, at least it would start off there, but since this bunting can be rewritten for whatever you please, I could see it making appearances at birthdays, major holidays, Wednesdays, you know, the works! A big thank you to Cat again for sharing this super sweet and even more versatile DIY.  I mean, can you imagine this with coloured chalkboard paint?! It would be unstoppably adorable.  The best kind.

And as if that wasn't enough, Cat even graciously agreed to answer a couple questions I had for her about her creative journey. 

What was the first craft that you made a significant hobby? Was this sparked by a particular project?
There wasn't one particular craft or project that sparked my love of crafting. I love trying my hand at different types of crafts and learning new skills, so my projects have always been a big mix. My two favourites are definetely sewing and jewelry-making because they're crafts you can show off. I love wearing something that no-one else has and it’s so satisfying being asked where you bought something that you’ve made.
What has been the most exciting part of seeing your crafting community grow?
The growth of the site has been so gradual that we sometimes don't realize how big it's become until we hear our friends tell us about people they've met in far flung countries that are members. It's so exciting to wake up every morning and see all the new projects that have been added and I absolutely love it when someone posts their own version they've made of one of my projects.
If you could impart any advice about this journey to your high school self, what would it be?
I'd tell myself to have confidence and keeping doing the things I love. I was never sure what I wanted to be when I left school, so I spent a lot of time worrying about that. Luckily, I kept doing the things I was passionate about and enjoyed the most until that became my full-time job.
What motivates you to get creative? Be it a phrase, feeling, motivational-kitty-poster or what have-you.
I have scrapbooks and Pinterest boards full of ideas and inspiration and recently I made a set of motivational magnets (http://www.cutoutandkeep.net/projects/motivation-magnets) for all of the creative activities I sometimes neglect, so I can add them to the calendar on my whiteboard and remember to work on them when I get a chance.


A big, big thank you again to Cat Morley for this exciting DIY, and for the inspiring words.  I don't know about you guys, but I am feeling good and ready to create something fun this weekend!!
--Erin


Monday, 1 April 2013

Photo an Hour: March 2013

Every month, Ephraim and I have a weekend where we don't see each other.  We both just need a couple days, without work, to get our own stuff done without having to worry about keeping each other entertained! I try to make the most of this free time, and do the boring, girly, stressful or otherwise top-secret errands I have to do.  Sometimes all at once.  Painting my toenails while watching a romantic comedy (or more likely The Walking Dead, let's be real) and working on a crafty gift for my boyfriend sounds like a pretty rad way to spend some time, haha!  I didn't multitask quite that hard, but here's what my Solo-Saturday looked like for the month of March!

9-10 am// gym time! it's nice and quiet in the mornings on the weekend
11 am// refueling with some scrambled eggs and soy sausage (so good!)
12 pm// a big cup of tea and some Dollhouse
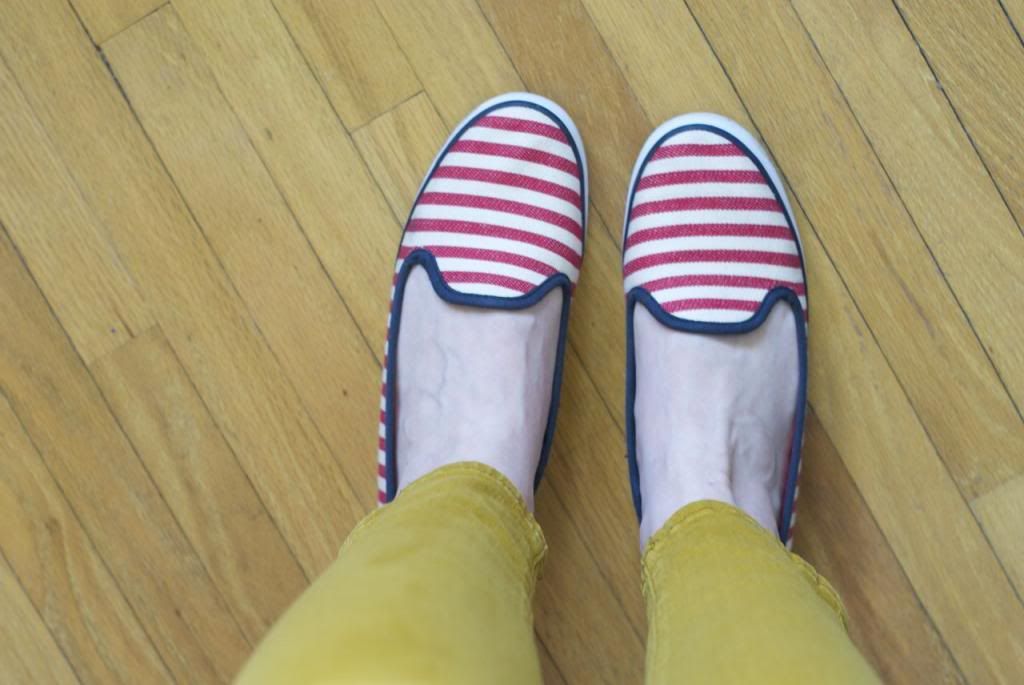
1 pm// I was so excited to get out and enjoy what a warm day it was! Flats without socks and cropped pants required.  AND NO JACKET!!!
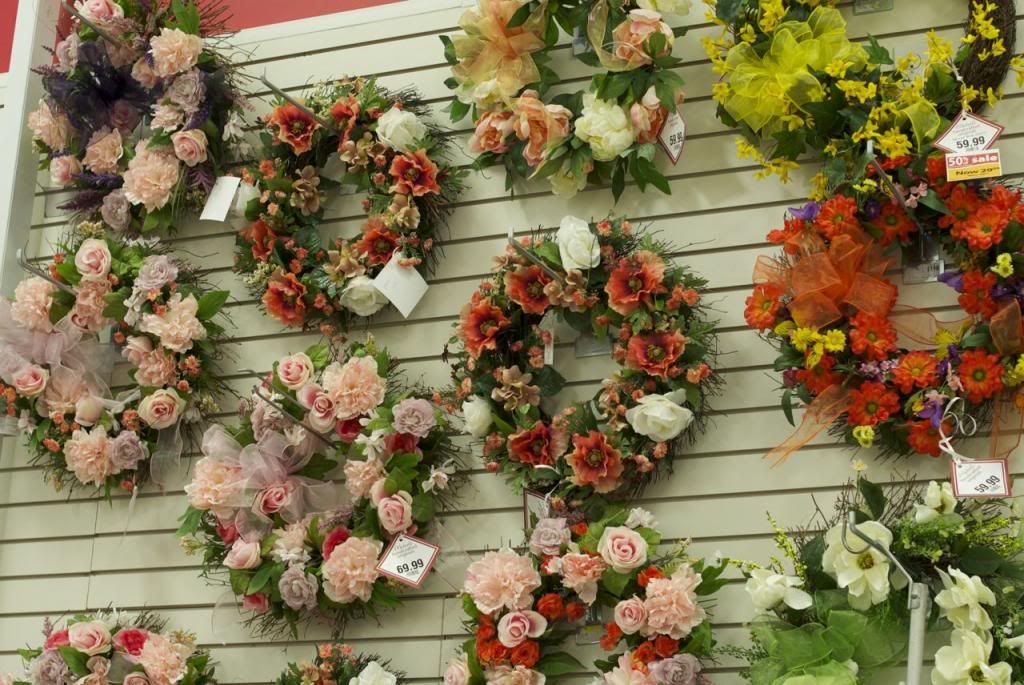
2 pm// wall-o-wreaths at Michael's
3 pm// rewarding myself with a latte and some reading. I was out running errands in St. Kitts so I could practice my driving
4 pm// tidying my room and doing a bit of dusting
5 pm// more reorganization in my room.  some day I hope to grow my matryoshka collection
6 pm// working on a top-secret project
7 pm// working on a less top-secret project (which is unfinished here, and Ephraim knows about...)
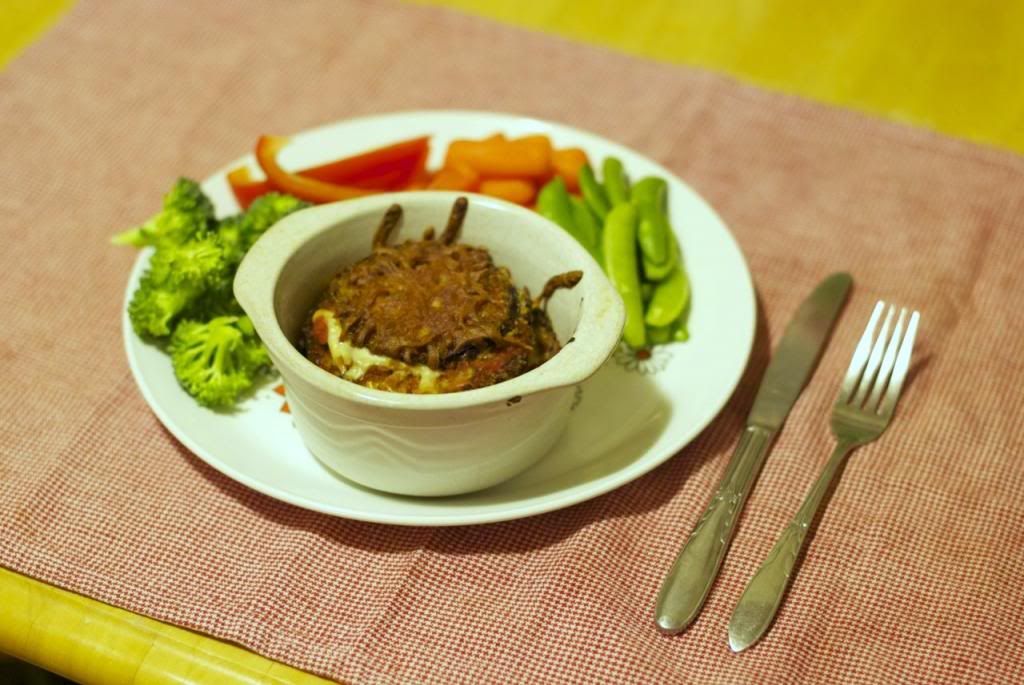
8 pm// Eggplant Parmesan and fresh veggies for dinner
9 pm// capping off the night with some letter writing and a movie
Looking back on this day, I am kiiiind of excited for some mega-productivity again, terrible though it feels to say that!!  It is SUCH a treat to have a day to do with as you please, isn't it?

I'd also like to take a  quick moment to point out a few changes 'round these parts.  As you've likely noticed, PftP has a new navigation bar just beneath the header, with some of the more popular categories.  Predictions also has some spiffed up social media icons, in their regular position on the left sidebar.  And if you've just gone to check out how awesome those look, you'll have seen that Predictions for the Past is now on Facebook! Join the Predictions for the Past Facebook page for additional content/comments, and a simpler way to chit chat with me directly. 
All the cool kids are doing it.
You've now been peer pressured.

That is all! Happy Monday, everybody!

--Erin 

Thursday, 21 February 2013

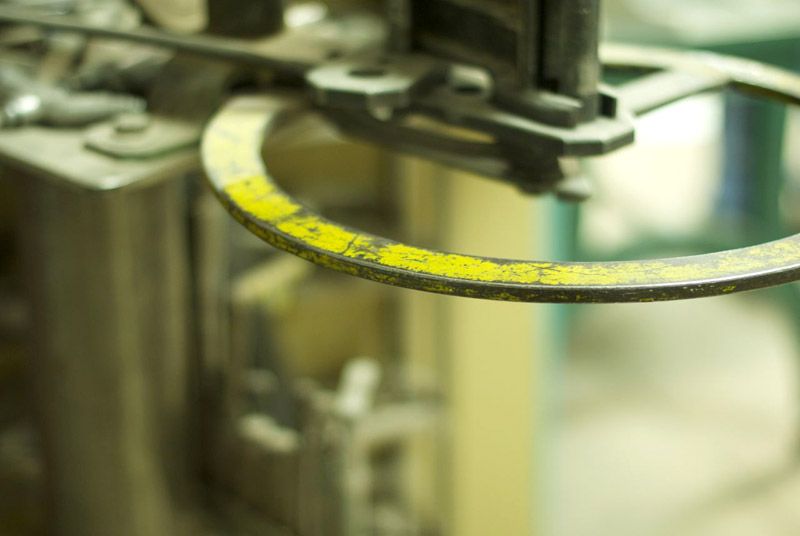
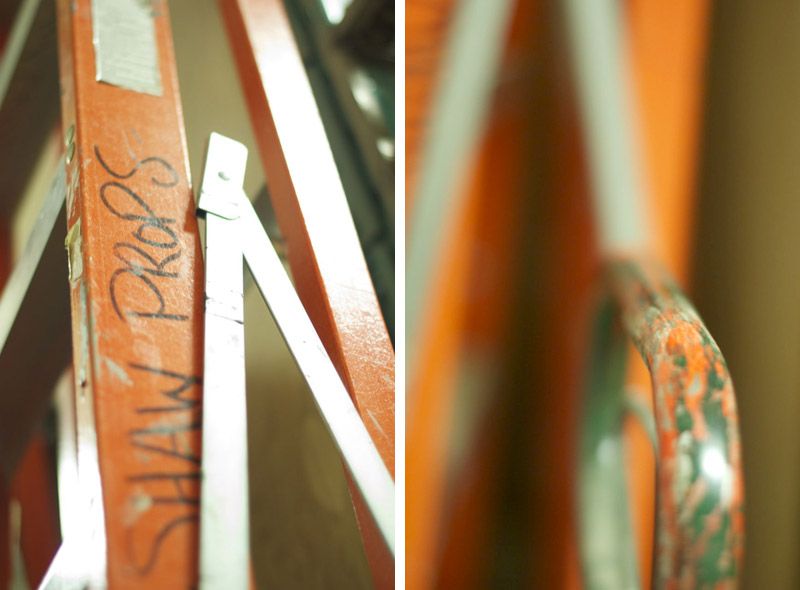
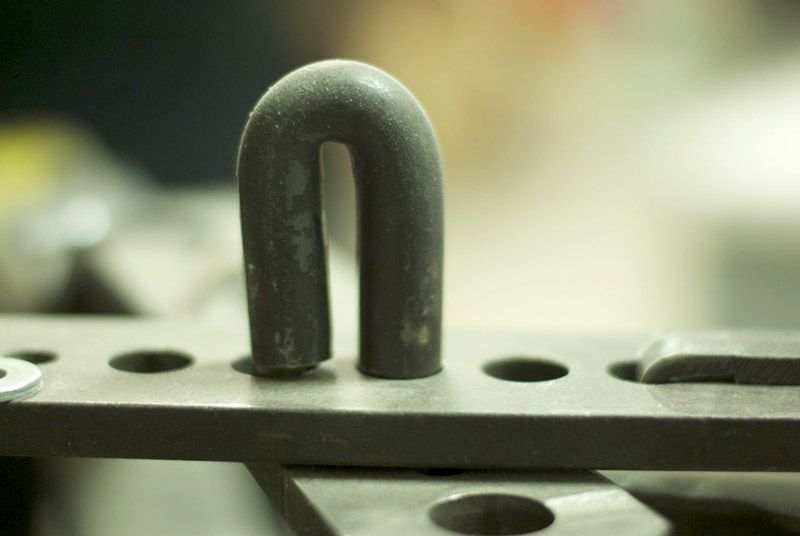
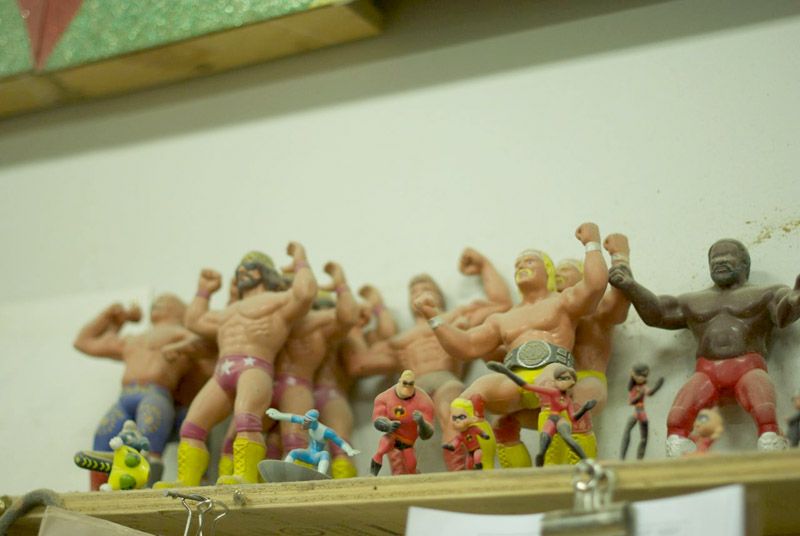
Studio Shots: The Shaw Festival Props Shop - Details

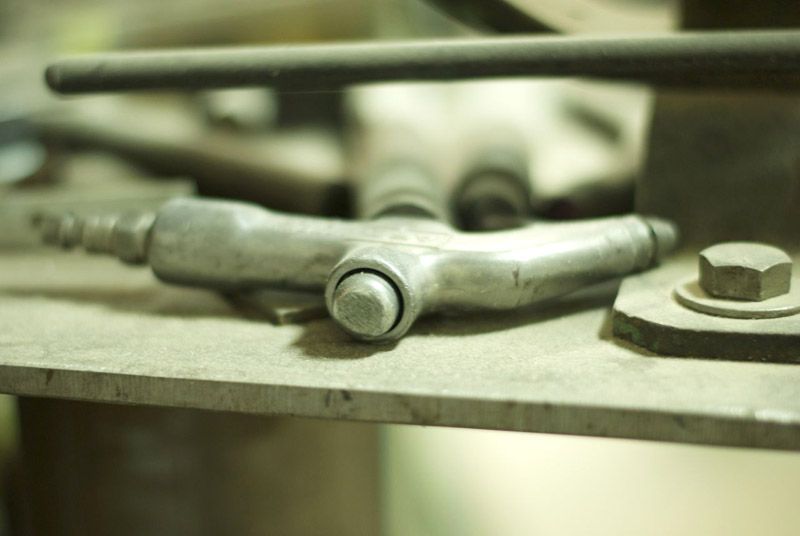
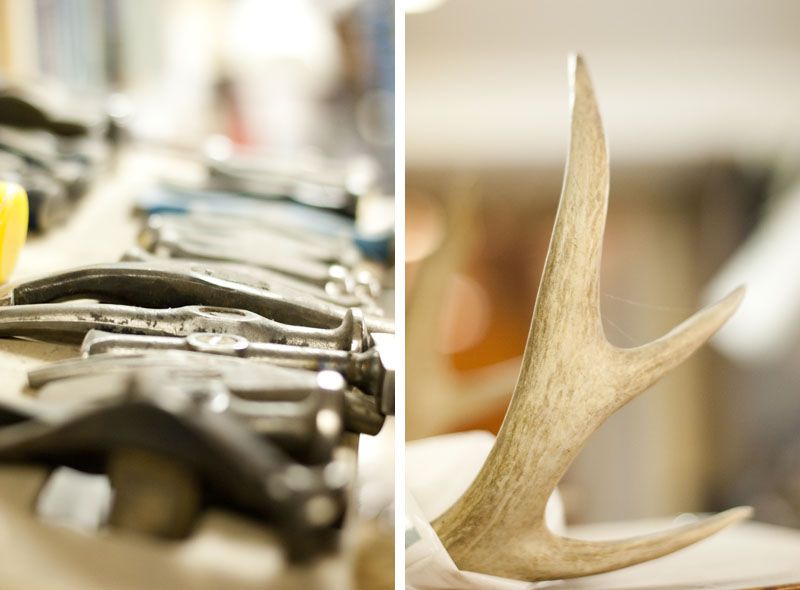
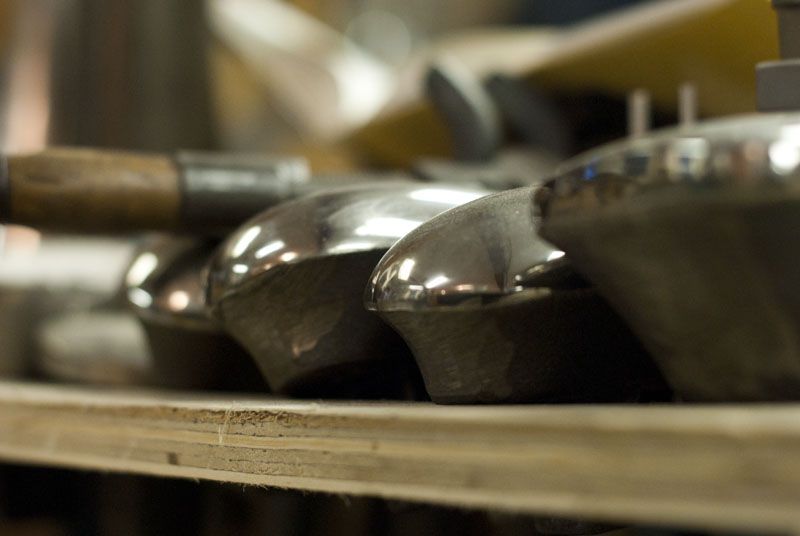
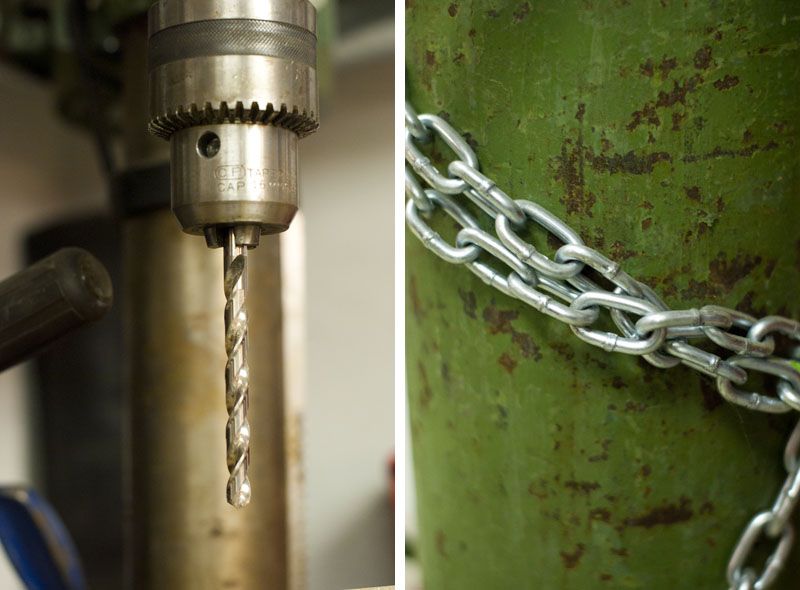
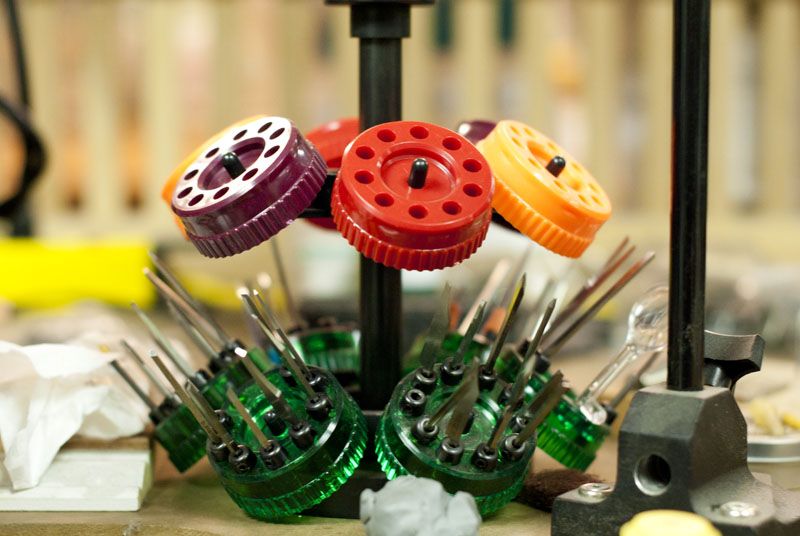
Last week, the Shaw Festival Props shop had a potluck!! It was a nice chance to gather with a bunch of people working in various shops that I may not get to see very often, and of course, the props shop is a very cool looking space to work.  One of the things I love about the Shaw shops is the sense of humor they show in the display of retired props, posters, and in some cases, black velvet paintings all found curbside.  I also love the practical tools, of course (check out the other studio shots posts for proof: Paradigm Designs, my studio), the metal, the wood and even the dust.
I couldn't resist taking out my camera for a couple minutes like a weirdo (like I do) and snapping a couple details while the potluck winded down.
--Erin

Tuesday, 5 February 2013

Studio Shots: @home

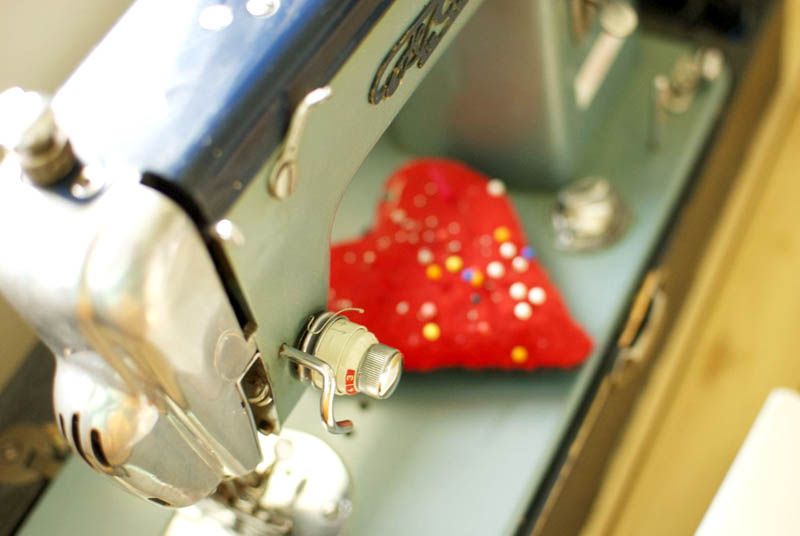
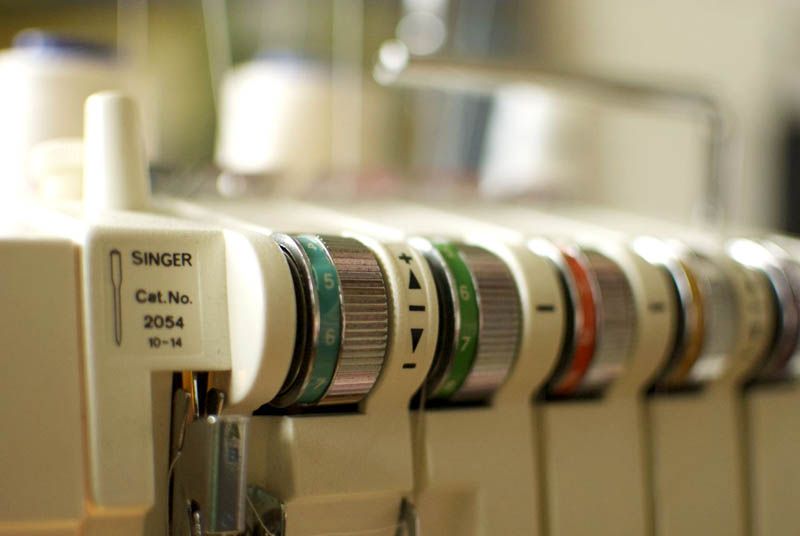
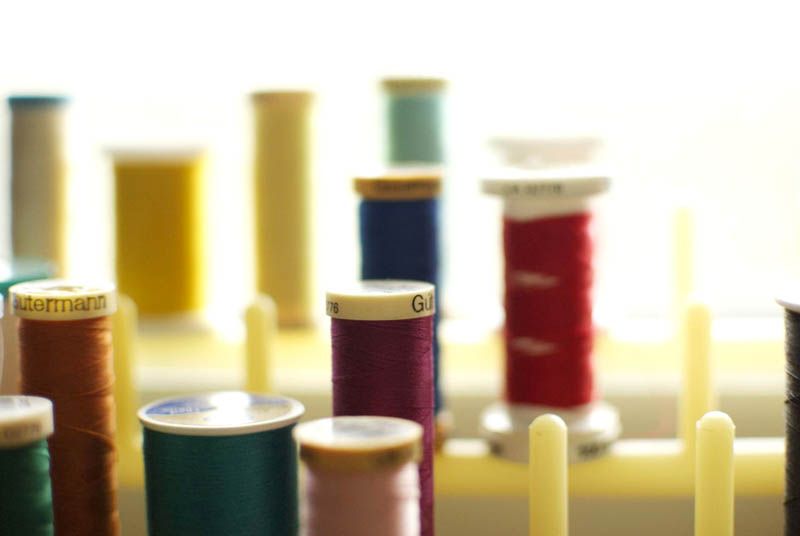
I've been spending a lot more time in my home studio, which I absolutely love.  I've been feeling more and more like creating when I get home, instead of feeling burned out after a long day at work like I tend to! Every month Ephraim and I are having a weekend to ourselves, and I tend to spend a great deal of time on those weekends in the studio, enjoying the natural light to get a bit of sewing or painting done.  It's a rare treat, and I really enjoy it when I get the chance! I took my camera out for a couple minutes the last time around, and captured a few details of my home work space.  One of these days, I'd like to get it in good enough order to do a full "tour": yeah, as if it's ever going to be totally clean in there!! Maybe some day...


--Erin

Thursday, 24 January 2013

Studio Shots: Paradigm Designs

I find artists' studios so interesting.  The music they keep around to listen to, the books to be inspired by, and best of all, the tools they use to make it all happen. My studio at home is the most thoroughly decorated in my house (not easy when you live in furnished company housing!), and I am already daydreaming about the studios I will -or hope to- have in the future.  While up north for the holidays, I took a quick moment to cruise around Ephraim's parents' studio and take some photos of the cool stuff they work with to make Paradigm Designs, as well as Jeffrey's independent silver works, a reality.
Susan  and Jeffrey are both silversmiths, though they use their skills to create very different works from one another - when they aren't collaborating, that is!  Silversmithing is the art of manipulating sheet metal into objects: be it flatware (cutlery), holloware (bowls, vases, plates and the like), or jewelry.  While many silversmiths are also goldsmiths, Paradigm Designs works almost exclusively in silver, with pieces ranging from elegant necklaces, to intricate chain work, to more radical showpieces.  My favourite of the latter is a story of two metal bras with chain maille straps. The first incarnation, made of brass, was sold to none other than Carole Pope, the front woman of Canadian new wave band Rough Trade -because yeah, she would need a metal bra in her closet! Years later, a second metal bra - this time fashioned out of silver - was crafted, which is part of the MacDonald Stuart Contemporary Silver Collection in Guelph, Ontario.  Whether they are crafting stunning jewelry with precious stones, or silver tea sets with African Bloodwood handles, they get to work on their projects from the comfort of their own home.  I just loved seeing the multitude of tools they use to manipulate the materials they work with, though admittedly I don't know the function of each one.  In addition to running their own business, Susan and Jeffrey also teach classes on metal working and jewelry design, at the Haliburton School of the Arts.  I'd love to take some classes up there, including, of course, one that they teach! I have an upcoming project that involves some metal working, and I'd love a chance to learn about techniques I may need before I dive in head first. I really must pay stricter attention to the demonstrations Jeffrey does when there is a Studio Tour happening.  I tend to get wrapped up in how amazing his period costume is; I do so like a bit of showmanship!

Of course it can't all be clad in tricorn hats and such fanciful things.  The metal shavings, hammers and drills, the shelves sagging from the weight of books; that's where it's really at. Every day when I go to work, walking into the studio and seeing my tools is what makes me excited to work.  I am so excited for the day when I can organize my paints and sewing machines in plain sight, and have the kind of studio I have always dreamed of.  A space to inspire, to work, to make the best kinds of messes.  A space to build my own career, life and dreams.

Do you have a space at home you like to work in? Be it a whole room dedicated to your craft of choice, a little nook, a desk, your kitchen, or simply a computer, how do you keep yourself inspired to create at home?

--Erin

Tuesday, 16 October 2012

DIY: Painted Canvas Photo Transfer


As promised, here's a little DIY showing the step by step process of how I made my photo transfer.  It was really fun to work on, though it was a touch time consuming.  Most of the work is pretty mindless though, so you can have yourself a little movie marathon while you work.  I know I did.  Aw yeah, The Two Towers and Newsies.  

Anyhow, I digress.

Here's what you need!
  • Gel or gloss medium. I used liquitex liquid gloss medium, as I already had a (giant!) bottle.
  • Canvas (your choice of size, I used a gallery depth 11x14")
  • A computer with photoshop
  • pencils
  • scissors
  • paper of appropriate size and laser printer
  • paints and brushes
  • washcloth or rag and hot water
  • movies and/or patience.
 And now here's how it was done!
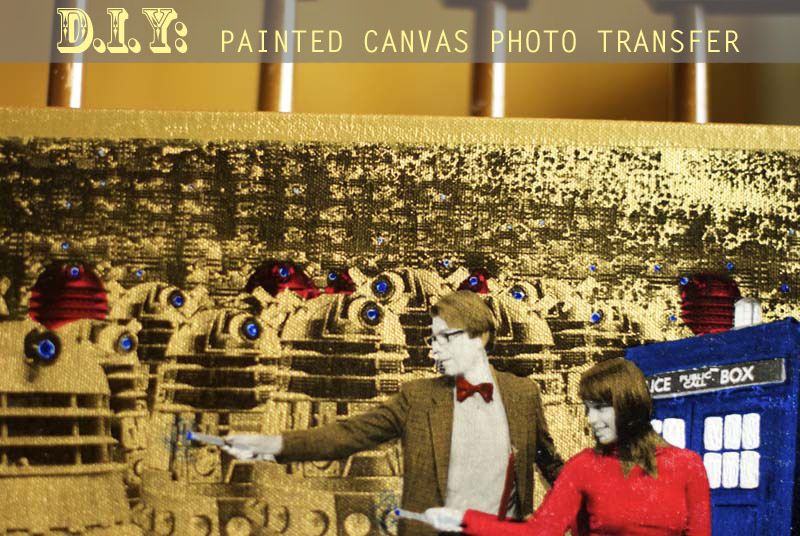
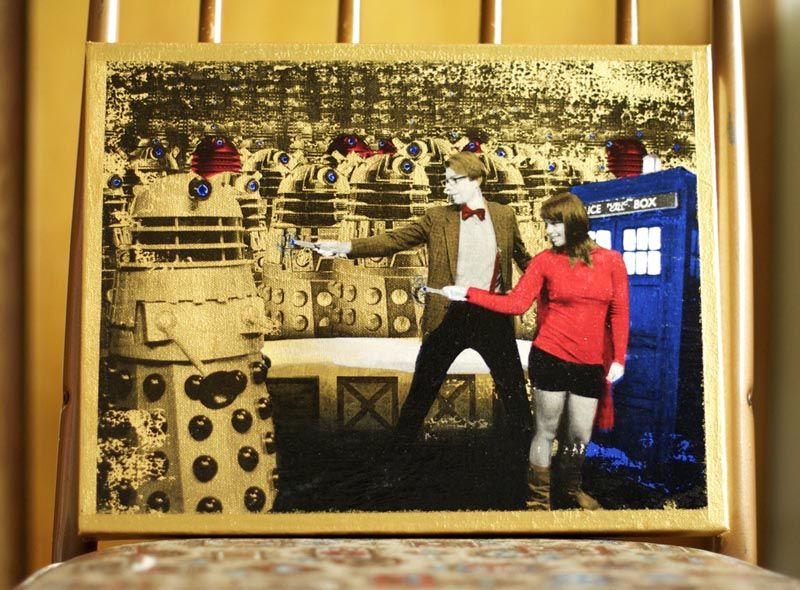
  1. Edit the photo/s into the desired format, sized to fit your canvas.  For this project, I combined a photo the couple had taken at a convention, and the promotional photo for the new season of Dr.Who.  Why? Because the provided convention background was lame.  Moving on.
  2. Using photoshop, convert the image to black and white.  Make sure that you have ti set to include as many white portions as possible, as the white areas will show the colour you lay down the best.
  3. print out 2 versions of your image: one in the format you would like to see it in, and one that has been flipped across the horizontal axis.  The flipped image is the one you will use for your transfer, as the image will transfer reversed (and thus normal. Double negative style).
  4. Using the print out that has not been reversed, cut out sections to create stencils based on the colours you want to paint.  I chose to use a limited colour palette, and let the shading of the black and white image spice things up for me.  Think of the finished product as being an Andy Warhol-esque screen print!
  5. Paint in your colours block by block.  I started with the gold, so that I could keep checking with my stencil to make sure that the floating bits of red were lined up properly.
  6. Continue on to your secondary colours, checking your allignment as you go.  It doesn't have to be perfect (a little shift looks super cool actually!), but you want it to be close so as not to look confusing to the eye).
  7. Finish painting your colours and let completely dry.
  8. brush on a thick coat of gloss medium, and press your reversed image printed face down onto the wet gloss.  Smooth it out and burnish it on with a blunt object.  Be gentle, you don't want to warp the canvas! Let dry over night.
  9. Lay a hot, damp cloth over the paper, until the paper is soaked through.  Gently rub with the washcloth to remove the paper and reveal the image beneath.  Be patient, and repeat this step several times.  You can see in my image above that until all the paper is gone, the image will appear cloudy.  Don't despair, it's worth taking it slowly and making sure you've removed it all! Toward the end, I rubbed the paper off with my damp fingers, so as to avoid taking off too much of the transferred image along with the paper.
  10. When the paper is all gone, brush on a coat of gloss and let dry.
  11. Add some fun details on top of your transfered image! I added in the white panels on the Tardis, glowing eyes for the Daleks, a clean gold border and the Sonic Screwdrivers.  Have fun, and get creative!
  12. Hang that sucker up!!
If you use this DIY, I'd love to see your project!! Feel free to leave a link in the comments letting me know how it turned out!!

--Erin

**This project and DIY were the first completed goal of my 4 simple goals before 2013.  Check out my list of goals HERE**

Monday, 15 October 2012

Four Simple Goals Update: A Craft Skills Remix

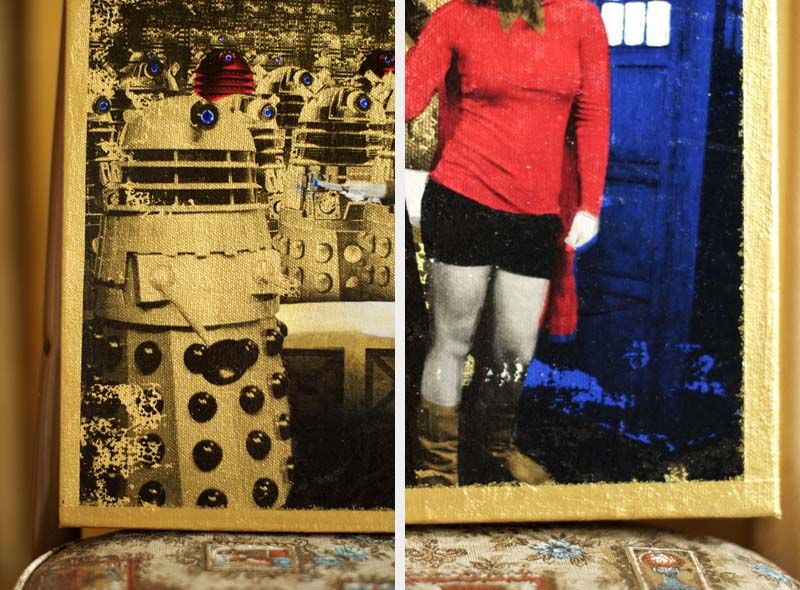
I finally finished my first simple goal before 2013!! I made a photo transfer onto painted canvas for my childhood best friend and her new husband.  I did some photo transfers over top of colours back in high school, which is where I get the remixing element of this craft skill in.  I had never attempted anything on this large a scale before (11"x14"), nor had I worked with pockets of colour isolated in a plane before, which meant that I had to plan very carefully so as to keep the image lined up properly.  I liked how a bit of the shift looks on this, I think it gives it a really strong pop art feel. To keep details popped, I painted in a few elements after I had transfered my image.  This kept details like the Sonic Screwdrivers looking clearly silver, and made the Daleks' eyes stand out.

As Elsie explained in the photo transfer post on A Beautiful Mess (which differed from my method slightly.  DIY to come!), the result is perfectly imperfect, with some parts rubbed away.  At least on mine it rubs away to reveal bright gold paint! 

So to recap, here are the Simple Goals Before 2013 I have yet to complete:
--Erin
This post is part of my Four Simple Goals before 2013, an exercise in list making and achieving proposed by Elsie of a Beautiful Mess.  See the original post HERE and check out my post about my own goals HERE.

Tuesday, 18 September 2012

D.I.Y: Wall Decals

My obsession with making my own wall decals began nearly 4 years ago.
In my second year Intro to Design class, we had been tasked with building a scale model of our bedroom.  This was my first model making experience, and I would never have believed it would become such a big part of my life! But I digress.  Being a beginner maquette (that's French for "model".  You learned today!) builder, I used Foam Core to build the walls and floor, which put me in an awful position when it came to painting. You see, foam core has the nasty tendency to warp like crazy when you get it wet; painting it, for instance.  Hmm thought I.  A giant sticker would really make painting the foam core easier.  It wouldn't warp, and you could trim it down after it's been applied! Yeah.  No Duh.  But where to find such a thing?

As it turns out, any hardware store.

People of the internet, that gross floral stuff lining your kitchen drawers is gross-floral-by-the-metre-GOLD.  Contact paper, or "adhesive drawer liner" is a giant sticker roll.  It comes in many patterns and finishes, and takes paint like a dream if you want to get real fancy (I usually do!). 

It sticks to your walls, but is easily removable and leaves no marks behind.

Shit son, that sounds JUST LIKE the wall decals you see for $60 a pop.
You can make them, at home, for roughly $4. And it's stupid easy.  

Yeah guys.  Contact paper is amazing.

All you need is:
  • Contact paper prepared in the colour/finish of choice
  • Scissors
  • A cutting mat, ruler and olfa knife
  • A marker
  • A template, cut out of card stock (or equivalent weight paper).
  • A ruler.  Never underestimate the power of perfect straight lines!
  1. Design a template for repeating patterns (you can do bubbles, birds, anything you like!).  If you're doing things like trees, you are best off freehand sketching. In this instance, I made a template of the shape that I then cut out at specific intervals to create my pattern.  
  2. Trace your template on the backing of the Contact paper.  The wax paper backing is usually gridded out, which is helpful for keeping corners square.
  3. Cut out your shapes.  I recommend using a ruler and knife for straight edges, and using scissors for curves.  
  4. Peel off the backing, stick, and enjoy!
You can rearrange the decals as often as you like! I have actually had some of my decals in a total of 3 different apartments over the years! 

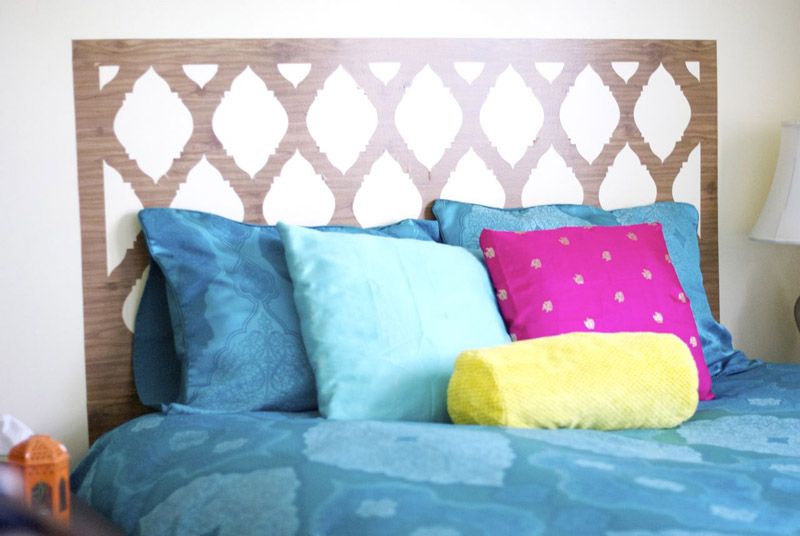
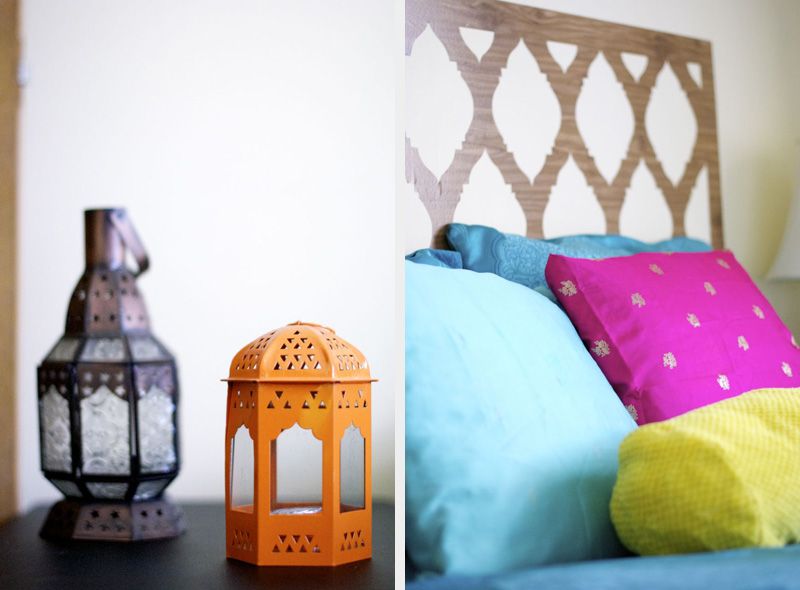
Your decal may be the positive space or the negative space of the image, depending on your taste.  I used the negative space to create a headbaord for my bed, and I am so pleased with it! I have never had a wooden bed frame, and this sticker helps to crate focus and a sense of grounding in the room.  I used the positive space of the shapes to create a feature wall in my living room.  I won't post pictures of that now, as that wall is going to have to serve as the backdrop for outfit posts through the winter and you'll be sick of it soon enough!

What will you make out of contact paper?

--Erin

Wednesday, 12 September 2012

Four Simple Goals

Elsie of A Beautiful Mess (psh, who doesn't know the Martha Stewart of the internet?) had a challenge for us all this week.  She likes to write down 4 simple goals for the fall, which is also her busiest season.  I've always liked the sense of renewal of fall, and as I am not returning to school this year, I thought it would be nice to embark on some projects that have been on my list for some time.

In the true spirit of the internet, Elsie extended an invitation to share your 4 simple goals and link back to A Beautiful Mess.  Ah, audience participation.  They'll be showcasing some people's progress as they blog about it.

Here are Elsie's "rules" for the goals:

1. Choose simple goals that will make your life richer and happier on a daily basis. Choose things you may not otherwise get done, but that are not difficult to accomplish. 

2. Do not choose result oriented goals, choose activity oriented goals. for example.... instead of "lose 10 pounds", choose something like "eat fresh fruits and vegetables every day". Get what I'm saying? Positive actions instead of just the end result! 

3. Choose goals that are personal that you believe will truly make your life richer just by doing them! They can be daily, weekly or one time experiences. 

4. Choose a reward for each goal as it is accomplished! It can be a small or large reward- it's up to you. 

5. Blog about your goals, each one as you achieve it and a big post when they are all finished before the new year! I'll be doing this too! Link back to this post if you want to and leave us links to your goal blogs in the comments of this (or any) post for a chance to be featured on ABM before the new year. We will be sharing some of our favorite reader goals with links to your blogs!
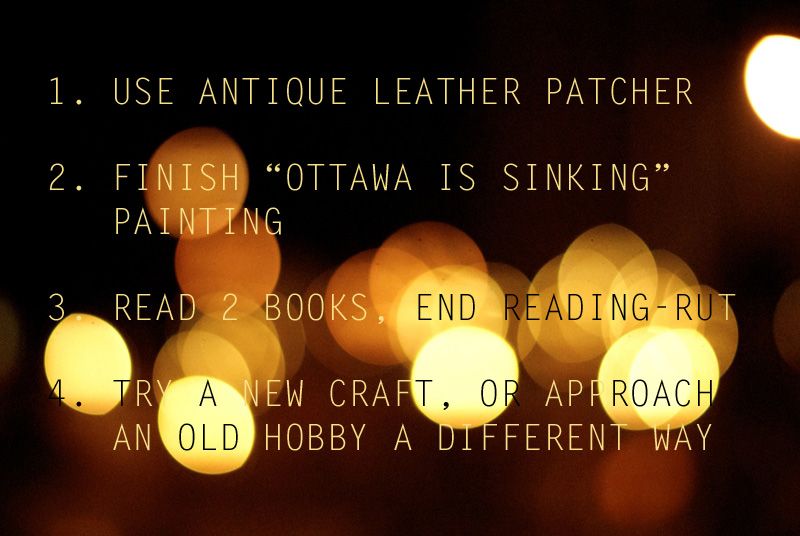
Here are my goals:

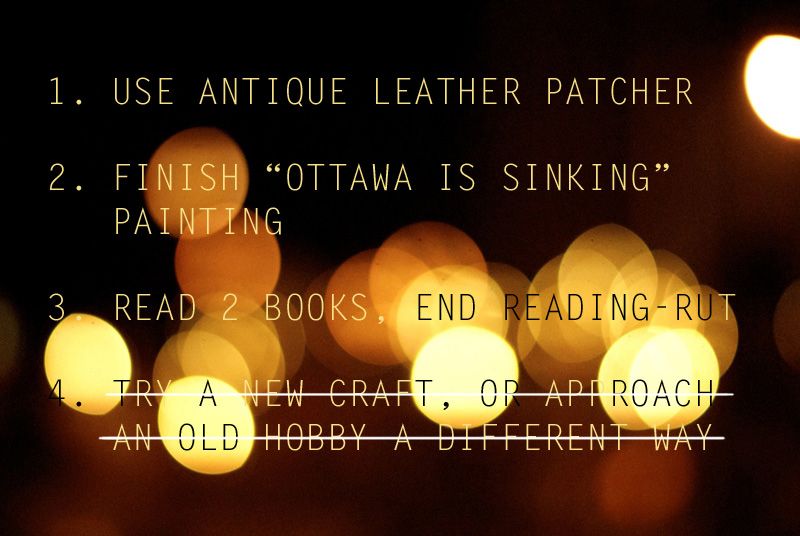
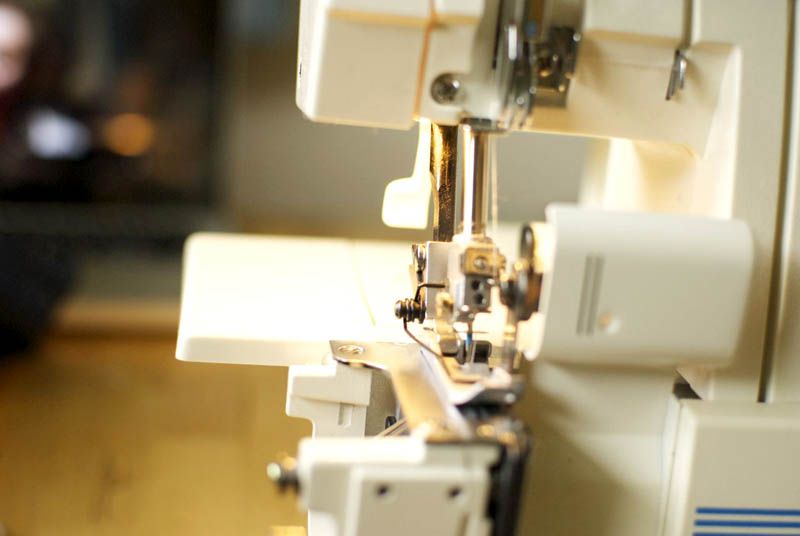
1.  I've owned my leather patcher "Doris" for over a year now, and have yet to really use her for anything.  Before the new year, I'd like to get a little practice and maybe make a simple bag or something with her!

2.  I started this painting in highschool, and haven't touched it in about 4 years.  I've always liked where it's headed, so I'd like to buckle down and get it finished.

3. Ever since I had to binge read all the plays for last season (11 plays) in one week (actually 5 days, 2 or 3 plays PER DAY, madness), I've been feeling burnt out about reading.  I've always read a lot, and this slow down has been unnerving for me.  2 books isn't much, but it's better than I've been doing, and hopefully it's enough to get me out of this rut.

4. I love to make stuff.  I imagine the holidays will provide a good opportunity to create something I've never tried before! 

Do you have any goals you'd like to accomplish for the new year? Easy things you just keep putting off? I'm glad to be putting these goals out there, so I have a little accountability for actually completing them! Haha!

--Erin