Showing posts with label Sewing. Show all posts

Monday, 8 July 2013

How Sewing Changed the Way I Approach Problems

I'm in a business where the acquisition of skills is paramount.  A lot of my education therefore was spent learning how to do things, even if our aim was not in the technical production front, but in designing, like mine.  From building my own light circuit complete with switch and light bulb out of loose wires and a bit of plywood, to a picture frame I would later paint and gift to my Mum, to sewing and drafting my own patterns, I spent countless hours in various shops learning the skills it takes to make theatre; skills that transfer awfully well to real life and non-theatre workplaces. 

Through it all, sewing has been my favourite.  It has given me the most opportunities, and the largest sense of self confidence.  Above all, it has given me some awesome clothes.  

My life as a seamstress (I guess?) began when I was 16.  My parents and grandparents teamed up and bought me a sewing machine for Chanukah, the same machine I use today (and desperately need to take in for a tune-up.  The 1 step button-holer has become "13 steps to Hulk-smashing".  Maintenance is still a low point for me), a basic Janome I named Johnny 5.  The first thing I ever sewed was a red satin and black lace purse for my best friend Caroline.  I sewed the entire thing with no previous experience or knowledge whatsoever, and sewed with the pressure foot raised the whole time.  I thought that this sewing thing was really, really hard, and I gave up on it for a few months.  Had I read the instruction manual (another fault of mine), I would have known that the pressure foot is really integral, and that the machine would then feed the fabric through so you wouldn't have to.  I was young, and stupid, and proud enough to give that P.O.S bag as a birthday present, and Caroline loved me enough to use it.  It's a lovely and tragic thought.  That thing was hideous.

I was prompted to pick back up the needle and thread a few months later, when I began to get more into Japanese street fashion, gothic and lolita in particular.  I picked up some Japanese sewing magazines, and worked off their patterns for the next two years.  I took Japanese classes so that I would be able to understand the patterns, and went on to make several garish and ill-fitting pieces.  I am, shocking as it may be, not the ideal body type for Japanese drafted patterns.  However, through this time, I learned what pattern pieces looked like, the order to put them together, and how to sew a straight line.  That last one may sound silly, but straight lines are really all sewing boils down to.  Through the purring of my sewing machine, I was able to explore my personal style in ways that had been barred from me previously, either through cost or sizing.  The ability to make my own clothes was so freeing, and served as a real turning point for the way I saw fashion, personal style, and even my own career path.  Every new garment was a learning opportunity, and even those that turned out badly served a greater purpose: sacrificial offerings to the gods of experience. 

The most significant improvement of my skills took place over my 4 years at university.  Through my costume construction classes, I learned about historical and modern couture construction techniques, and most importantly, how to draft my own patterns from measurements.  Now, I am a person who quite enjoys math.  Maybe not the really deep theoretical stuff, but I find practical math to be pretty cool in general.  The idea of breaking down numbers into lines, in order to build 3D shapes, was just the biggest thrill for me.  Pattern drafting continues to be one of the most fun of all mind-fucks I have ever experienced.  This is an area in which the concept of sewing being all about straight lines really hits home for me: every curve on your body has to be translated into a straight line, in order to be sewn.  Now, that isn't to say that it may LOOK like a straight line on paper, but there is some way of holding those pieces that will result in a straight line.  Really, I have found this concept to be the most freeing when it comes to my sewing.  I approach each new challenge fearlessly: it's all straight lines when you really break it down, so how hard could it really be? I mean, at least I don't have to sew it all by hand like folks used to!

That fearlessness is the most important thing I have learned through sewing.  To look at complex problems and break them down until they seem perfectly reasonable.  To approach everything with the understanding that while successful projects may be the most satisfying, the failed projects are arguably the most valuable.  To understand that the limits of availability are only limits if you don't intend to create what you want in the world.  To realize that you are capable of achieving most anything you want, and that what you do not know, you can learn.

And that, my friends, is the long rant behind why I tell everyone that sewing is the best thing I ever learned how to do. 

--Erin

Tuesday, 5 February 2013

Studio Shots: @home

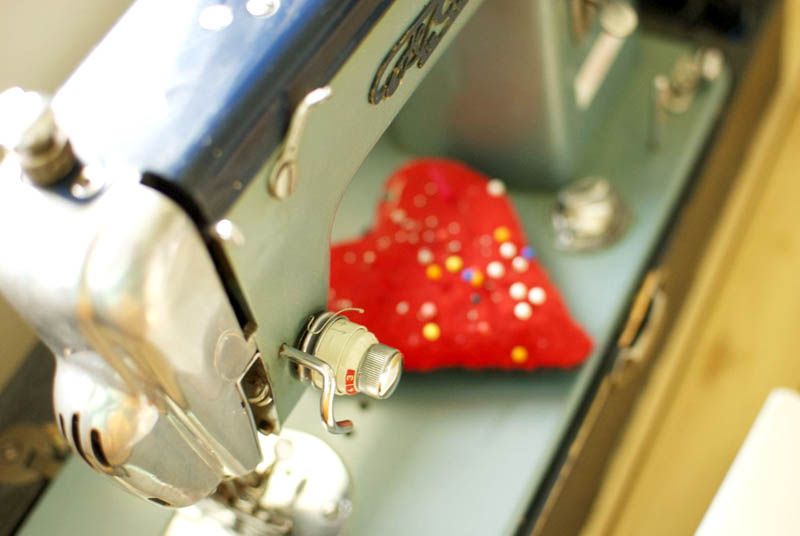
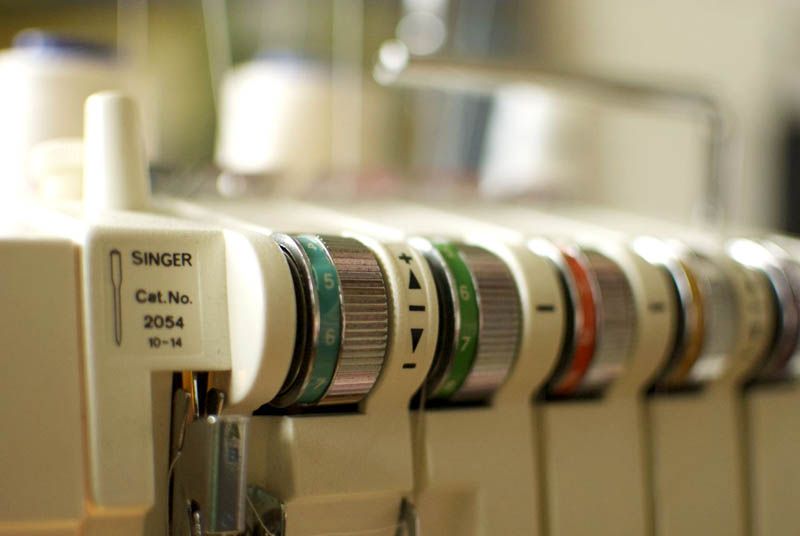
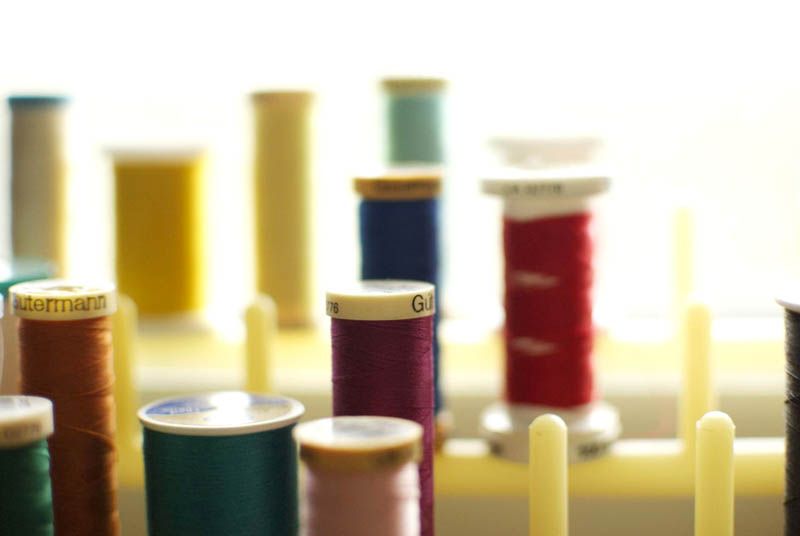
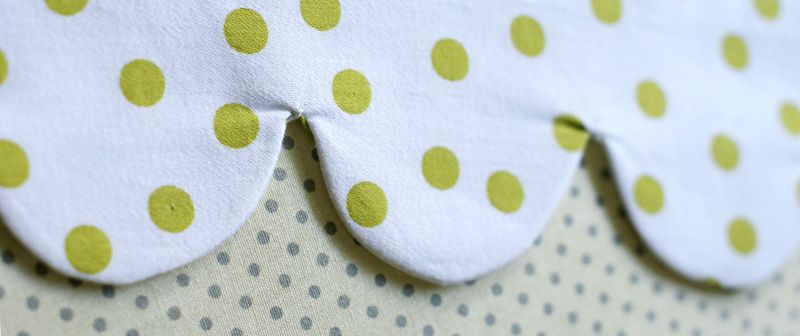
I've been spending a lot more time in my home studio, which I absolutely love.  I've been feeling more and more like creating when I get home, instead of feeling burned out after a long day at work like I tend to! Every month Ephraim and I are having a weekend to ourselves, and I tend to spend a great deal of time on those weekends in the studio, enjoying the natural light to get a bit of sewing or painting done.  It's a rare treat, and I really enjoy it when I get the chance! I took my camera out for a couple minutes the last time around, and captured a few details of my home work space.  One of these days, I'd like to get it in good enough order to do a full "tour": yeah, as if it's ever going to be totally clean in there!! Maybe some day...


--Erin
Wednesday, 12 September 2012

Four Simple Goals

Elsie of A Beautiful Mess (psh, who doesn't know the Martha Stewart of the internet?) had a challenge for us all this week.  She likes to write down 4 simple goals for the fall, which is also her busiest season.  I've always liked the sense of renewal of fall, and as I am not returning to school this year, I thought it would be nice to embark on some projects that have been on my list for some time.

In the true spirit of the internet, Elsie extended an invitation to share your 4 simple goals and link back to A Beautiful Mess.  Ah, audience participation.  They'll be showcasing some people's progress as they blog about it.

Here are Elsie's "rules" for the goals:

1. Choose simple goals that will make your life richer and happier on a daily basis. Choose things you may not otherwise get done, but that are not difficult to accomplish. 

2. Do not choose result oriented goals, choose activity oriented goals. for example.... instead of "lose 10 pounds", choose something like "eat fresh fruits and vegetables every day". Get what I'm saying? Positive actions instead of just the end result! 

3. Choose goals that are personal that you believe will truly make your life richer just by doing them! They can be daily, weekly or one time experiences. 

4. Choose a reward for each goal as it is accomplished! It can be a small or large reward- it's up to you. 

5. Blog about your goals, each one as you achieve it and a big post when they are all finished before the new year! I'll be doing this too! Link back to this post if you want to and leave us links to your goal blogs in the comments of this (or any) post for a chance to be featured on ABM before the new year. We will be sharing some of our favorite reader goals with links to your blogs!

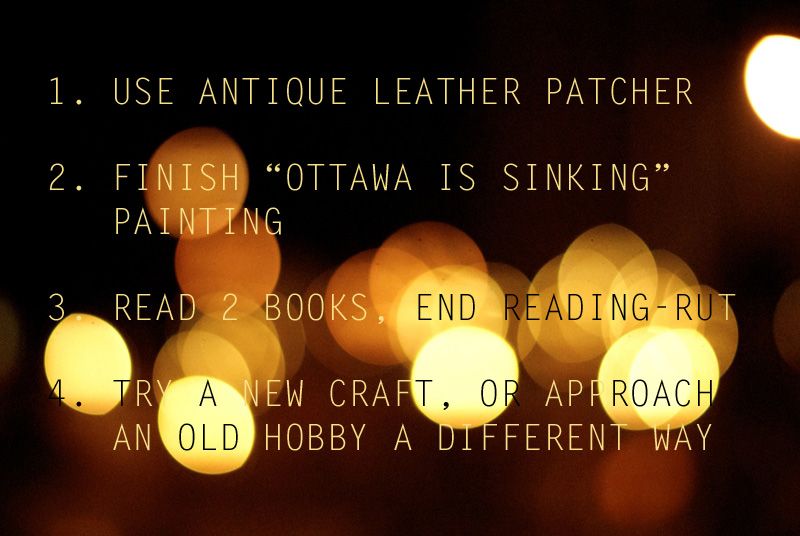
Here are my goals:

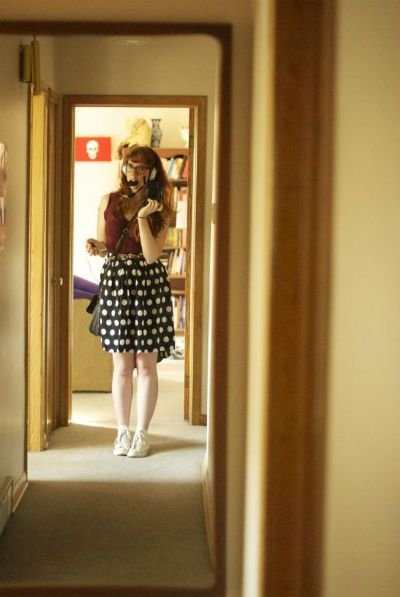
1.  I've owned my leather patcher "Doris" for over a year now, and have yet to really use her for anything.  Before the new year, I'd like to get a little practice and maybe make a simple bag or something with her!

2.  I started this painting in highschool, and haven't touched it in about 4 years.  I've always liked where it's headed, so I'd like to buckle down and get it finished.

3. Ever since I had to binge read all the plays for last season (11 plays) in one week (actually 5 days, 2 or 3 plays PER DAY, madness), I've been feeling burnt out about reading.  I've always read a lot, and this slow down has been unnerving for me.  2 books isn't much, but it's better than I've been doing, and hopefully it's enough to get me out of this rut.

4. I love to make stuff.  I imagine the holidays will provide a good opportunity to create something I've never tried before! 

Do you have any goals you'd like to accomplish for the new year? Easy things you just keep putting off? I'm glad to be putting these goals out there, so I have a little accountability for actually completing them! Haha!

--Erin
Monday, 20 August 2012

D.I.Y: Drafting a Sweetheart Waistband

I personally think that waistbands are an opportunity for flair and character that is lost on modern clothing.  Pants and skirts end simply, bluntly, with no attempt to reinforce the aesthetic of the piece, except perhaps through the fastenings.  Boring!
So today we're looking to the fitted waistband, and how we can add some interest without detracting from the rest of the skirt, and still creating a nice trim waist!

This DIY does not cover sewing techniques for the waistband, we'll get to that for later.  I just hope this encourages you to think about waistbands differently when you are designing your own pieces to sew!

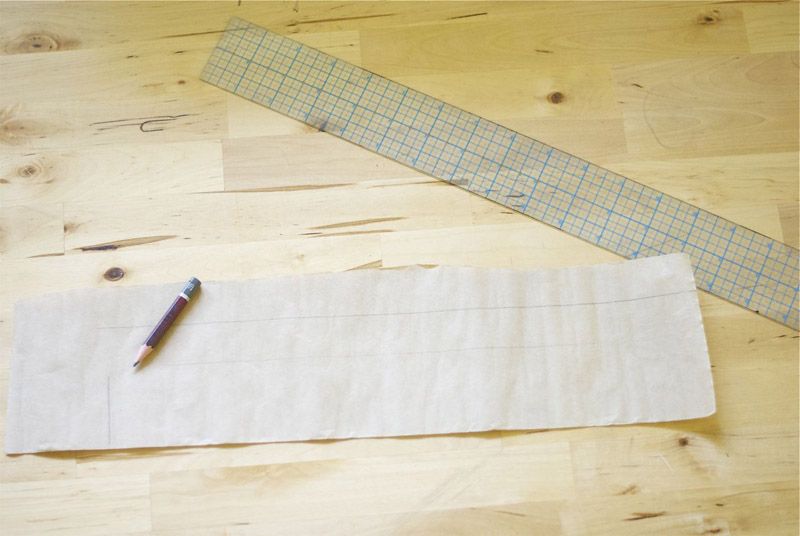
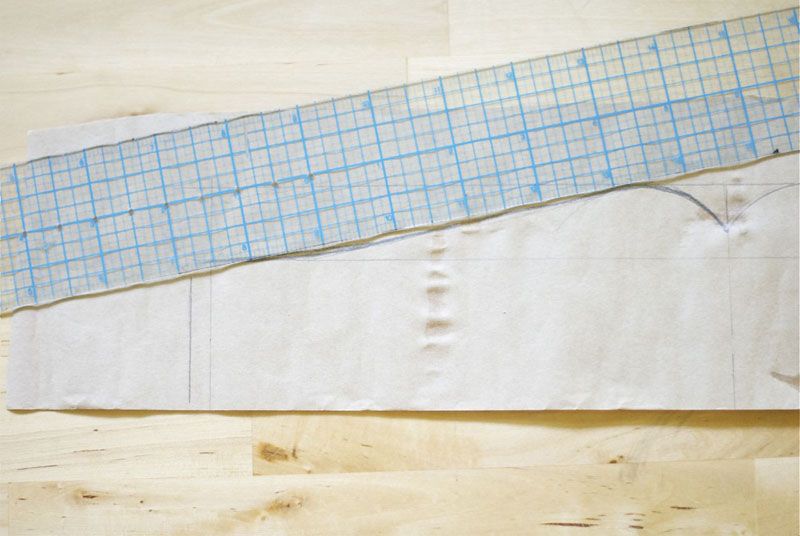
1. Draw out your basic block.  For mine I determined the total height of the waistband (3", sloping down to 2" for an elasticated back), with the length of the piece being half of your total waist measurement.  

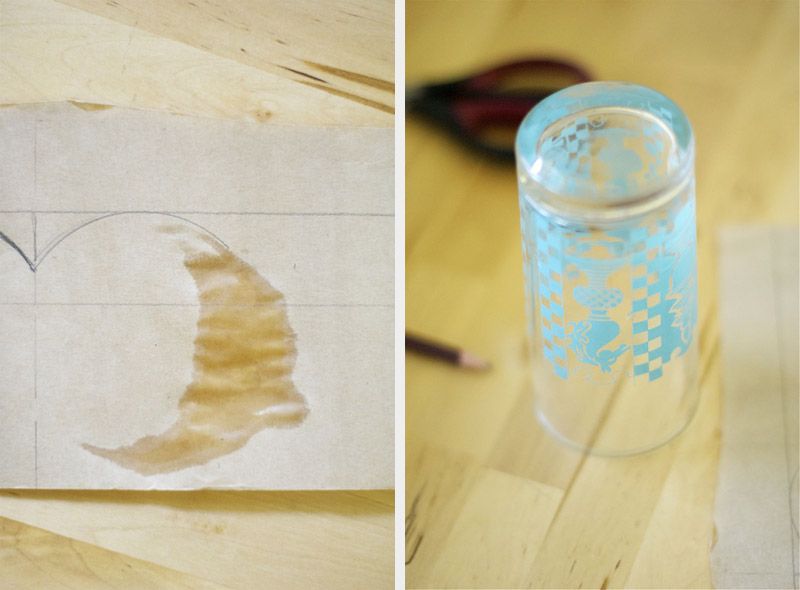
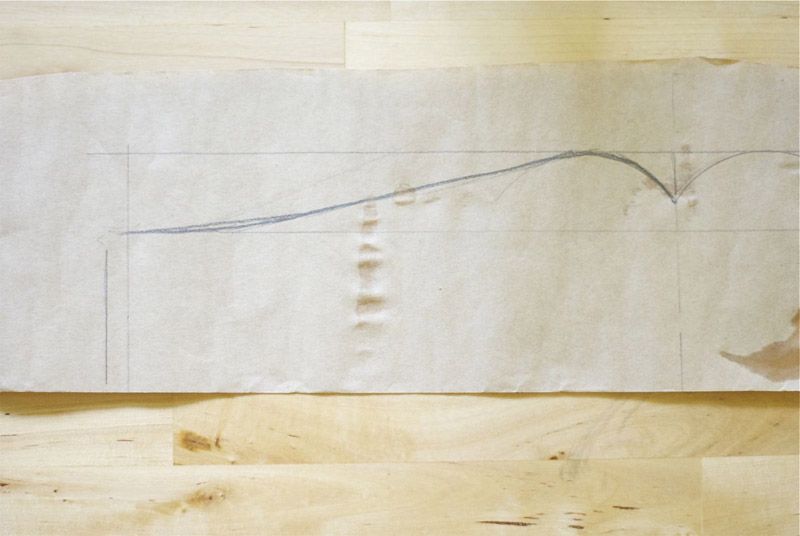
2. Draw on your desired look.  Since I did the scalloped hem tutorial, I decided to do a sweetheart waistline and keep the trend going.
I probably should not have used my curve stencil straight from the drying rack.  Ooops!


3. Using a ruler, draw a straight line down to the lowest point on your waistband, creating an angle you find pleasing.  Sloping all the way down to the corner creates the gentlest slope, bringing the outside end of that slope closer in to the centre makes it steeper. 

4. Go over the slope and add some curve to it so it blends into the rest of the waistband naturally.  I sloped mine down to 2", as I plan to use 2" elastic for the back of the waistband.  

5. Label your waistband, and cut it out. Because I plan on having the waistband symmetrical, I decided to create the pattern such that it requires to be cut on the fold (indicated with those 2 arrows in the centre-front).  

6. To create the top edge of the waistband when it is decorative, simply line with interfacing and sew exactly like the scallops DIY, or stay tuned for another tutorial with sewing instructions for the half-elasticated sweetheart waistband! 

In fact, you could use the scallops tutorial to create a fully scalloped waistband! This would only work for skirts or pants with zipper or button closures.  However, for a half-elastic waistband such as this one, you can make the structured front of the waistband scalloped.  Fun!

I like to label all of my pieces to keep well organized.  I create most of my own patterns, so knowing what everything is (and what article I made it for) is essential! I also like to mix and match, so it's good to know I can find the sleeve I drafted for a labcoat, when I decide it's just right for the trench coat I am making.  

What shape of waistband are you going to add to your next sewing project?

--Erin
Monday, 13 August 2012

My Weekend in Retro Specs v.5: Revenge of the Thrift

Happy Monday!

I hope you all had very restful weekends.
While my weekend was not terribly restful (I have a big design deadline coming up in a couple days), I did manage to work some thrifting and garage sale-ing into my errands on Saturday morning.  I swear there must have been some divine intervention, the cosmos knew what a stressful time I've been having at work, and sent to me some amazing finds to brighten up my day! I found some great button up shirts (which have been on my thrift list for some time now) and a couple belts, but the really special stuff from this weekend were all decor and house items. 

And oh baby, are they ever perfect.  Here are the highlights!
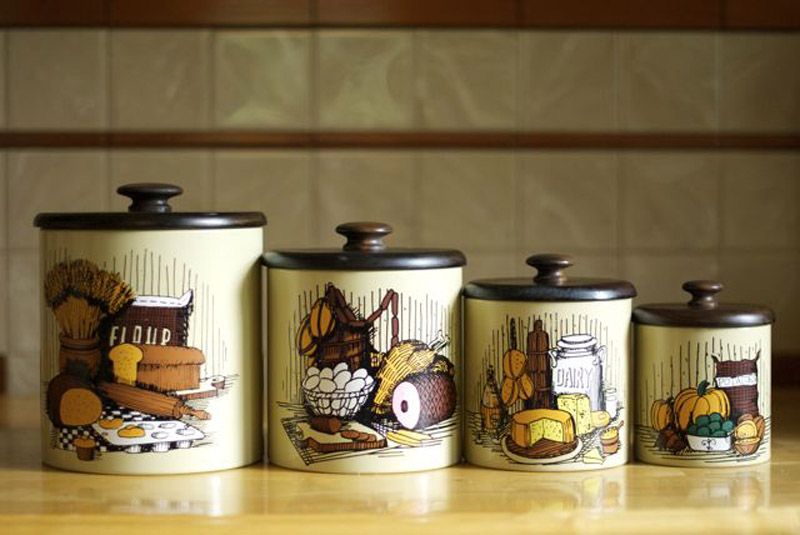
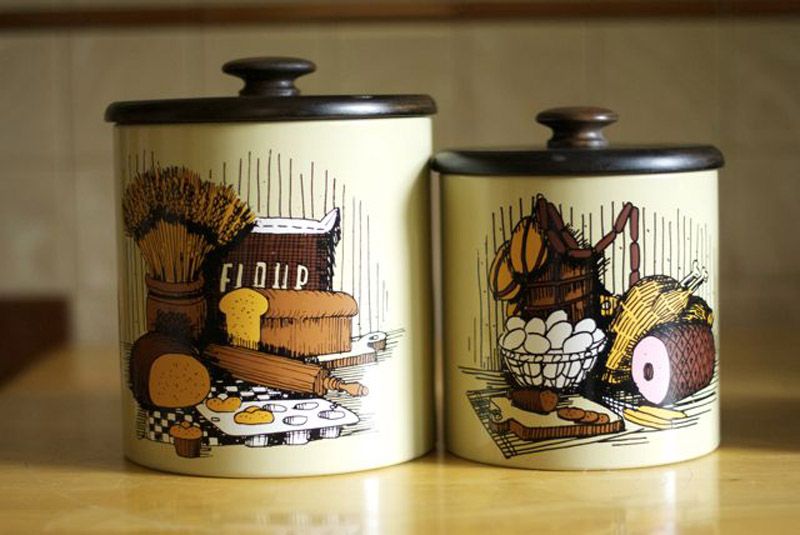
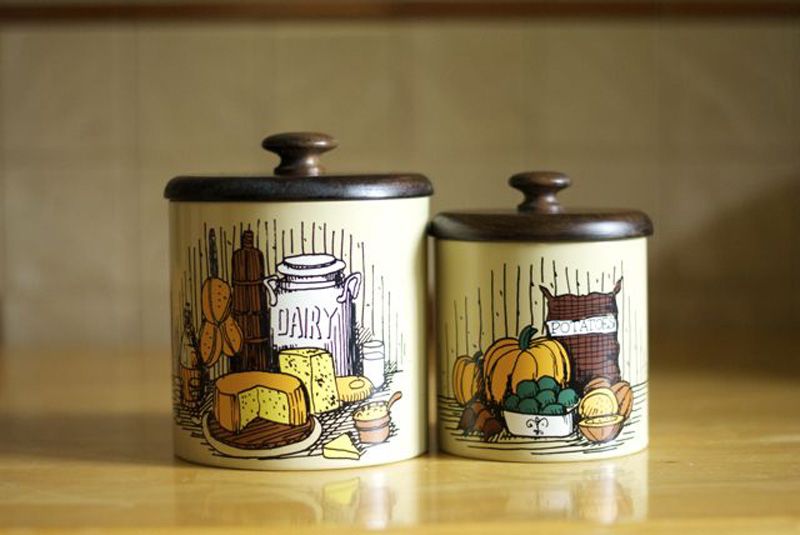
I picked up this set of canisters for $8.  Pricey, but they're 40 years old and never used.  They match my KITSCHen perfectly!
Seriously, how cute are these? The wooden lids are what caught my eye, the ink drawing labels sold me!
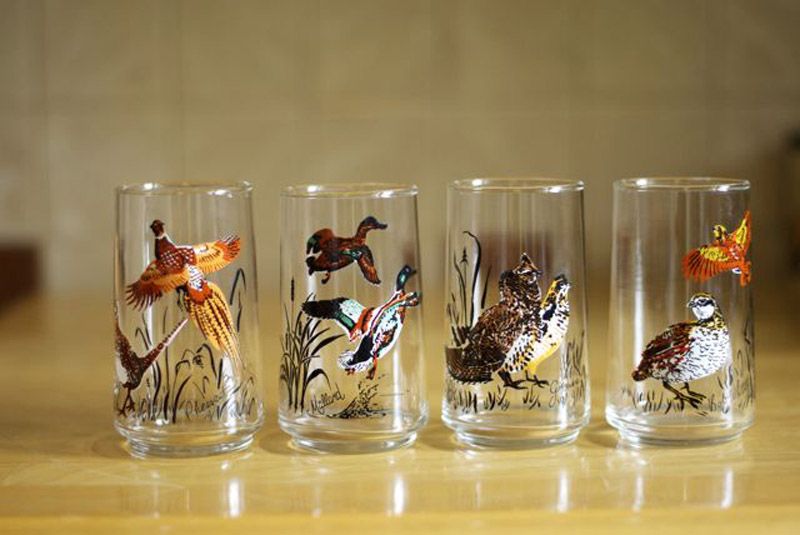
Bird Glasses ($4 or so?). I'm collecting several small sets of kitschy drinking glasses.  These were too good to pass up.
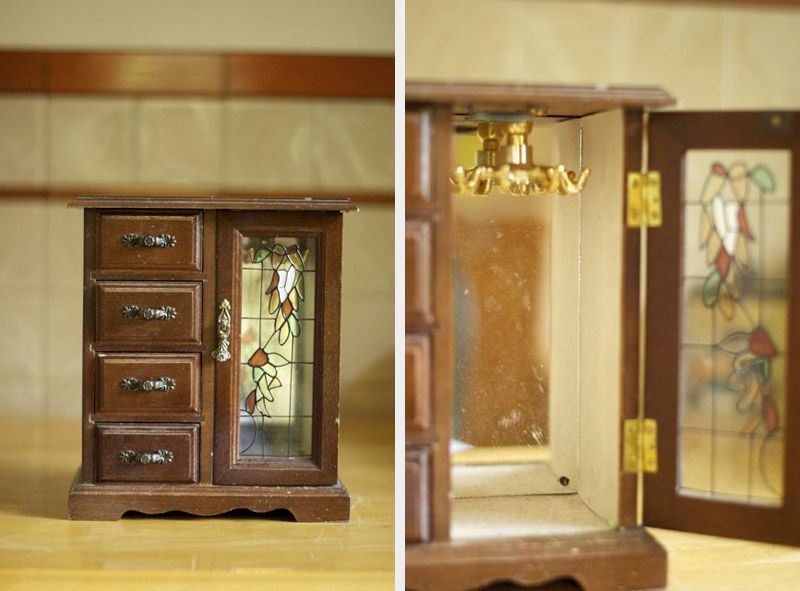
Jewelry box, same garage sale as the glasses, $4. Loved the stained glass and necklace hangers.  Going to paint this up real nice!
I've saved the best for last... I wonder what's inside?? ...........
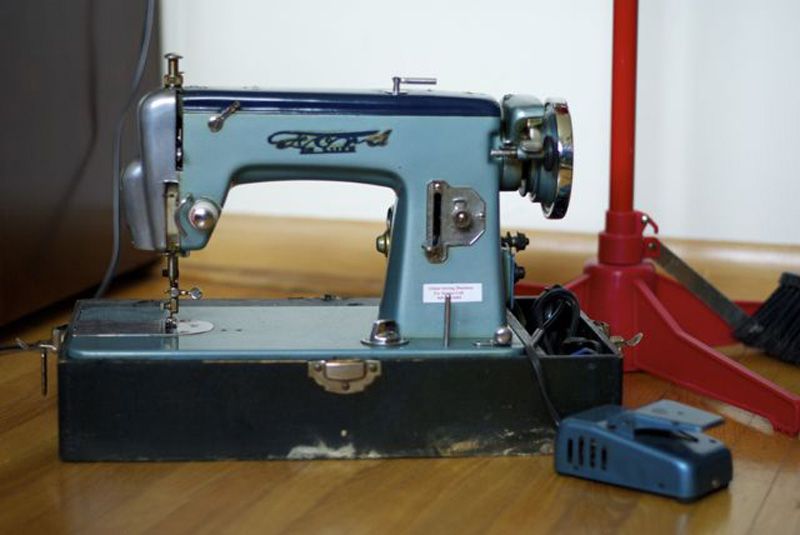
Oh yes!!! There were 2 at the Goodwill, but only one had the carrying case/base. 
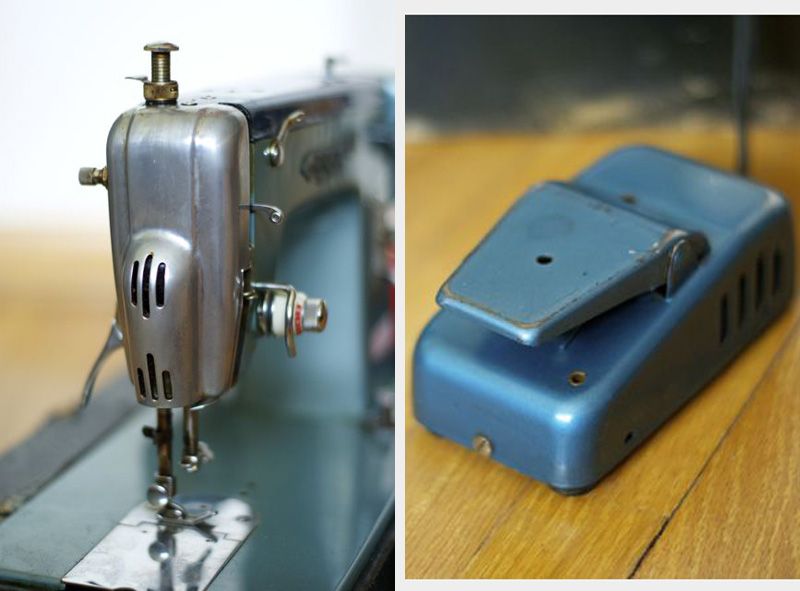
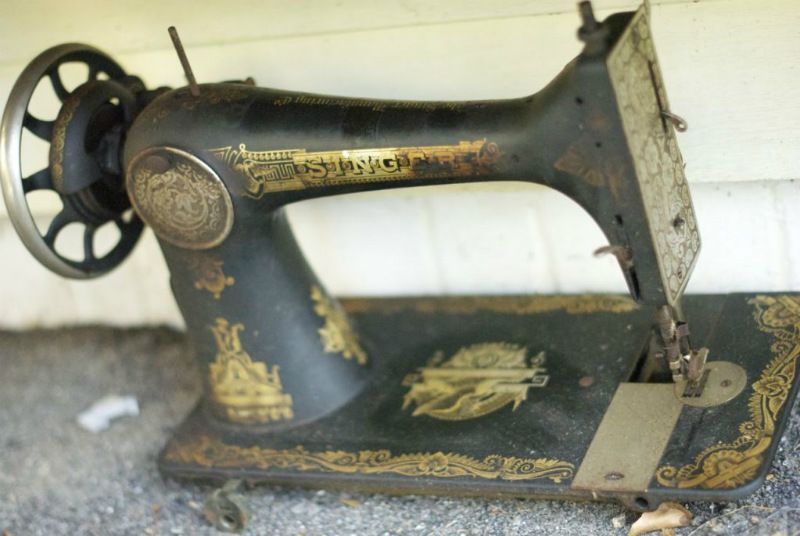
Japanese made from 1957.  Not actually made by the Ford Auto company haha! Mint, these go for $500-$700.  I paid $35, and it's mostly just grimy!! :D
The metal head and the matching foot pedal were just too good to be true.  It had to be mine!
 The machine isn't in working condition yet, but I'll take it in for service once I've cleaned her up.  She has all her parts and actually had a number taped to it to have it serviced, in the Niagara area.  I looked the model up online and apparently they're very good machines, and have enough power to sew denim with ease, which my domestic machine struggles with.  

This is my fourth sewing machine, and the second I've bought for secondary sewing (and admittedly largely for their looks!).  I just love collecting useful things that are also beautiful, don't you??

Oh, and I think I'm going to name her Betty, but I'm not firm on that yet.  The colour makes me think of my friend Jesslyn who moved across the country a year ago, I'd like to name it something that makes me think of her without using her actual name (cause I've already done that with my machine Doris, and that might be kind of weird hahaha!).  Jess makes a MEAN Apple Betty, so I think Betty is currently the forerunner.  

Have you made any exciting thrift scores that made you squeal like a small child in public? Be not ashamed, and join the club!

--Erin


Tuesday, 7 August 2012

D.I.Y: Sewing Scallops

Got a skirt that could use a cuter hemline? Scallops.

Want a collar that stands out? Scallops.
 
Pillowcases putting you to sleep? Scallops.

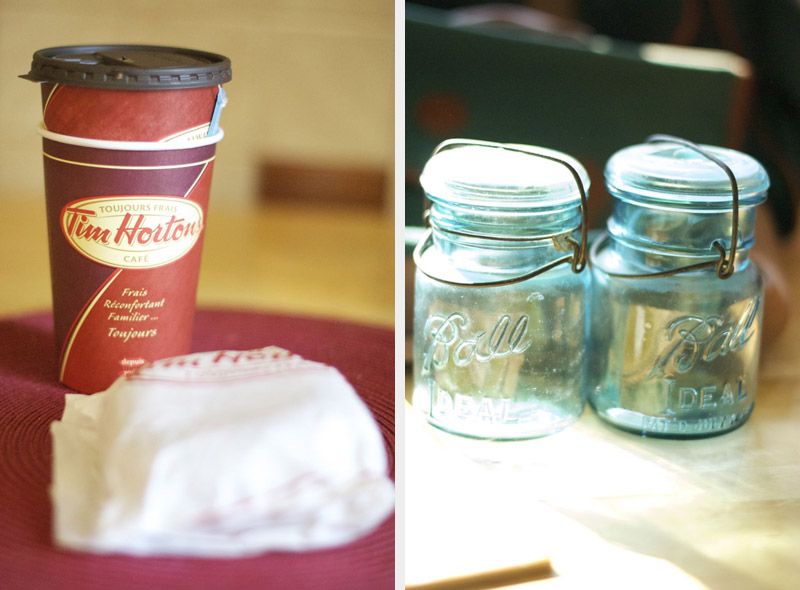
Today I'm all about scalloped edges.  This super-sweet hem style has an awesome retro vibe that can be dressed up or down.  But getting crisp scallops as a seamstress can seam (haha get it??) a daunting task.

I'm here to tell you all that scallops are actually really easy, and with a couple tips, you'll be ready to sew that shit on 'errythang.

Let's get started.  You'll need:
Fabric of your choice (I'm using old pillowcases with a cute pattern!)
Fusible interfacing in a medium weight
Coordinating thread
Ruler
Pencil (something soft, 2b or higher)
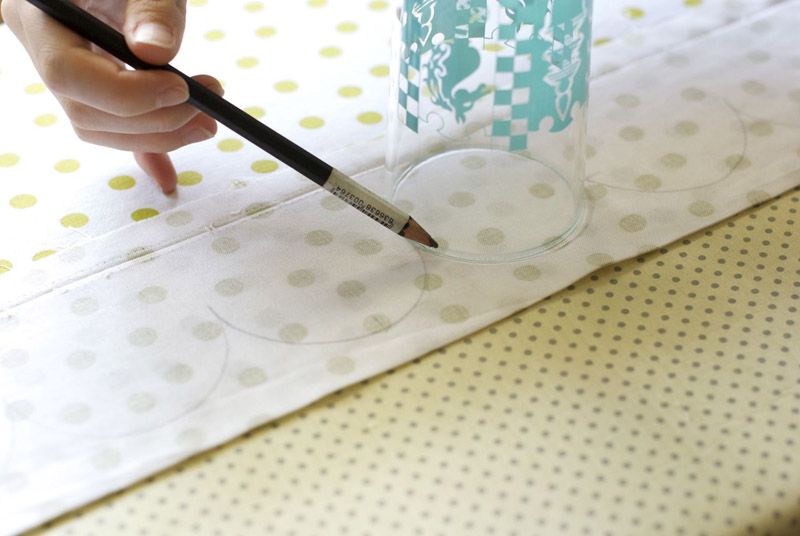
A template of the diameter of each scallop (I used a drinking glass).
Sewing Machine
Good sharp shears
optional: needle and thread for hand finishing.
optional: trim (ribbon etc.)
1. Iron your hem inside out (good faces in) about 1/2" longer than your desired finished length. This will create the front and back of the scallops.  Turn in (good face out) 1/2" of the raw end.  This will end up sewn into the hem.

2. Draw on your scallops onto the inside of the hem, using your template, with the lowermost edge 1/2" above the ironed edge.  You can keep the scallops consistent by marking the centre of your template at even intervals, or eyeball it if you feel comfortable.  The inner points where each scallop meets must sit at least 1/2" under where the hem ends on the inside, so that the turned in fabric will lay flat.

3. Cut a strip of fusible interfacing as long as the edge being hemmed, and the width of the total hem, less 1/8" to keep the sewn edge crisp.  Iron this strip onto the bad side of the outside fabric.  So, the interfacing isn't on the hem that has been ironed, but rather onto the back of the "face" of the finished piece.  This will help keep the scallops very crisp looking. 

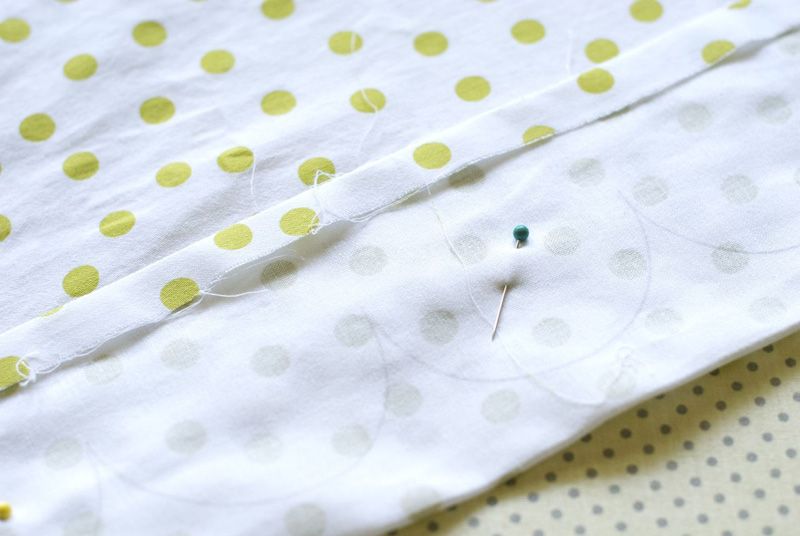
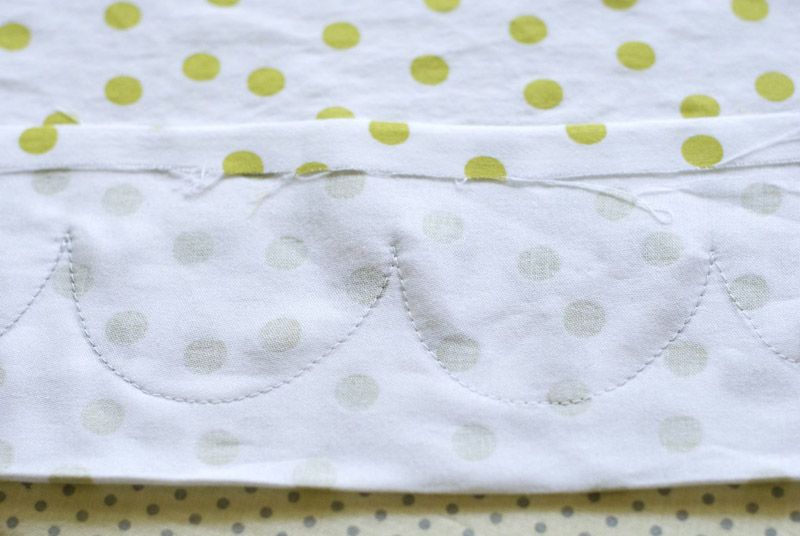
4. Pin sporadically through the scallops.  Sew the scallops using the curves drawn inside the hem earlier as your guide.  Take it slow, and stay on your line.  I like to do a little back stitch (2-3 stitches) on either side of those innermost points.  This reinforces the stitches, and adds some stability to an area that will be clipped very close to stitching.

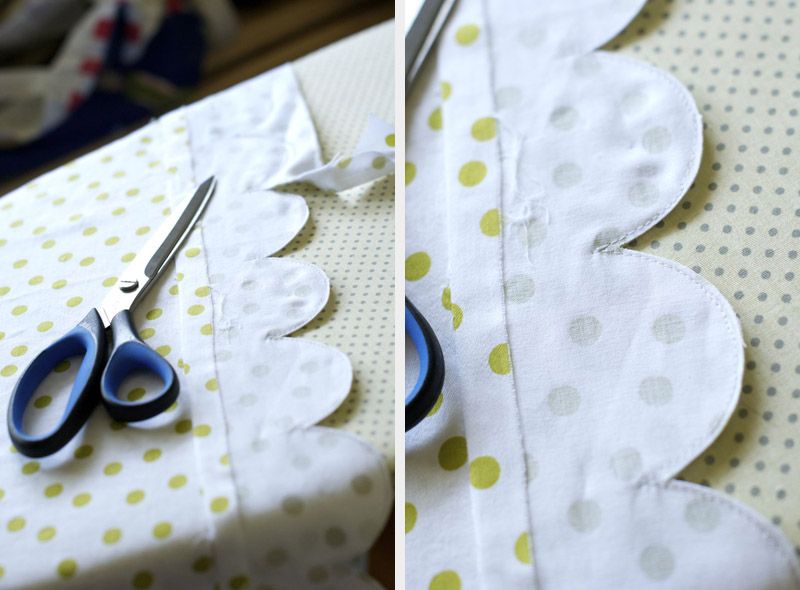
5. Trim the allowance on top of the scallops (the edge that you folded over and ironed to decide the total length.  This is the old hem, cut it away to reveal the scallops! To avoid having to clip my scallops, I like to trim VERY close to my stitching line ( between 1/16-1/8").  Be careful, it's easy to snip the stitching! In the innermost corners, carefully clip through the centre up towards your stitching line.  Get as close as you can, but don't cut the stitching! 
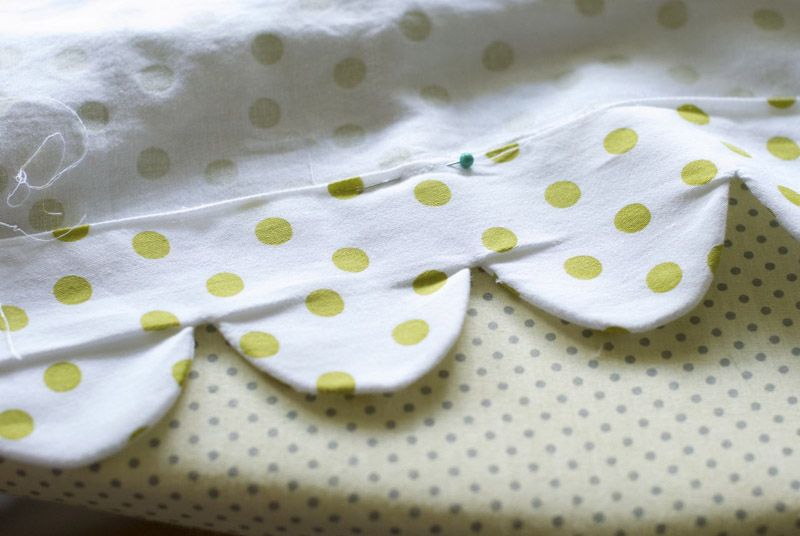
6.  Turn the scallops right side out, revealing the good side of the fabric.  Carefully shape them with your fingers, checking for any holes from trimming.  Press the scallops like your life depends on it. If you notice puckering at the innermost points when your scallops are turned inside out, it's because the stitched line extends too far down. If you backstiched these points like a paranoid maniac like me, you can snip away the first stitch of thread you see in the point.  Repress.  Better.
See how badly puckered the points are? Snipping just one thread made them sit much flatter.  See below!
7. Optional: You can topstitch the edge of the scallops to encourage them to sit as flat as possible.

8. Secure the top edge of the hem.  You can use machine stitching, but this leaves a stitching line that is visible on the face of the project.  This can always be covered with trim, of course! Otherwise, sew by hand using a pick-stitch or other hidden stitch.  

**note: as scallops are a hem, always sew scallops on edges that are already perfectly sized.  You won't be able to adjust the width once the scallops are done, so double check your measurements before you get started**

There you have it, folks.  Those steps may look dense, but that's just because I've included some advice I wish I'd had the first time I sewed scallops! The images illustrate what an easy project it is to tackle.  So don't be intimidated, get sewing! 

If you make any scallop projects, please comment with a link! I'd love to see what ordinary items you spruce up with scallops, from pants to place mats!

--Erin
Monday, 6 August 2012

My Weekend in Retro Specs v.4


This evening, on a very special long-weekend-edition of My Weekend in Retro Specs, for your viewing pleasure, my Saturday, August 4th, in photos! A photo for each hour, even! (well, mostly...)
8 am
9 am Saw one of my favourite Singer decals on my way to a garage sale!
10 am breakfast of champions / 11 am surveying my purchases of the morn'
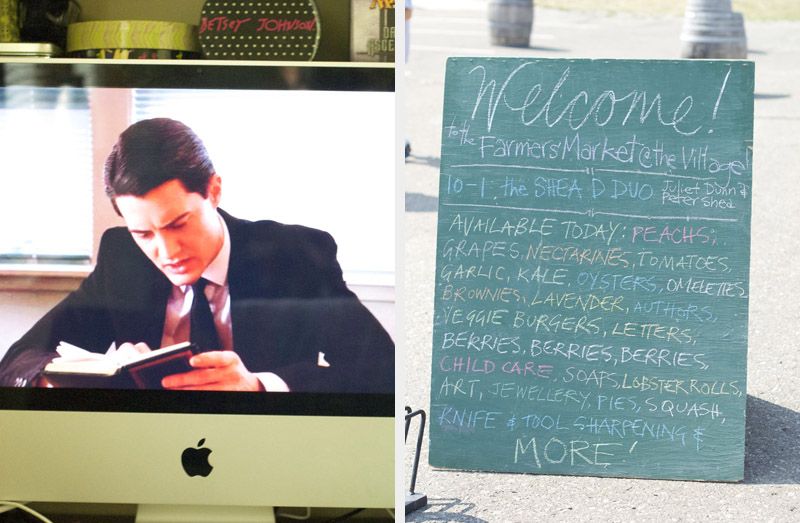
12 pm Twin Peaks on Netflix / 1 pm Farmers market!
2 pm back home with goodies for dinner and a DIY!
3-5 pm working away on a DIY (NO SPOILERS!!)
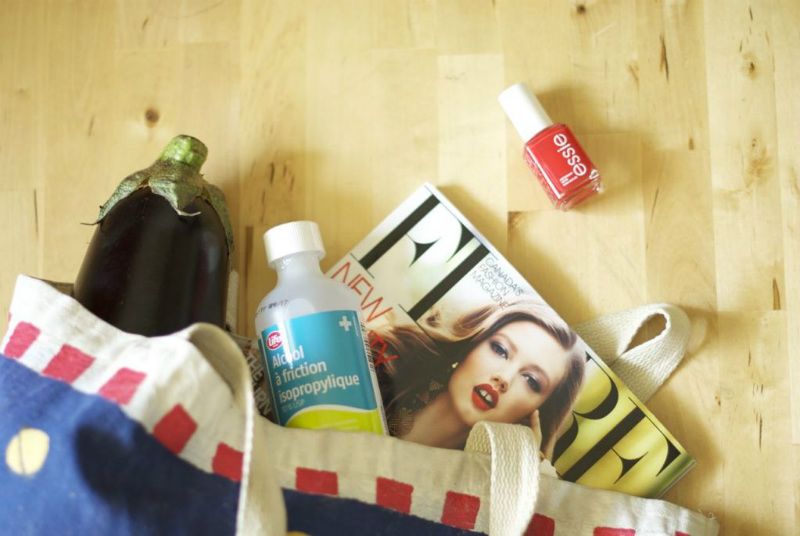
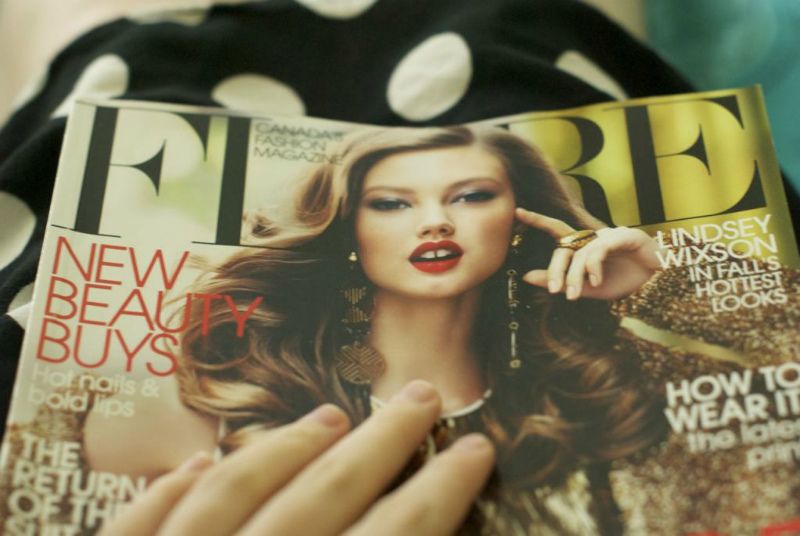
6 pm a little light reading (okay mostly just looking at the pictures, hah)
7 pm the most delicious of assembly lines

8 pm dinner time!
The rest of the evening was spent painting my nails and further developing my new found Twin Peaks obsessions. Ephraim and I are watching along together at a distance, and we're both equally enthused by how bizarre the show is.

Anyhow, this weekend was supposed to be spent at a cottage up north, but our plans fell through due to some work things. We tried to squeeze as much out of the long weekend as possible, with a trip for Indian food, going to see Total Recall (still can't believe Eph just saw the original. I mean, come on. "Get your ass to Mars!! or I guess "Get chyohr aaahss to Maaahhs!!" Oh Arnie. We also took a trip out to the butterfly conservatory today, but considering the epic amount of photos I took, that deserves its own separate post.

Oh, and not a single butterfly wanted to be my butter-friend.

Not.

One.

--Erin


Tuesday, 31 July 2012

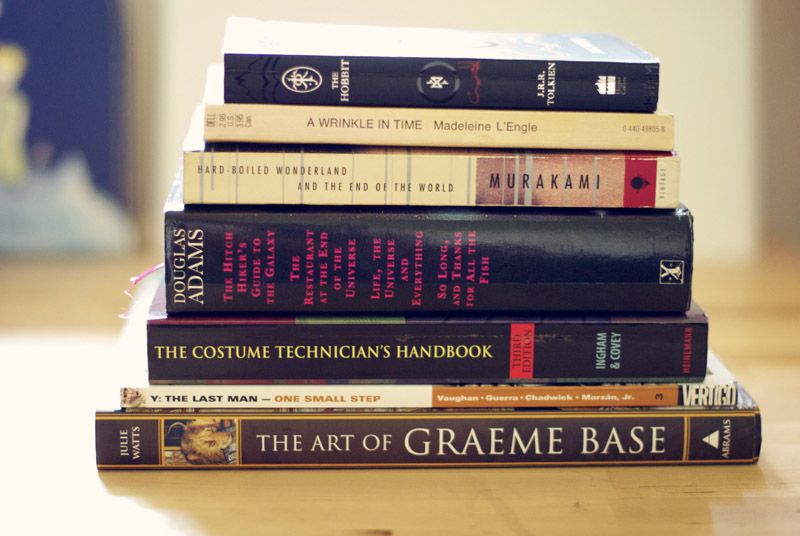
7 Books That Shaped Me


Hi all,
I wanted to take a moment today to write about some of the books that I feel have helped shape me as a person. Whether they reflected something in my life, or steered me toward a new hobby, these books stand out to me out of all the books on my shelf as the ones that are so me.
I was inspired to write this post by Becky Bedbug's "Books The Shaped Me", which was in turn inspired by a recurring feature in Elle UK, 7 books that shaped me.  I tried to par it down to 5 like Becky, but I felt like I was being too exclusive, so I'm going to go with the original 7.
Because I am inclusive.
And not at all indecisive.


Wednesday, 18 July 2012

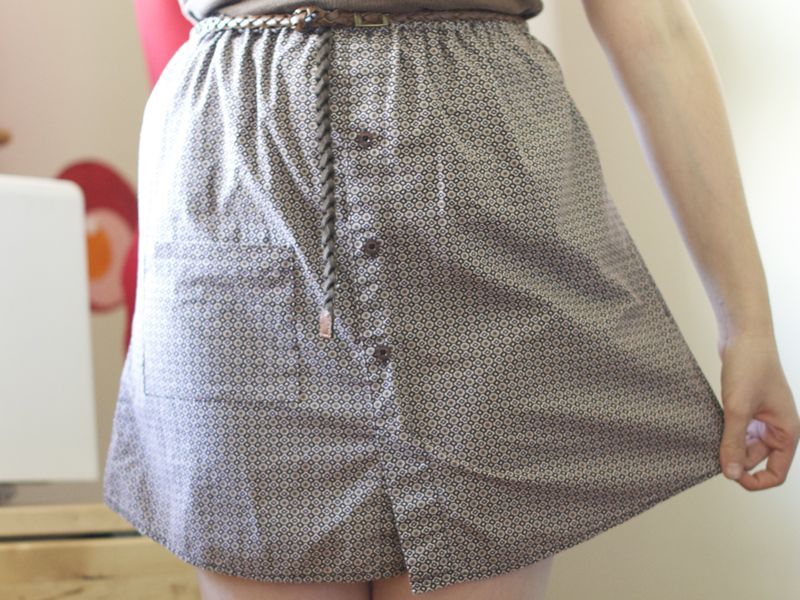
DIY: Button Up Shirt to Skirt

Hi All!

I have a ridiculously easy DIY to share with you today! 

I found recently that I have tons of fabric laying around, without projects to their name. Likewise I had very few skirts in my closet, so I thought, why not solve both problems at once? So, I grabbed this shirt that was collateral damage from having to thrift for supplies for Ephraim's Christmas present with Ephraim (sneaky sneaky!) and made it into something useful!