Showing posts with label Cute. Show all posts

Friday, 26 April 2013

A Very Crafty Community: Cut Out + Keep

For those of you who live only to scour the interwebs for the coolest and craftiest of websites, this will be old news, but for those of you with other tasks that must get done (and really, I'm sorry, because all of those other important things are about to go straight out the window) I'd like to introduce you to Cut Out + Keep.

Cut Out + Keep is an online community where people share their crafty tutorials in categories such as cooking, sewing, papercrafts, and crocheting (but it doesn't stop there!).  I first discovered Cut Out + Keep about 7 years ago, sitting on my tiny dorm room bed using Stumble Upon (THE internet discovery tool, for those of you who do enjoy a little scour now and again) into the late late hours of the night, looking for something to DO.  And from that moment on, I knew I'd never be bored again (materials willing).

What I didn't know, or rather, haven't bothered to pay much attention to - I'm there for the crafts.  What do you mean I can whiten my teeth with clove oil?! - is how much the community has grown since I first happened upon it so many years ago.  Cut Out + Keep is now in its 10th year and boasts over 120,000 members and 50,000 projects; not bad considering the community started as the personal craft blog of founder Cat Morley.

Cut Out + Keep was also recently  featured by google in a video promoting their advertising service, that offers an amazing look around Cat's creative space, and a little information behind the business side of Cut Out + Keep.

When Cat emailed me to tell me about how much Cut Out + Keep has grown over the last few years, I was a) Super flattered to be on her radar (I mean, guys, WHOA) b) SO inspired by how many individuals are getting into crafts in a serious way.  I think that resurgence of the cottage craft industry is incredible, and websites like Cut Out + Keep make people feel empowered to do things themselves, try something new, and maybe even find a new passion.  Plus, I think that some healthy competition in capitalism is really important (and serves to save us all a little bit of money, as well as offer up an abundance of choice).  So, that's a win, win, win, win... right? Right!    
If you were totally enchanted by the chalkboard bunting in the video like I was, Cat was also kind enough to send along a tutorial on how to make your own! See? Empowerment! Crafts! Joy for all, and bunting for every occasion! (I'm excited.  Sue me)  
1// Start by cutting triangles out of thin wood. We used some scrap shipping wood that came as packaging with a piece of furniture. You can buy wood triangles in craft shops, if you struggle to find a piece that works well. You'll need about 12 triangles to be able to write a nice long message.
2// Paint your triangles with a coat of chalkboard paint and leave to dry.
3// Paint with a second coat of paint and leave to dry again.
4// Punch a hole at either side of the top of the triangle. My wood was thin enough to use a hole punch.
5// Loop some string through the hole.
6// Secure at the back with a knot and then string through the second hole, securing with another knot. 
7// Leave a small length of string between each triangle and continue threading them all on to the string.
8//  Now the fun part. Write on your bunting with chalk. I used a ruler to give mine a neat outline, but you can decorate yours however you like!
9// Hang up and admire your handy work!


Umm, so, that was awesome.  I would love to make this for my dream studio! Well, at least it would start off there, but since this bunting can be rewritten for whatever you please, I could see it making appearances at birthdays, major holidays, Wednesdays, you know, the works! A big thank you to Cat again for sharing this super sweet and even more versatile DIY.  I mean, can you imagine this with coloured chalkboard paint?! It would be unstoppably adorable.  The best kind.

And as if that wasn't enough, Cat even graciously agreed to answer a couple questions I had for her about her creative journey. 

What was the first craft that you made a significant hobby? Was this sparked by a particular project?
There wasn't one particular craft or project that sparked my love of crafting. I love trying my hand at different types of crafts and learning new skills, so my projects have always been a big mix. My two favourites are definetely sewing and jewelry-making because they're crafts you can show off. I love wearing something that no-one else has and it’s so satisfying being asked where you bought something that you’ve made.
What has been the most exciting part of seeing your crafting community grow?
The growth of the site has been so gradual that we sometimes don't realize how big it's become until we hear our friends tell us about people they've met in far flung countries that are members. It's so exciting to wake up every morning and see all the new projects that have been added and I absolutely love it when someone posts their own version they've made of one of my projects.
If you could impart any advice about this journey to your high school self, what would it be?
I'd tell myself to have confidence and keeping doing the things I love. I was never sure what I wanted to be when I left school, so I spent a lot of time worrying about that. Luckily, I kept doing the things I was passionate about and enjoyed the most until that became my full-time job.
What motivates you to get creative? Be it a phrase, feeling, motivational-kitty-poster or what have-you.
I have scrapbooks and Pinterest boards full of ideas and inspiration and recently I made a set of motivational magnets (http://www.cutoutandkeep.net/projects/motivation-magnets) for all of the creative activities I sometimes neglect, so I can add them to the calendar on my whiteboard and remember to work on them when I get a chance.


A big, big thank you again to Cat Morley for this exciting DIY, and for the inspiring words.  I don't know about you guys, but I am feeling good and ready to create something fun this weekend!!
--Erin

Monday, 28 January 2013

Like an Animal in a Cage

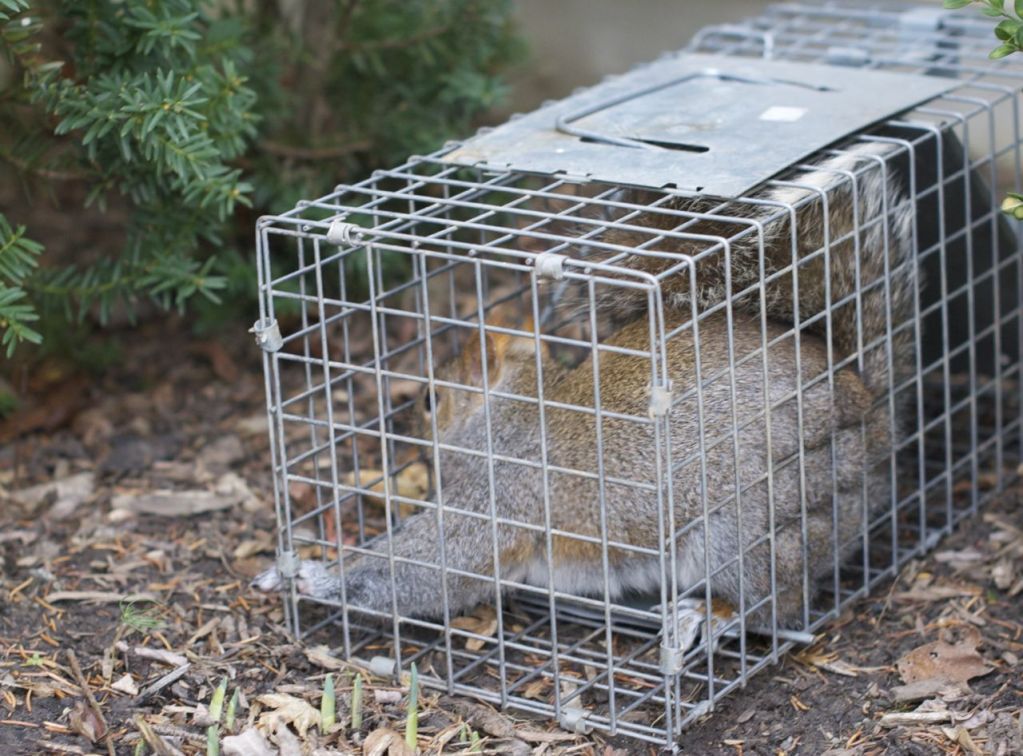
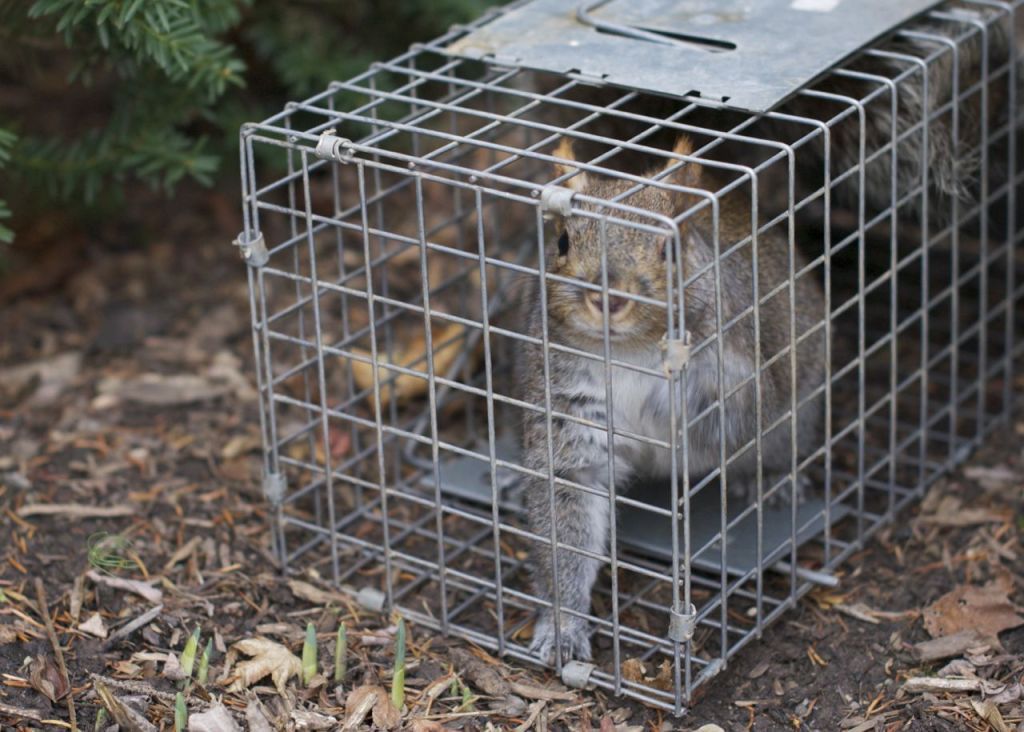
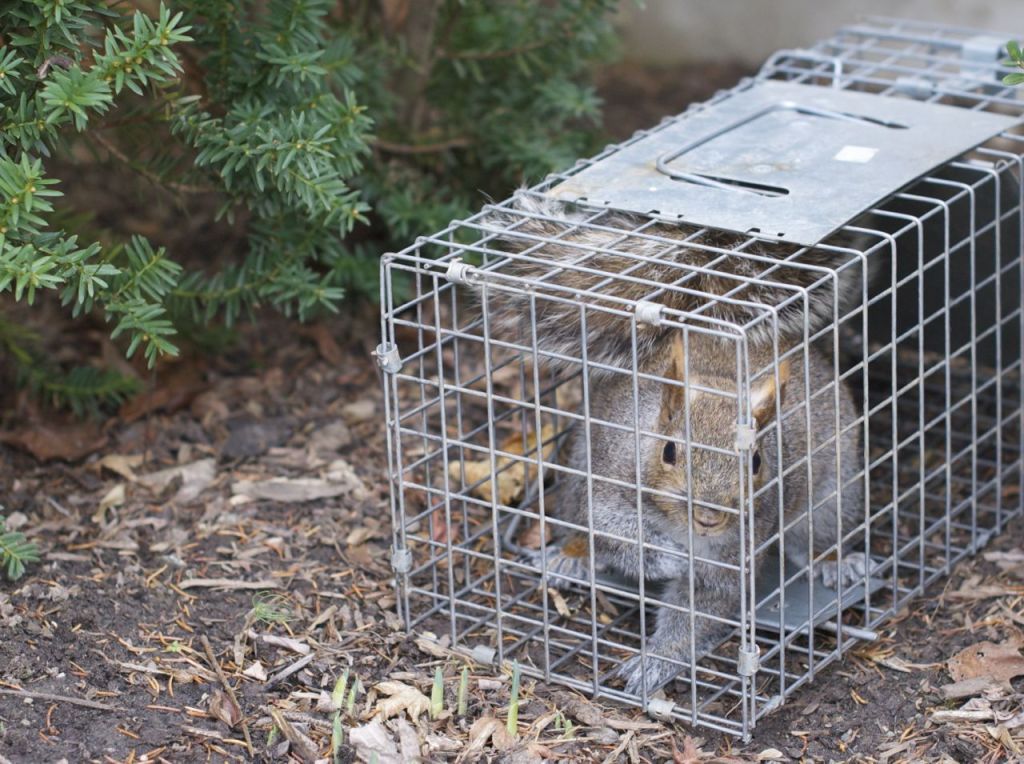
On Christmas Eve, I was on my own in Niagara-on-the-Lake.  I enjoy those days alone when I don't have work, as it is very seldom that I have time to spend in whatever way I please.  I headed in to town, made a stop at Balzac's (which I wrote about here), did a little grocery and shoe shopping, and headed home on a different route than normal.  I intended to swing by one of the cemeteries in town (those photos are coming!), and having been out for a little while longer than I had planned, the batteries on my iPod ran out.  This turned out to be fortuitous for me, as walking down the street I heard the very angry chattering of a squirrel I would have totally missed otherwise.


This fat little fellow had obviously been living in the walls of this gorgeous old house. They had set up this little cage to trap him when he made his (final) exit, so he wouldn't do any more damage to the home and he could be dropped off a short ways away.  He was very displeased about his situation, and perhaps angrier still about me taking pictures of him while he was stuck in a cage... but he was so fluffy and angry and I just couldn't help myself.  


So thanks little squirrel for posing for me... not that you had much of a choice in the matter!  Squirrels can be a big nuisance and do a fair amount of damage on old homes, and as some of the homes in town are as much as 170 years old, these little critters do have a habit of getting in where they are not welcome! That being said, I see a lot of fat happy squirrels around, so they're getting by just fine, despite whatever temporary incarceration they may endure.  So there's a bit of fluffy goodness to start your day :).
--Erin (and Mr. Nutters the Squirrel)

Wednesday, 5 December 2012

O.O.T.D: Marigold Dots, Gold and Blue

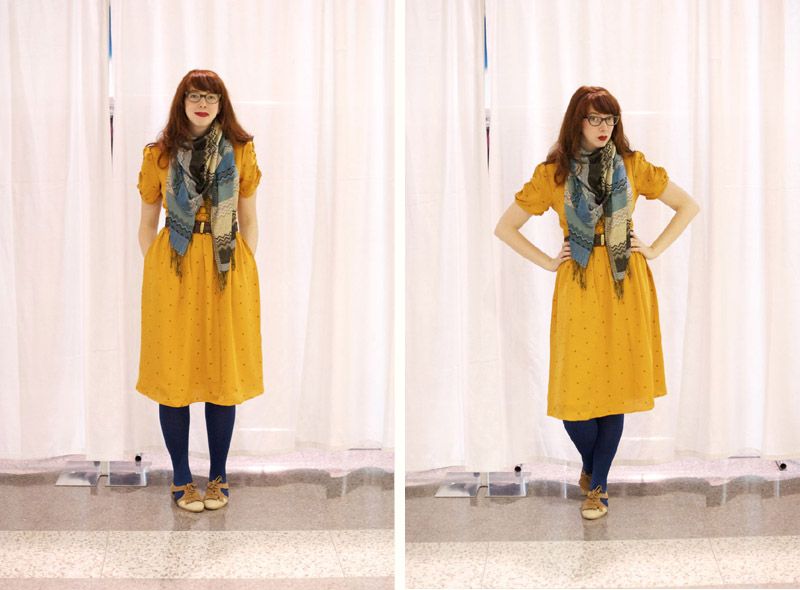
I know you were all just dying to see how I'd style my Marigold Dots dress from eShakti, hehe! Naturally, I ordered the dress about 3 weeks ago when it was still rather unseasonably warm out, and now it's a bit too cold for the deep V neckline of this frock, so I cozied (and covered) up with this blue and gold scarf! I love how the orange tones of the dress look with both the blue and the gold, so I have the feeling these may be worn together again.  I was also sporting a cropped acid wash denim jacket, but I ditched it for walking around the One of a Kind Christmas Craft Show, where these photos were taken.  
I was so happy with how light and swishy the dress felt on, and how nicely the silk falls.  Oh yeah, you thought you could only get polyester dresses from eShakti? Let me make your day.  This dress is a 100% silk outer shell, and it feels wonderful.  They also stock lots of cotton garments (including a cotton poplin that looks quite nice!), so don't think you have to settle when it comes to the fabric.  Never!
There was awkward vogueing.
The Deets:
Scarf: Garage Sale Find 
Marigold Dots Dress: C/O eShakti (style sadly no longer available!)
Belt: Church Sale
Tights: HUE
Cutout Brogues: Jeffrey Campbell
Glasses: Vintage, Kingpin's Hideaway

I finally got around to getting my prescription put into these sweet frames this past weekend! I bought the frames at Kingpin's Hideaway (that's in the basement of Cabaret, my favourite vintage shop in Toronto) during Toronto's Vintage Crawl a few weeks back.  The vintage crawl was great! Stores open late, special discounts, cocktails, and I just happened to be in town that night for an appointment the next day.  Perfection. Plus, these glasses are really great for boring into your soul.  Don't believe me?
--Erin

PS. Don't forget, eShakti is offering 25% off everything in store until December 7th, if you're looking for a new frock for your holiday parties!

*** Dress Provided by eShakti for review.  All words and opinions are my own, and are completely honest. It's nice to be able to share a cool thing once in a while!***  

Monday, 26 November 2012

Ships Ahoy: Navy White and Red Life Preserver Print


*** First, a quick notice.  I have made the blog more narrow for easier viewing for those with smaller screens.  All images can be clicked to enlarge.  I am going through the archives to do a rough resize, but it will take some time.  Please leave a comment if you see a particularly egregious formatting error. Thanks for your patience!***

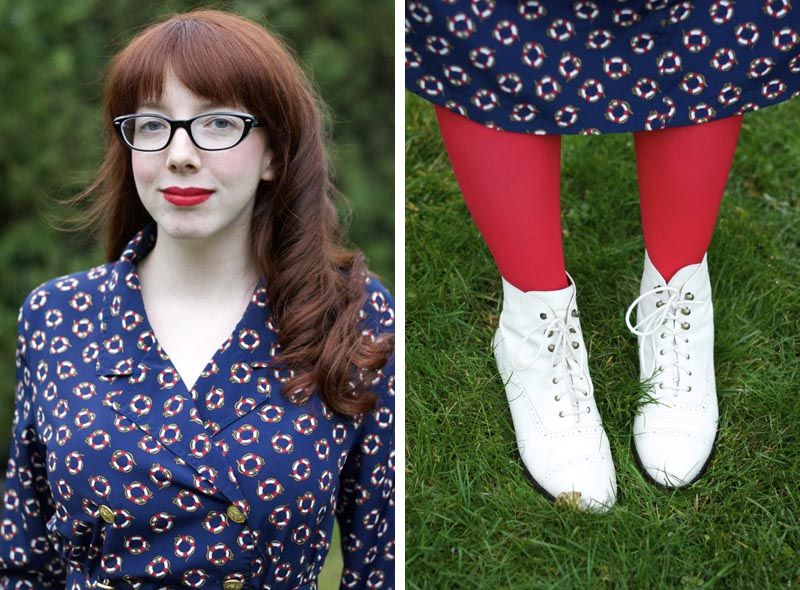
I finally took the plunge and dyed my hair dark! I have always envied those girls with dark beautiful auburn hair, and now I walk among them. I was going on two years since my last professional haircut, which is obviously really long overdue. I can't believe how light my hair feels. Or how confident I feel to style it! Turns out I had no idea what to do with my hair simply because there was too much of it to really do anything with. Well, unless I wanted a style evocative of the trends of the Victorian lady, which, no. Point is, I am so so happy with my new hair. The cut and colour look amazing with my new frames (not pictured, I am taking them to get my prescription put in next weekend), and I am really pumped to do a bit of retro styling in the coming weeks. Exciting times, friends! Okay enough blabber, more glamour. (HAH)
It was snowing and I was FREEZING
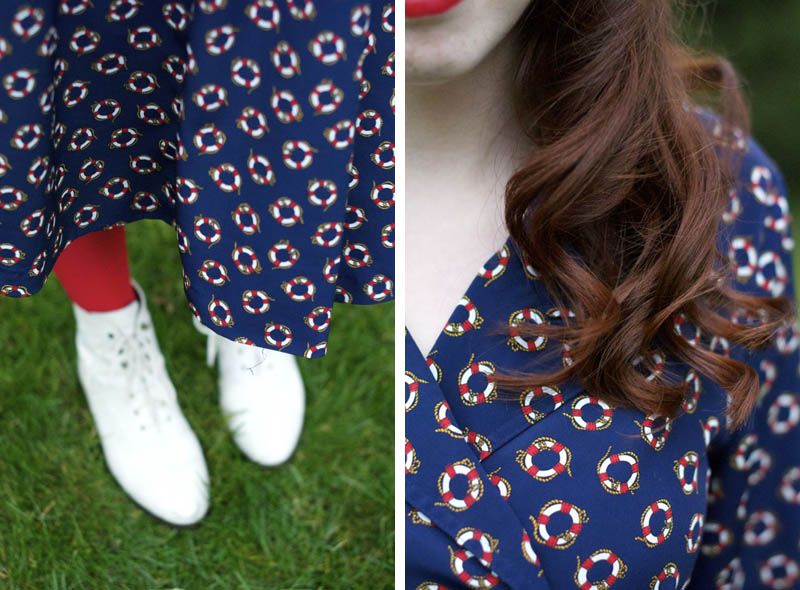
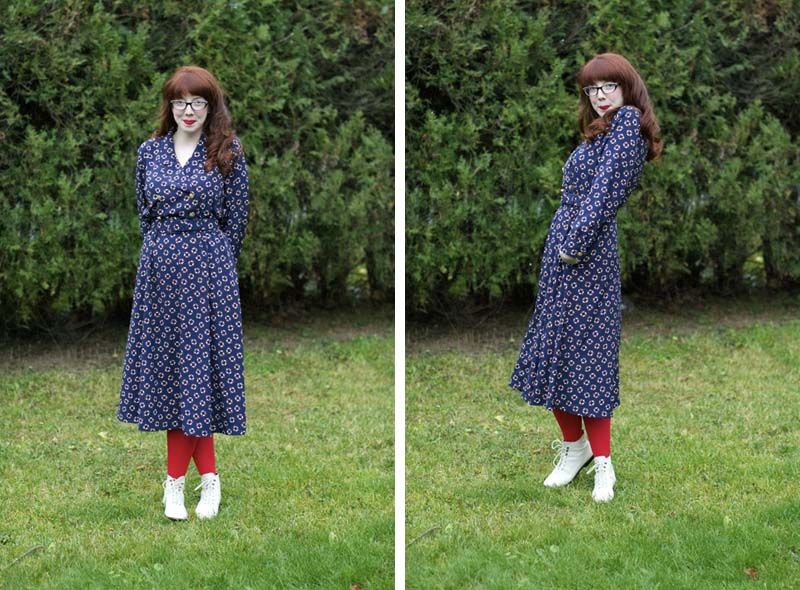
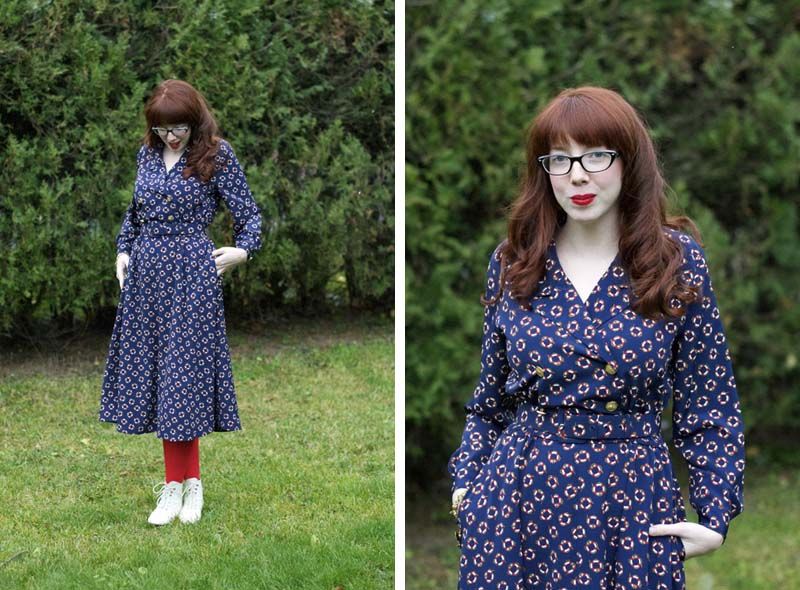
I picked this dress up from the Goodwill last week, and took a bit of a gamble on it. I basically had to be in and out of the store pretty quick, so I bought it without trying it on. It's a petite 10, neither of which are sizes I wear, but it actually worked out pretty perfectly! To be fair, some of that may be because I can cinch the waist in with that amazing self-fabric belt, but all in all I'm calling this a win. And I'm glad it worked out, because thrifting is getting expensive! All the dresses I saw at the Goodwill were marked at $10 (well, $9.99 to fit in with their weird palindrome pricing). It's not so easy to pick up whatever looks interesting anymore, but on the same note, my closet is way too full already. I suppose I'll have to learn to be more picky, hard as it may be! Have you found thrifting in your town to be becoming more costly, too?

It has pockets!
The Deets
Nautical Print Dress: Thrifted
Red Tights: Topshop
White Leather Ankle Boots: Vintage
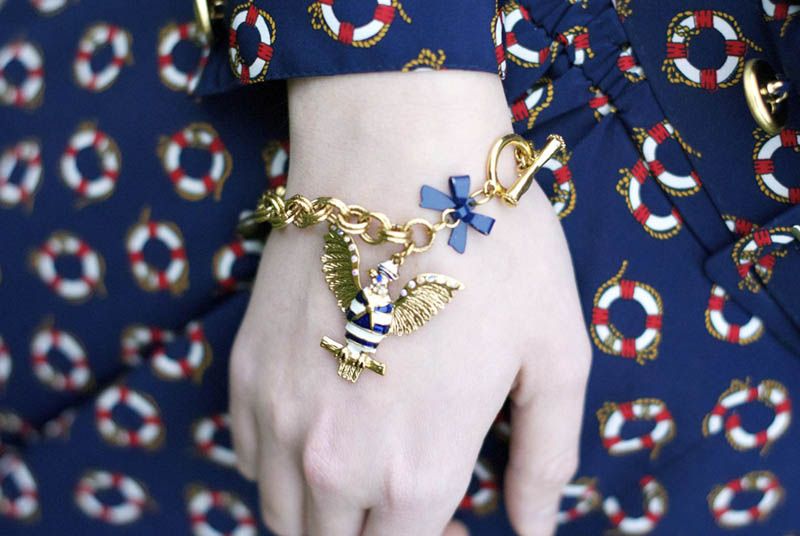
Bracelet: Betsey Johnson (gift)

What hair colour have you always wanted to try, but never worked up the nerve? Give it a shot, it's only hair!!

--Erin


Friday, 26 October 2012

O.O.T.D: Polka dots and Brown Leather Booties

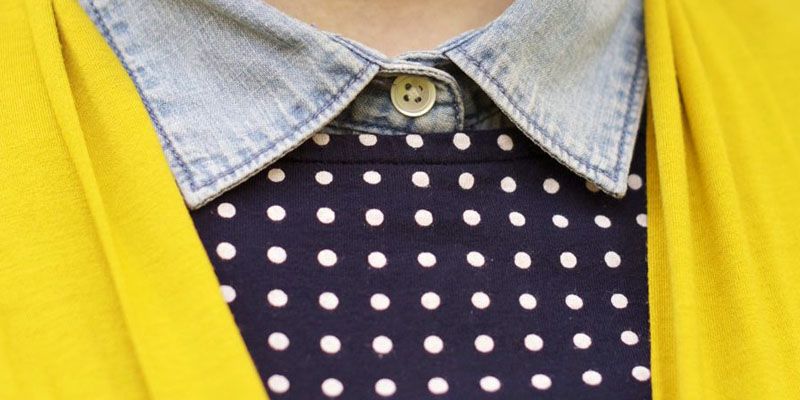
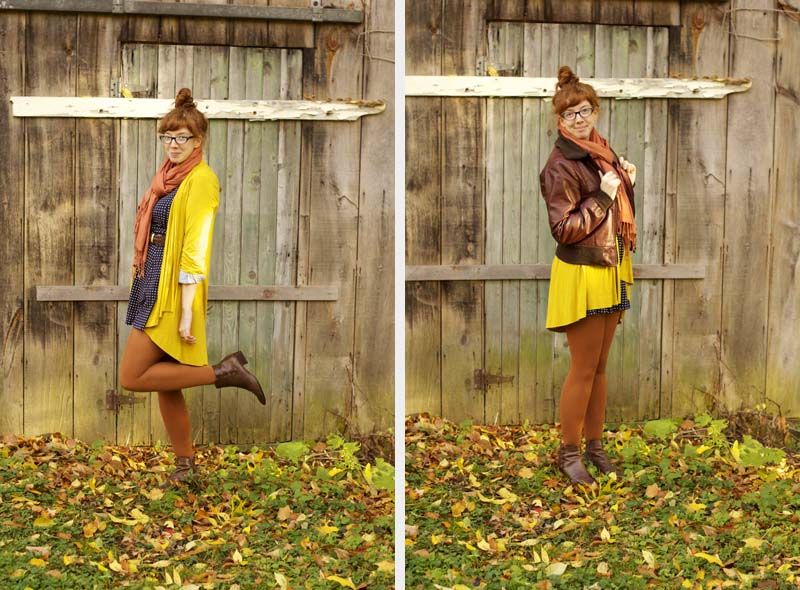
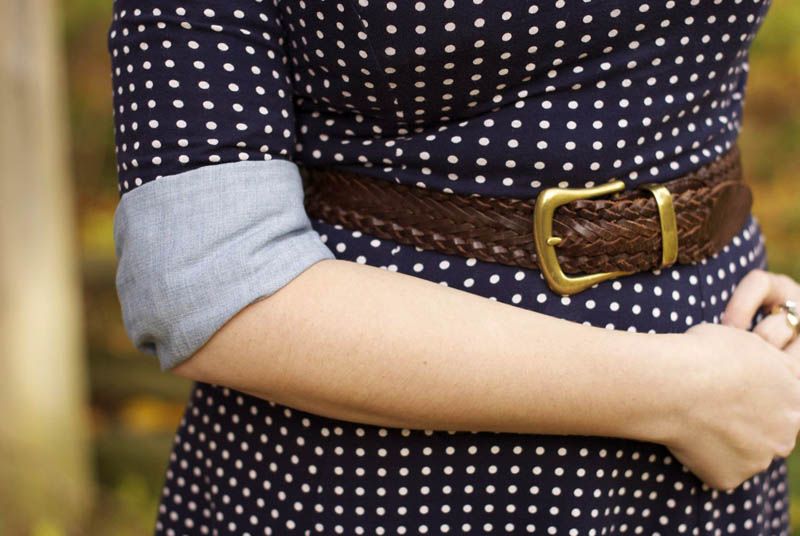
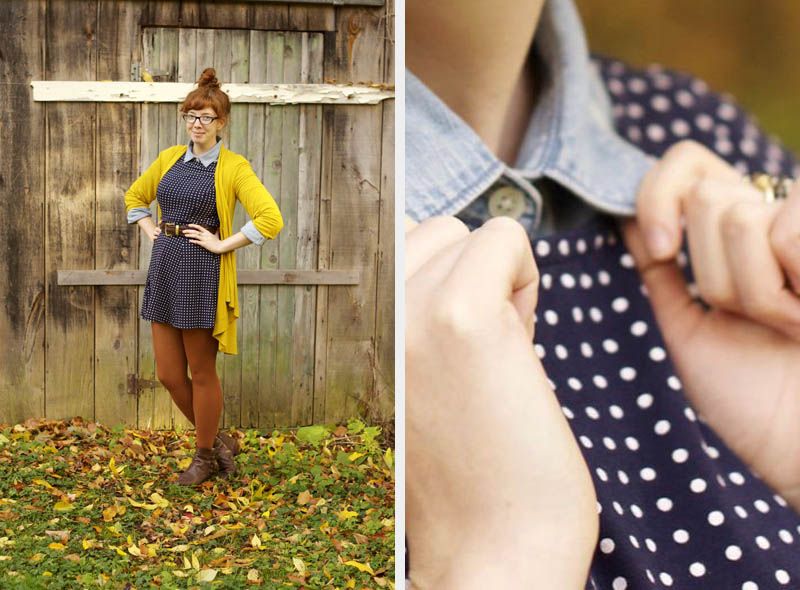
I wore this little outfit to work last week.  As we go into fall, I'm looking for more ways to layer pieces to make them last.  Tights are always a good choice, and I need the opaque ones here because all topshop dresses seem to be very short.  Hence pairing it with a nice long cardigan, so I still looked very "covered up". 
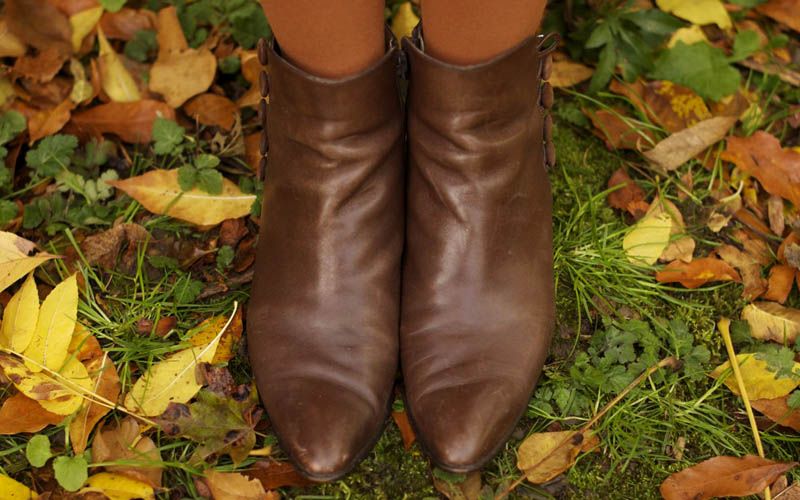
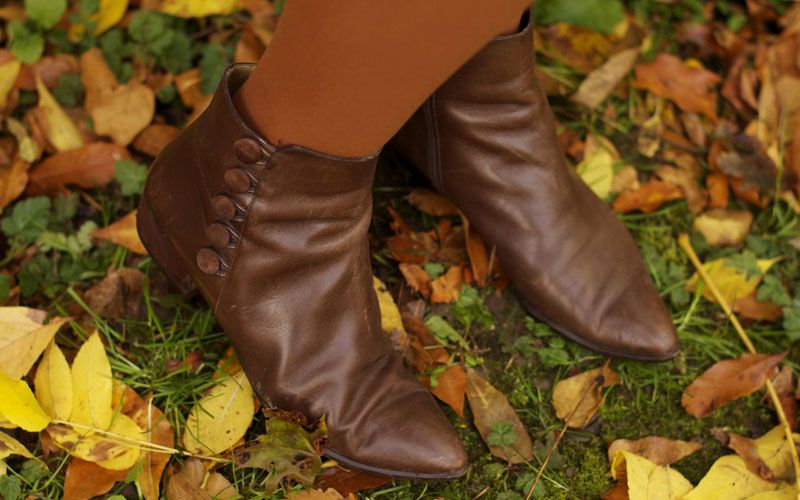
I love these boots so much.  I ended up going back for them toward the end of the day at the Toronto Clothing Show a few years back; the soles were in bad shape and the price was pretty high, so I came back later to see if she'd budge on the price a bit.  I still haven't taken them in to get fixed, but they are needing a bit of TLC. One of the cute buttons popped off, but I think I may be able to make my own replacement microsuede covered button.  I'll get around to that...sometime.  
The Deets:
Polka dot dress and tights: Topshop
Cardigan: Macy's, unknown brand
Bomber Jacket: thrifted
Booties: Toronto Clothing Show

All these photos were taken by Ephraim.  He's getting pretty good with the camera!! We were both totally excited about this background, too.  It's the barn of an abandoned house down the street from me.  There's also the full brick house, and a shut well.  Supposedly it has caught fire several times.  Creepy!

--Erin
Tuesday, 23 October 2012

Embracing my Retro Kitchen

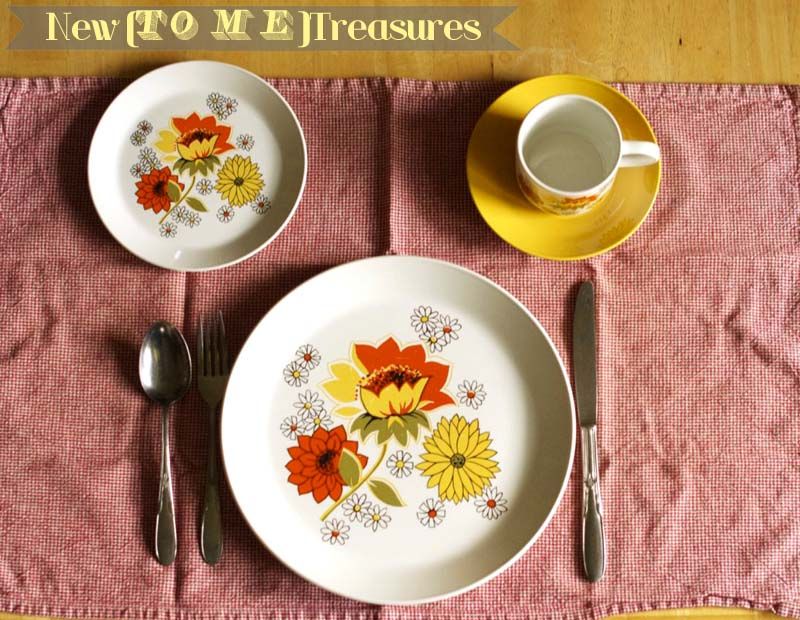
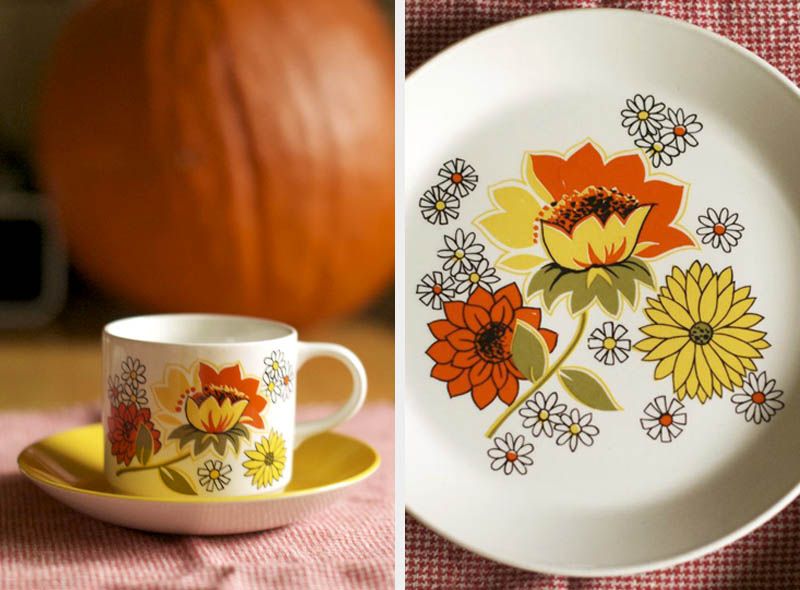
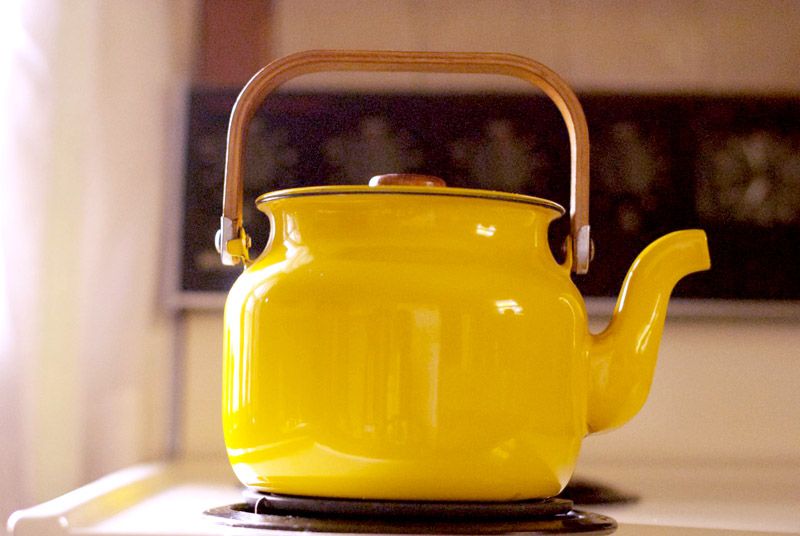
Value Village was very good to me this weekend.  Not only did I get what I needed for my halloween costume, but I also picked up 4 place settings worth of the greatest dishes! Even better, there are cups and saucers to match.  But even better than that, I also found a metal kettle that looks charming with the set.  My house is very dated, and there's not a lot I can do about the decor.  So I've tried to embrace the 70's nature of the house, despite normally being more of a 50's or 60's girl.  The print on these plates has colours that can fit into either era, so they work in this kitchen and will hopefully work in one I have more design control over too! 

Speaking of design, as you can see I tried out a couple new fonts in this post.  I have been toying around with some design changes, including the fonts.  What do you think? Yay or nay?

--Erin
Thursday, 6 September 2012

O.O.T.D: Key Lime Pie

We tried out a new location for photos; turns out it's not very heel friendly!!
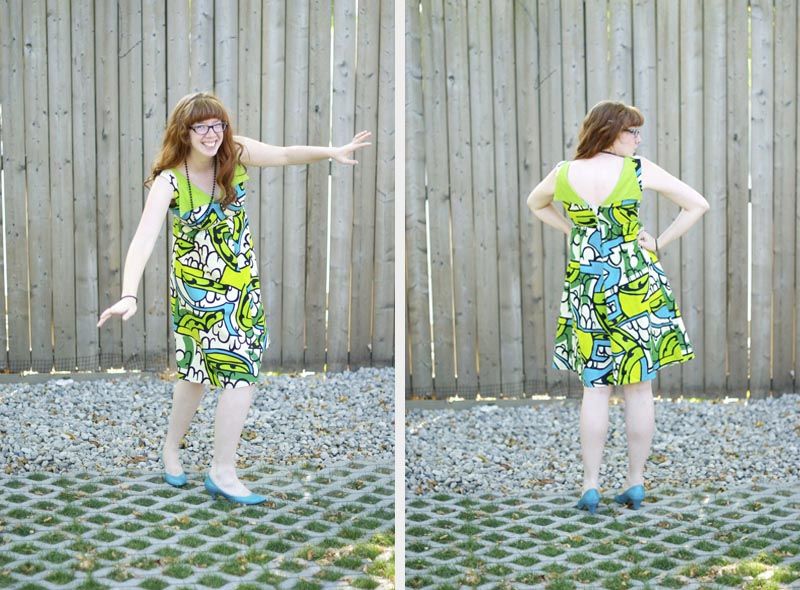
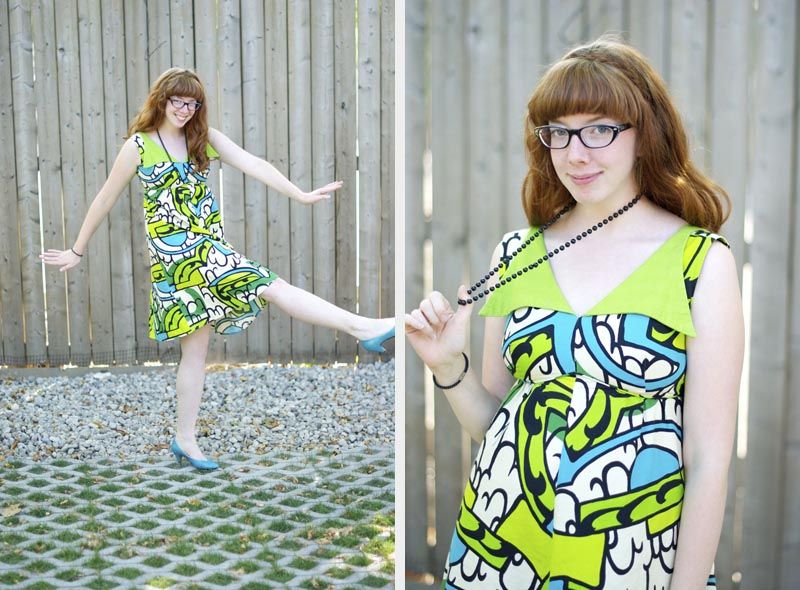
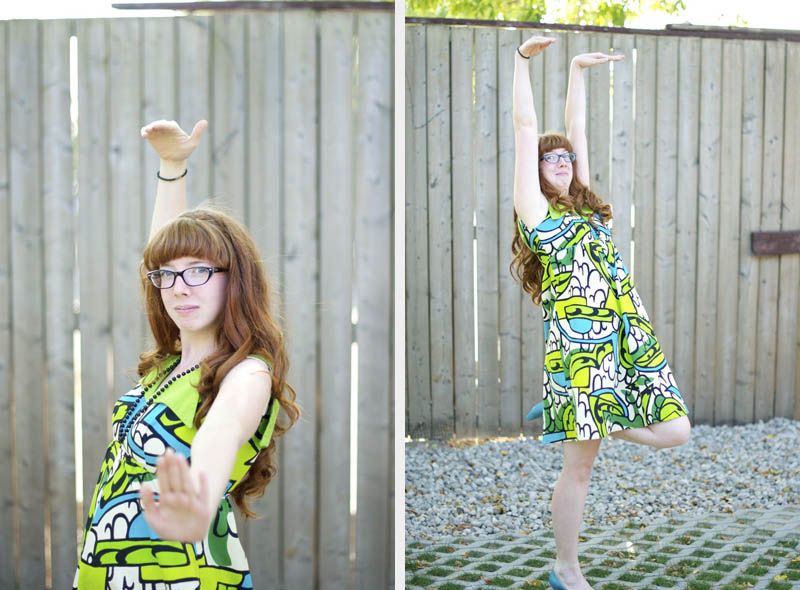
I celebrated my release from the paint shop on Saturday and wore this little ditty.  I picked this dress up back in April, at King Pin (in the basement of Cabaret) in Toronto. Though King Pin specializes in men's vintage, I have found a couple pieces there for myself.  When I saw this dress, I knew it would be perfect to wear to the opening of Misalliance, which was set in the 1960's.  It also happened to be perfect for lunch out at The Pie Plate, a restaurant and bakery in Virgil that I love.  It may be September, but summer ain't over, y'all.


 The Deets:
Dress: Vintage, King Pin
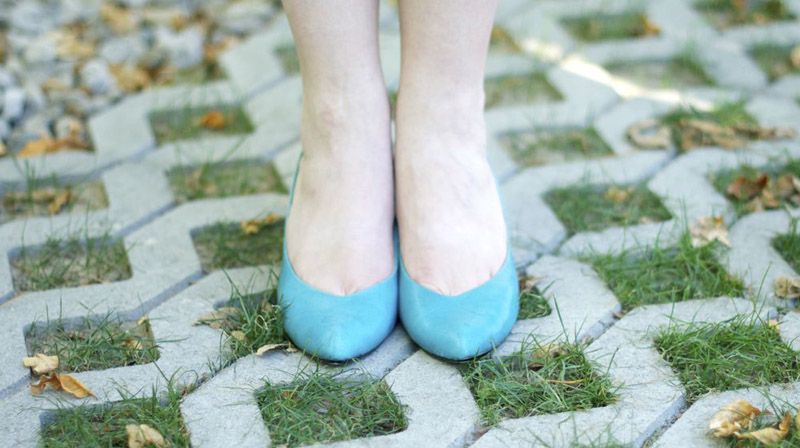
Shoes: Jeffrey Campbell
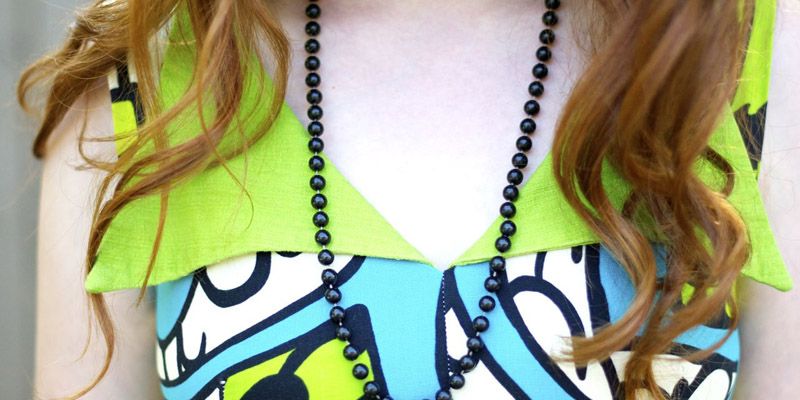
Necklace: Vintage

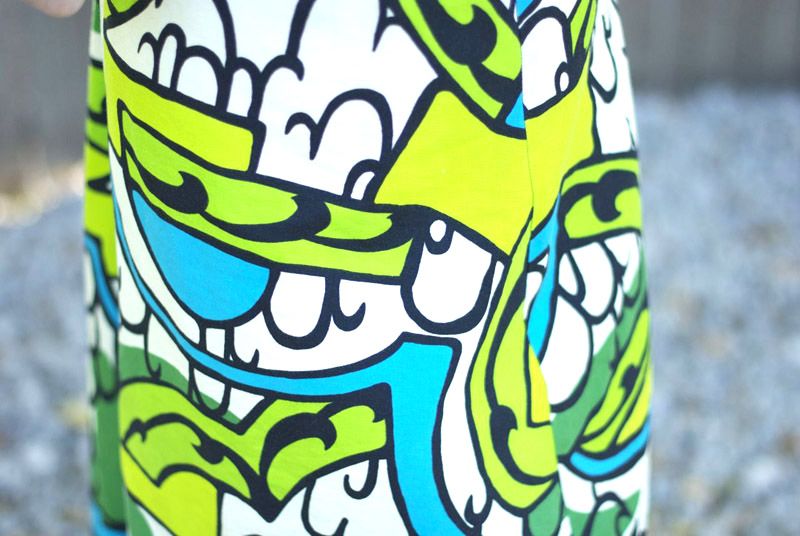
I just love the colours, pattern and style of this dress! I guess that's everything about it, isn't it? Okay, I don't love the zipper, and I'm planning to replace it.  Then, it will be perfect. Perfect I say! It's just so darn summery!
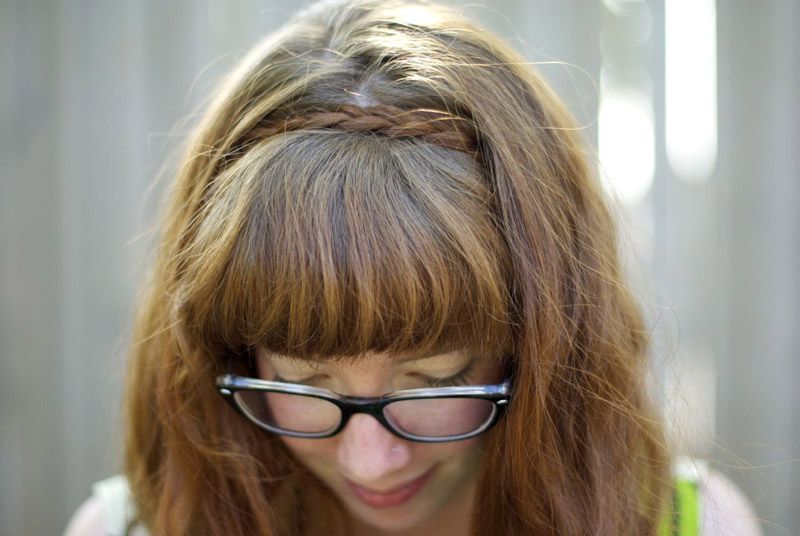
As you can see, I also attempted to style my hair, for once.  I wore my hair short all through high school, and though that was some time ago, I just never really learned how to style long hair for day to day.  Most days I have to keep my hair up in a top knot because of work, anyway! But my hair is so long, I'd like to be able to do something nice with it!

Anybody have hairstyling videos or blogs that would be helpful? I'm apt to just let nature take over.

--Erin


Tuesday, 28 August 2012

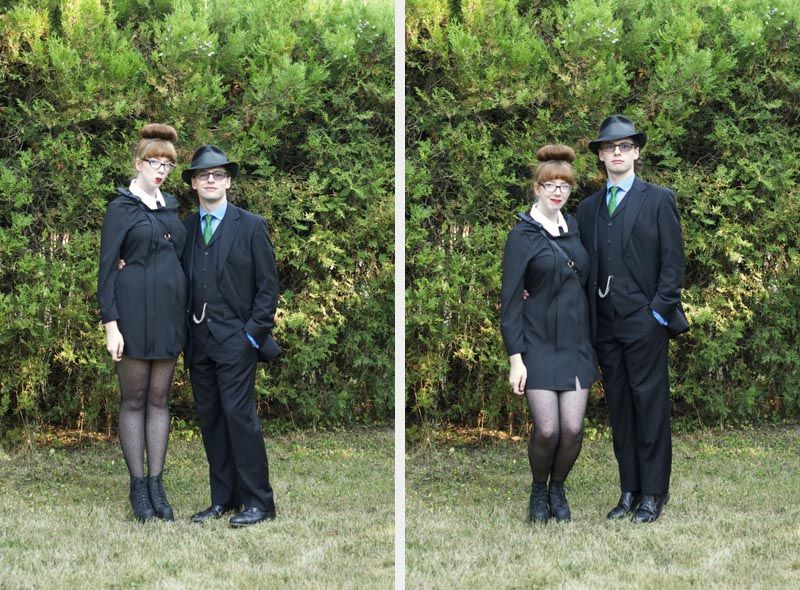
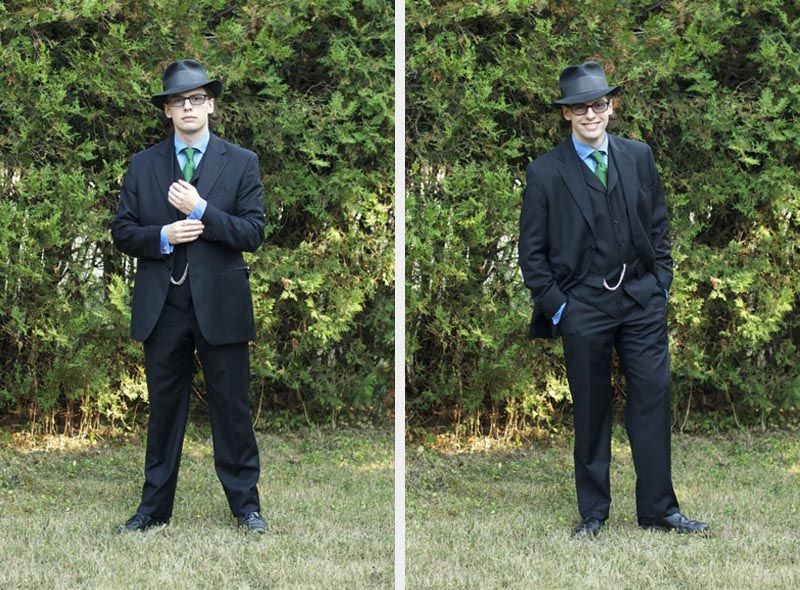
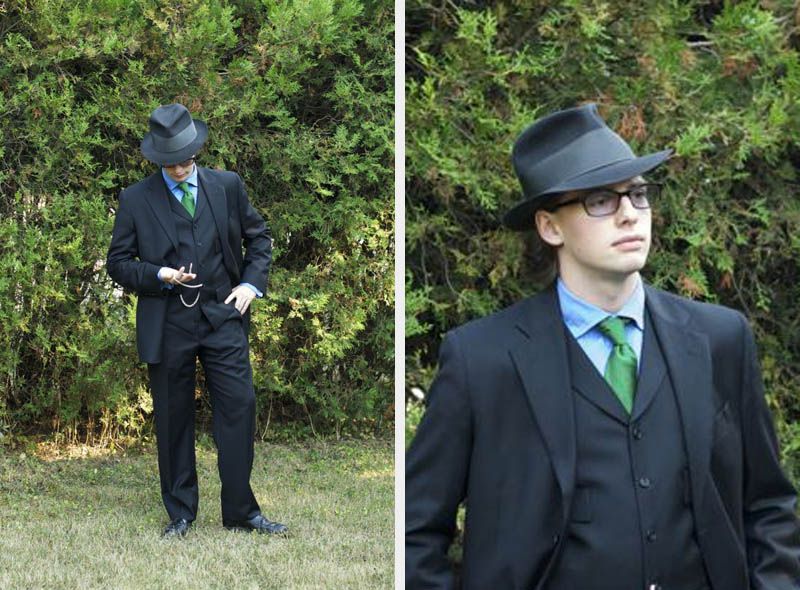
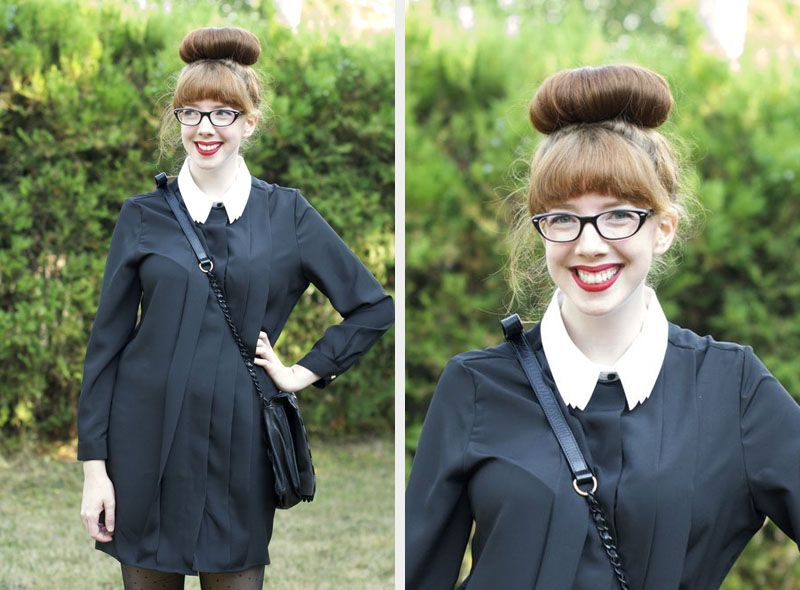
O.O.T.D: His and Hers - Anniversary Edition


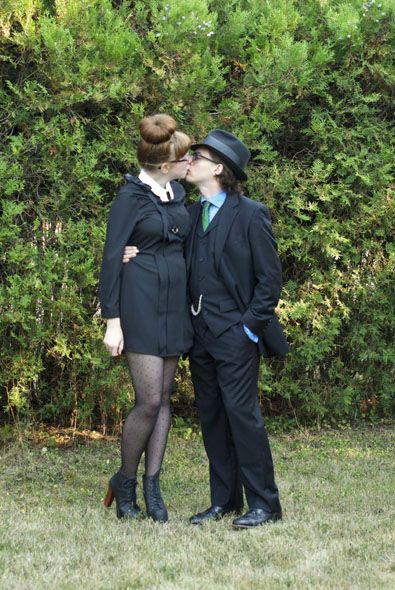
Happy Tuesday! There's no Retro Specs this week, as the fun part of my weekend relates nicely to this here outfit post.  This Saturday, Ephraim and I celebrated our first anniversary of dating.  We opted for going out to a nice fancy dinner, and then went to the drive in cinema! We wore these swanky outfits for dinner, then jetted home to change into some shorts and t-shirts for the movies.  I decided to leave my hair for the movie though, since sightlines aren't such an issue at the drive in.  One of the girls working the concessions said I looked like a model.  Aw yeah!

The Deets:
Hat: Vintage Dobbs, 1930's
Shirt:Hackett London
Tie: J Crew
Suit: Harry Rosen Coppley, made to measure
Shoes: Vintage
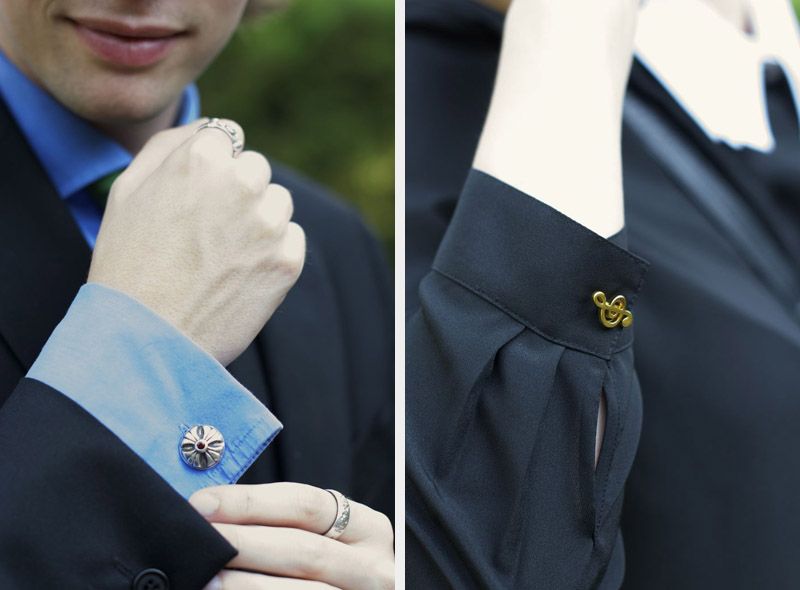
Cufflinks, watch chain and Rings: Paradigm Designs


Flyaways are a way of life, man. And I am over the moon about this triple collar.  So sharp!
The Deets:
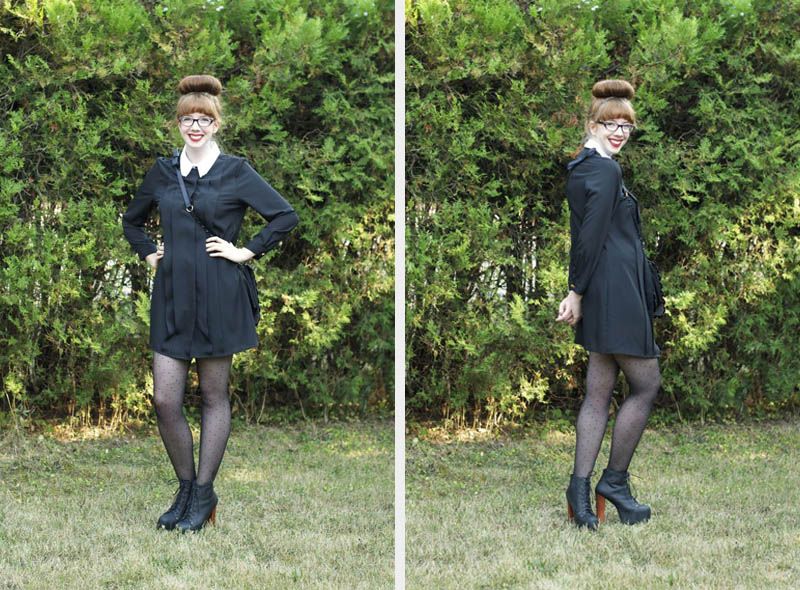
Dress: TBA (To Be Adored)
Purse: See By Chloe
Tights: Topshop
Shoes: Jeffrey Campbell "Litas"

I finally acquired a pair of Litas, after much hemming and hawing.  I'm not really much of a heels person, but I found myself wanting a pair of shoes that would look - and make me feel - like a total bad ass.  I tried on a similar pair of shoes at Topshop and BAM! It was love.  But it was not meant to be, as they were missing the left shoe in my size.  Yes, someone had made off with the right shoe of my pair.  A few weeks later I tried on the Litas, felt that wash of love again, and ordered a pair in my size.  Weeks later still and now those babies are mine! I can now wash my dishes and do my laundry like a proper bad ass.  It's awesome.  Plus, these shoes make me huge.  Like 6' tall kinda massive.  Ephraim and I are about the same height and in these puppies I look like a bloody Amazon.  But with both breasts.  Maybe that's why I'm crap at archery? Let's say it is.
Gratuitous kissing photo is gratuitous.  Deal with it!
--Erin
Monday, 20 August 2012

D.I.Y: Drafting a Sweetheart Waistband

I personally think that waistbands are an opportunity for flair and character that is lost on modern clothing.  Pants and skirts end simply, bluntly, with no attempt to reinforce the aesthetic of the piece, except perhaps through the fastenings.  Boring!
So today we're looking to the fitted waistband, and how we can add some interest without detracting from the rest of the skirt, and still creating a nice trim waist!

This DIY does not cover sewing techniques for the waistband, we'll get to that for later.  I just hope this encourages you to think about waistbands differently when you are designing your own pieces to sew!

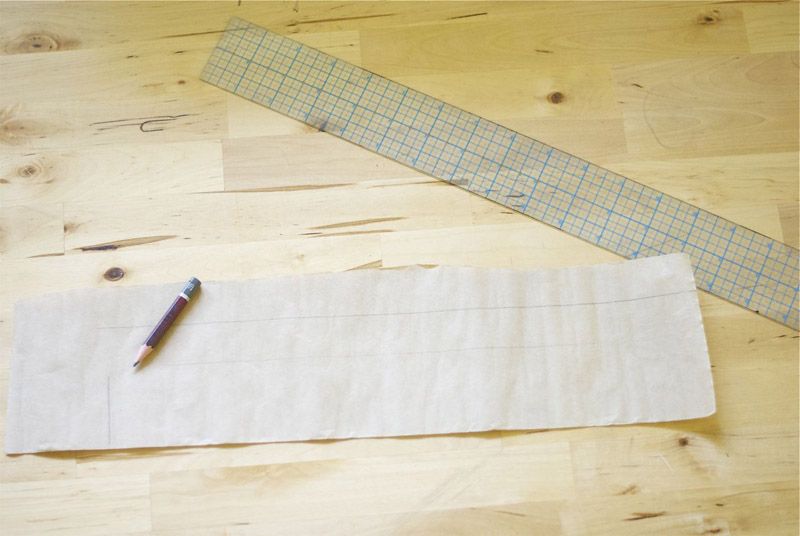
1. Draw out your basic block.  For mine I determined the total height of the waistband (3", sloping down to 2" for an elasticated back), with the length of the piece being half of your total waist measurement.  

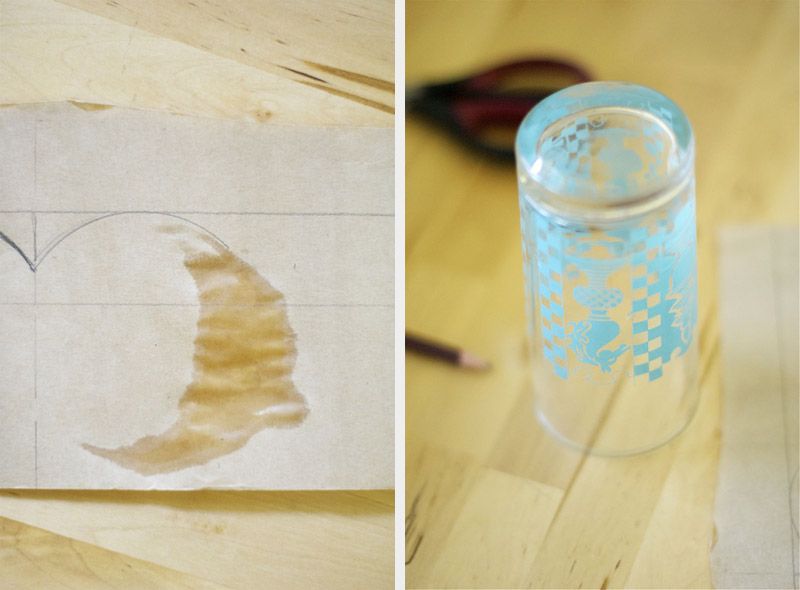
2. Draw on your desired look.  Since I did the scalloped hem tutorial, I decided to do a sweetheart waistline and keep the trend going.
I probably should not have used my curve stencil straight from the drying rack.  Ooops!


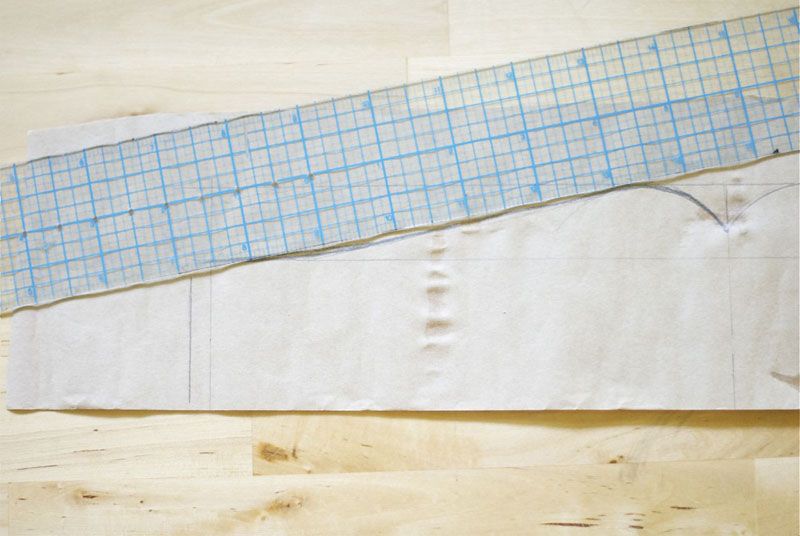
3. Using a ruler, draw a straight line down to the lowest point on your waistband, creating an angle you find pleasing.  Sloping all the way down to the corner creates the gentlest slope, bringing the outside end of that slope closer in to the centre makes it steeper. 
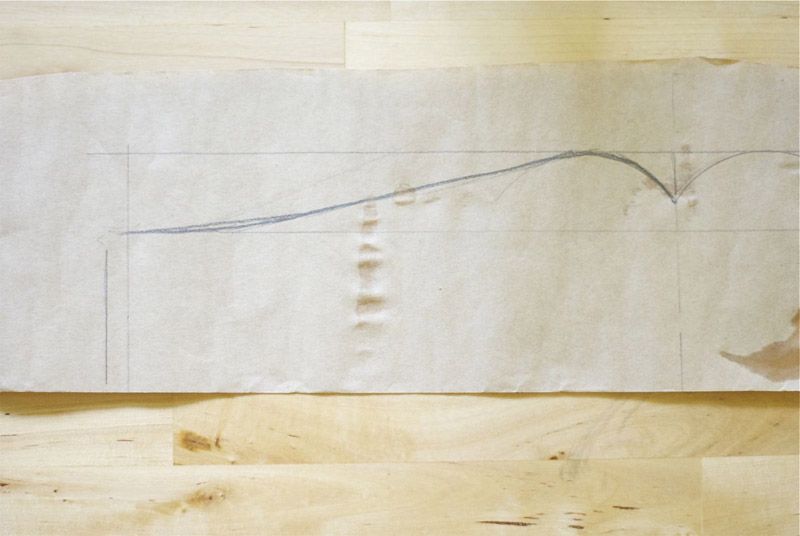
4. Go over the slope and add some curve to it so it blends into the rest of the waistband naturally.  I sloped mine down to 2", as I plan to use 2" elastic for the back of the waistband.  
5. Label your waistband, and cut it out. Because I plan on having the waistband symmetrical, I decided to create the pattern such that it requires to be cut on the fold (indicated with those 2 arrows in the centre-front).  

6. To create the top edge of the waistband when it is decorative, simply line with interfacing and sew exactly like the scallops DIY, or stay tuned for another tutorial with sewing instructions for the half-elasticated sweetheart waistband! 

In fact, you could use the scallops tutorial to create a fully scalloped waistband! This would only work for skirts or pants with zipper or button closures.  However, for a half-elastic waistband such as this one, you can make the structured front of the waistband scalloped.  Fun!

I like to label all of my pieces to keep well organized.  I create most of my own patterns, so knowing what everything is (and what article I made it for) is essential! I also like to mix and match, so it's good to know I can find the sleeve I drafted for a labcoat, when I decide it's just right for the trench coat I am making.  

What shape of waistband are you going to add to your next sewing project?

--Erin