Showing posts with label Before and After. Show all posts

Thursday, 11 April 2013

Before and After: Locks of Love

Some time last week, I decided I wanted to cut my hair short and make a donation to Locks of Love.  If you aren't familar with the charitable organization, Locks of Love takes donations of hair, 10" in length or longer, and makes wigs for children suffering from medical hair loss who cannot afford a wig to wear.  Judging by the massive 12" braid my hair stylist chopped off (and man, there was some serious sawing with those scissors!) my donation will be making more than one wig.  Thick hair, man, and I had more than enough to give and not feel a loss.  Plus, I like to think that soon there will be a (or more...) kid out there getting a fierce red wig that can make their day a little bit brighter.

My hair stylist kept remarking on how calm I was about the whole ordeal. "You're so chill!! I just cut off all your hair and you're like 'yeah, whatever'!!".  But hey, this ain't my first rodeo.  I cut my hair short (like, really short) when I started high school, and after not getting at all what I wanted that fateful day (brought it pictures of a pixie cut, left with a buzzed head.  Sinead O'Connor style. FOR SERIOUS), I learned that hair doesn't matter much, and all mistakes as far as hair is concerned, are healed in time.  And this go around, I won't even have to wear a hat for 3 months till those wounds heal.  Because I LOVE my big, wavy, short red hair.  Just call me Molly Ringwald.

Monday, 10 September 2012

Before and After: Metal Purse

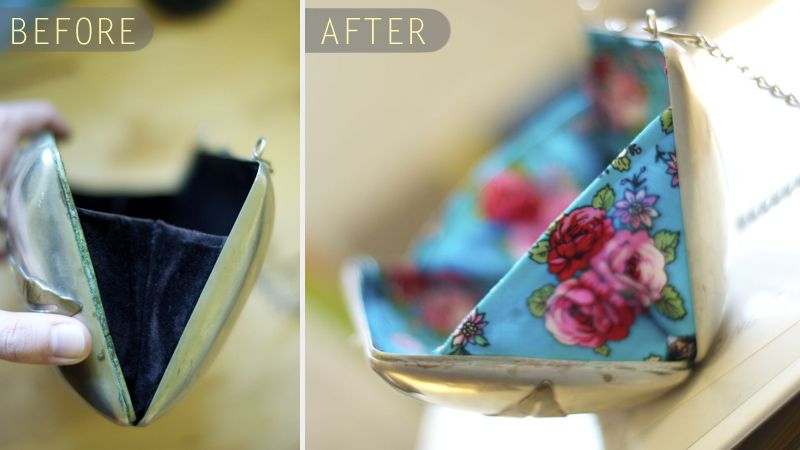
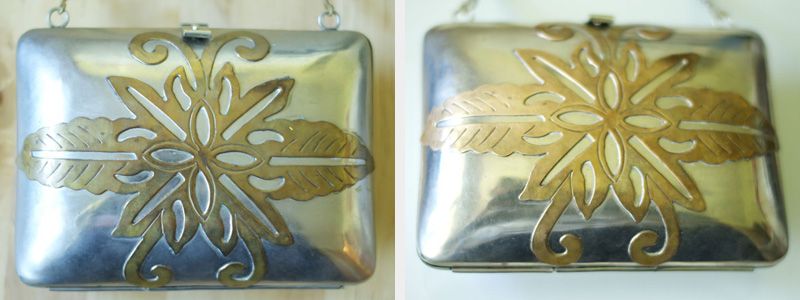
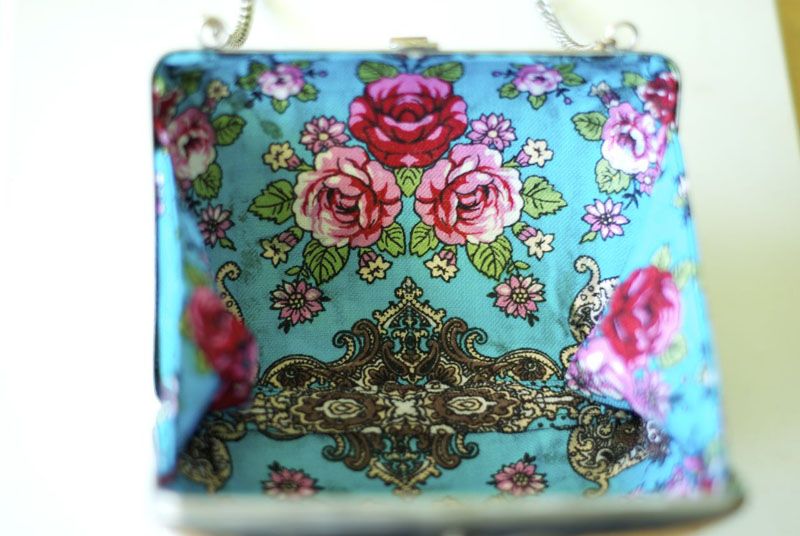
gave the exterior a quick shine, too! Before/After.
This Makeover was quite close to my heart.  Not only is this metal purse one of the absolute coolest things I own (seriously, just look at it.  So awesome), but it's a piece I inherited from a family member who was dear to me, my great Auntie Pepi.  On Sunday it would have been her 70th birthday, so I thought it was an appropriate time to finally replace the horrible lining in this bag, so I can start enjoying this incredible vintage bag (given the state it was in, Pepi definitely enjoyed it!).

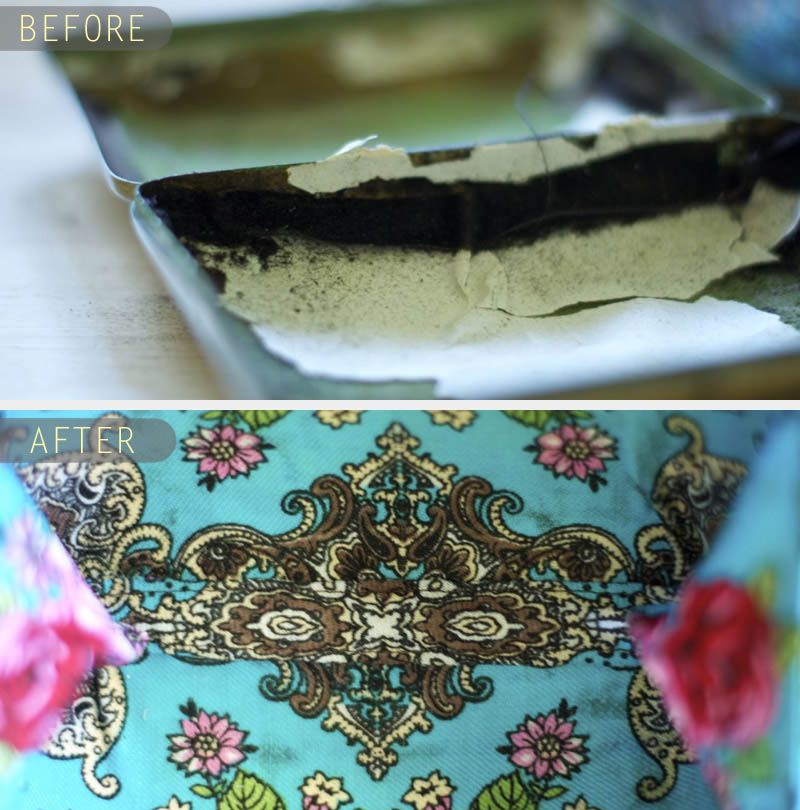
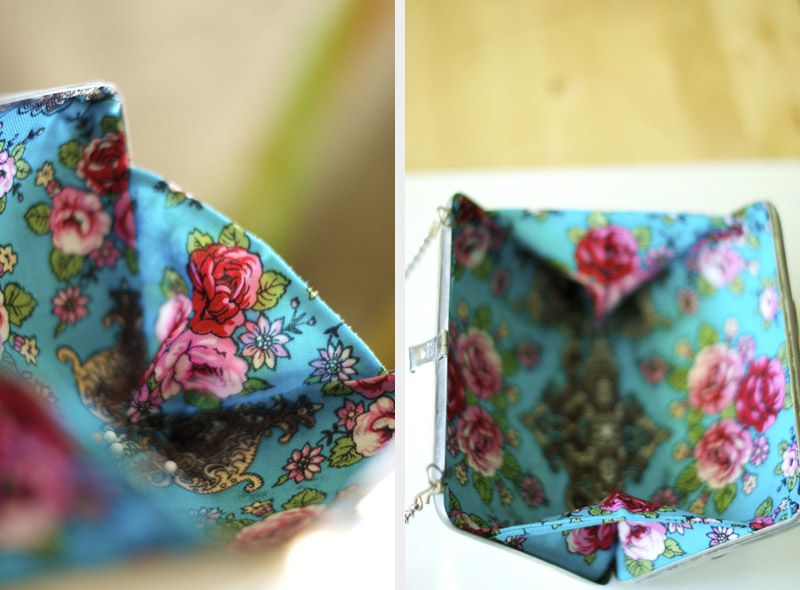
The lining was a deep purple velvet that had just had it.  I'm talking leave-dusty-residue-on-everything, puff-of-dust-when-torn kind of had it.  It was gross.  I ripped it all out, and sadly discovered it was too far gone to be used as a template for my new lining, which is why I ended up with some inaccuracies! Over all, I am very happy with the results, though there are a few hiccups.  Most notably, some of the old barge cement that had been used reactivated with my glue, and bled some colour through my new lining! Of course, I know the purse is only going to get dirty anyhow, and the spots are not so terrible.  I love the colour of the lining, I used an old scarf I thrifted! It was 100% wool which I can't wear, but I always loved the colours and pattern.  It feels good knowing that I could eliminate a little bit of clutter and find a use for the things I have, instead of buying something new.  All I bought to complete this project was some glue, I had the scarf, interfacing (and of course the purse) already!

I'm looking forward to taking this little guy out for a spin! I love how bright and fresh the new lining feels, and now I know it's not such a daunting task to replace the lining if I ever decide to convert it back into a swanky little evening bag (you know, some day when I have swanky little evening plans). 

--Erin

Sunday, 9 September 2012

The Directors Project: Story of a Floor Cloth


Happy Sunday everybody!
I have today off as we can no longer run some tech elements at rehearsal today! It's a nice little surprise, and I can spend today working on some of my own things at home; and sleep.  Yeah.  Sleep and drink tea.  Mmm. 

Anyhow, while I'm waiting for my buddy Jamie to pick me up to head to IHOP for brunch deliciousness, I thought I'd compile all the progress shots of the floor cloth for the Directors Project into one post. 

The Directors Projects (or DP for short) operates, basically, kind of like Fringe theatre productions.  Basically, we have to stay as close to "neutral" with the physical space as possible, as both shows use the same theatre and only have a changeover time of about 20 minutes.  When we first began this project, we thought about using a black floor, but soon decided that a wooden floor would be appropriate for both shows, and would help us define a playing space (the studio theatre is huge this year, it's a lot of empty space to fill!), and warm things up a bit.  

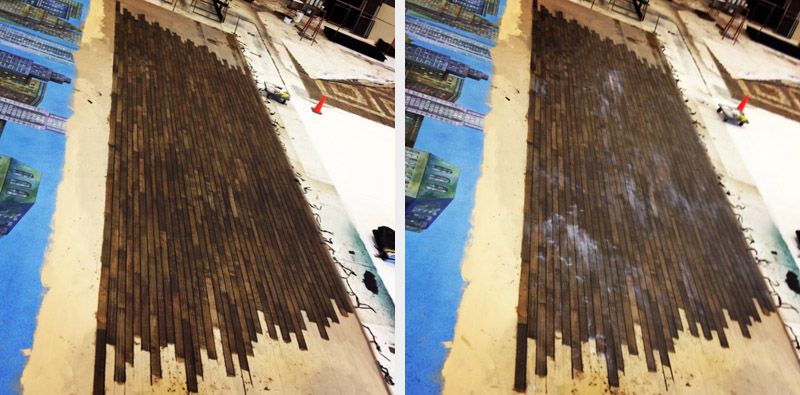
It took a little while for the reality of this endeavor to really hit us, but it certainly hit us hard as we realized that our time was very tight, and we only had so many floor cloths or pieces of fabric large enough (38' across!! Huge!) to use for our floor treatment.  as you can see in the photos below, we ended up painting over the sky portion of a backdrop of the Manhattan skyline.  Waste not!

The floor cloth was painted over the course of about 4.5 days, and was painted by myself with some much appreciated volunteer help from the generous and understanding artistic team. Here are some progress photos and explanations of what we did. 
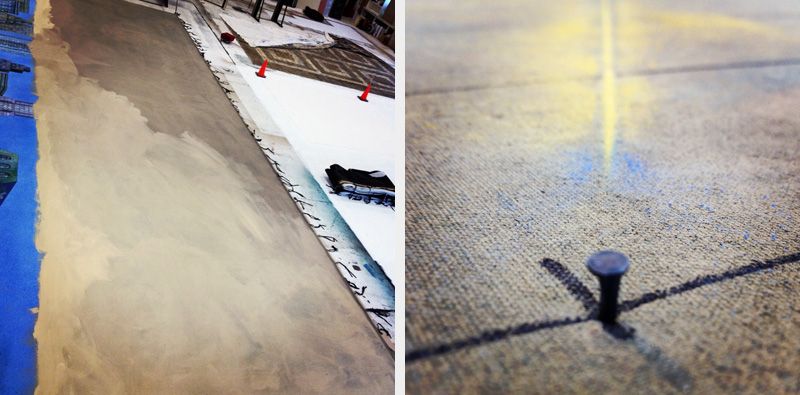
a patchy base coat / the chalked out angle of the edge of the floor boards
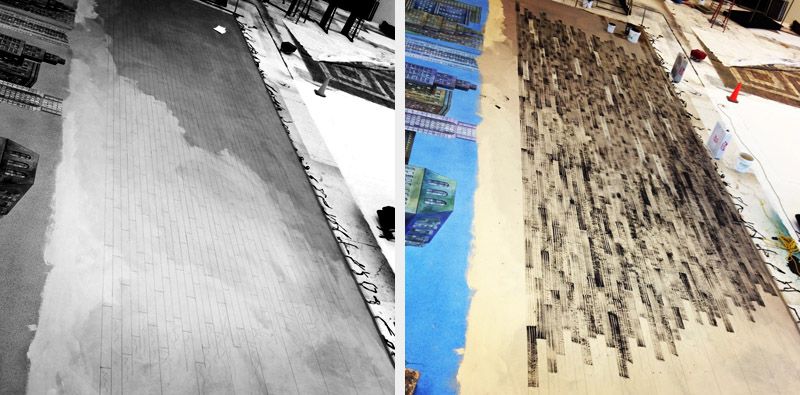
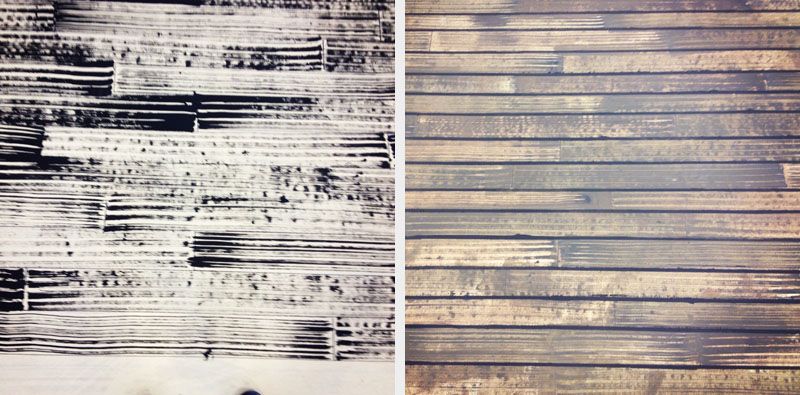
Floor boards drawn in Sharpie / cut up wide brushes and dark brown paint create wood grain. Some boards repainted cream for consistency.
We used a warm and cool brown in patches to achieve this look / all board lines drawn with "straight liners".  7' long 2"x4" with a handle.

Wood grain without and with brown wash.  Wood grain strokes ran 3' (the board length)


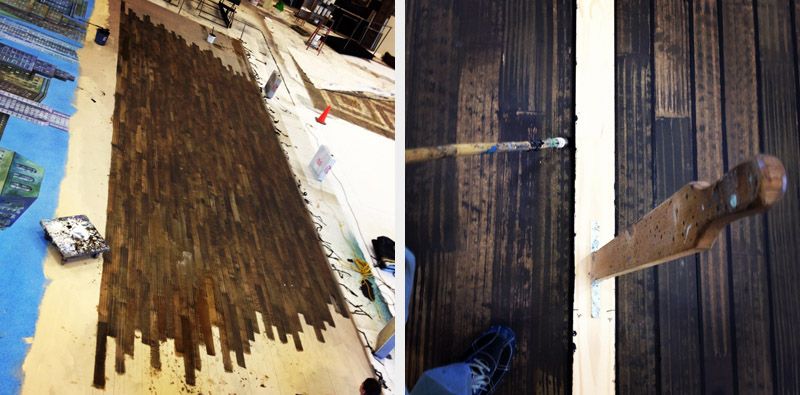
Dark brown lines added between board lengths for depth / waxy glaze added for durability and sheen.  Dries clear.
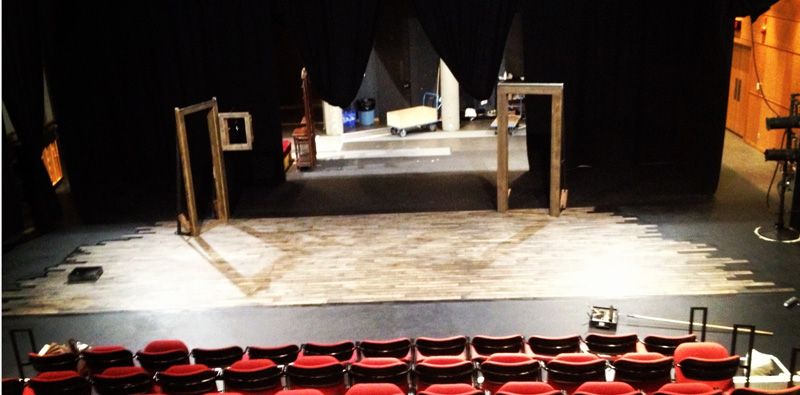
Cut down, installed and with the edges of the boards blacked out.  Work lights reflecting off the glaze, sorry!
This was the first time I have ever painted a wooden floor, and I would totally do it again, I am thrilled with the results! This could be a neat way to finish a concrete floor!

--Erin