Friday, 31 August 2012

O.O.T.D: Covered in BEEEEEES!

Ugh.  You guys, it has been one hell of a week.  I've been painting this floor cloth and doors for The Directors Project (I've been posting updates on the process on Instagram, link to my feed on the left sidebar), and MAN, nobody ever warns you how totally exhausting painting can be.  Besides, this floor cloth is 38' wide, so these days have been very full of physical effort.  Thank god I had some volunteers help me out for a couple hours!

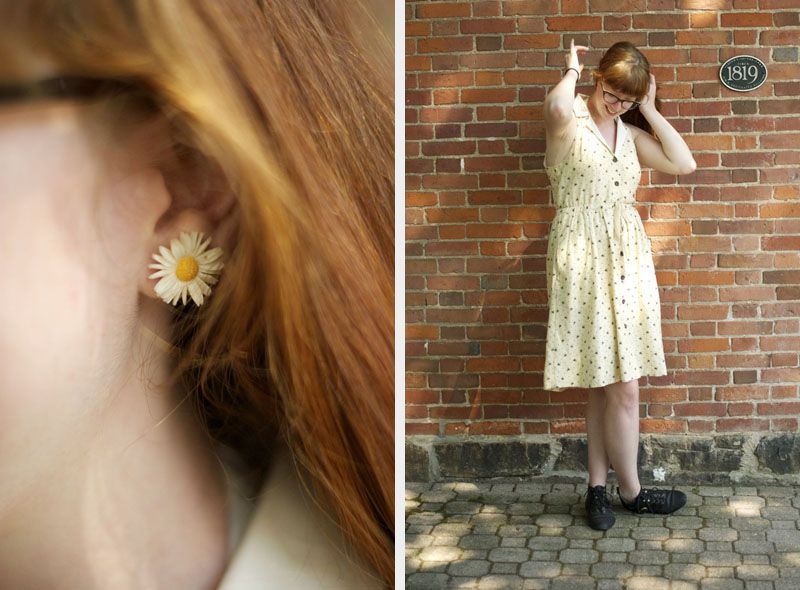
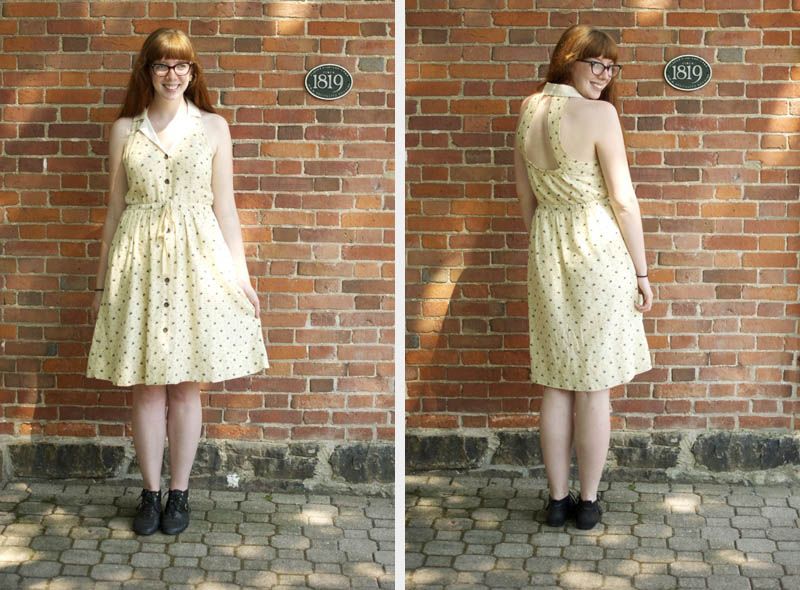
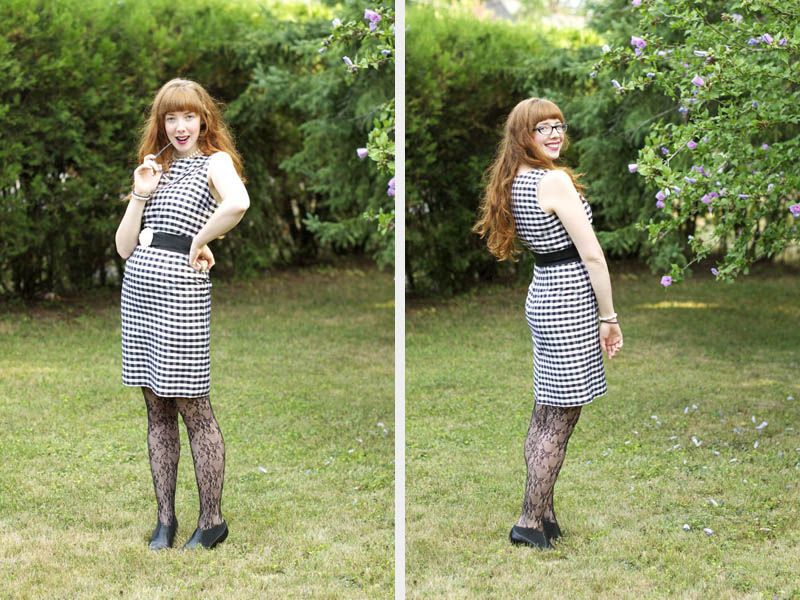
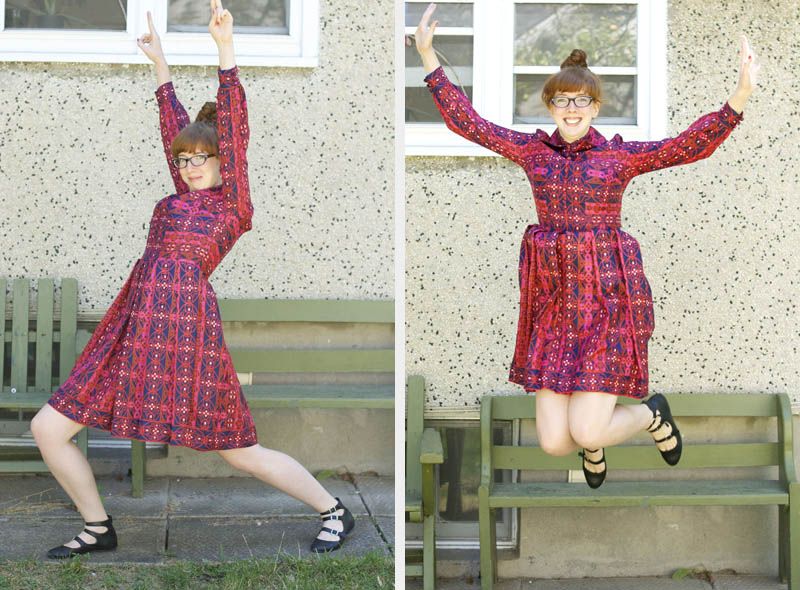
Anyhow, I've been wearing my paint clothes all week, which means paint spattered cargo pants and whatever tank top I'm willing to sacrifice. It's a good thing I didn't have the energy (or care, whatever) to dress up at all this week, because it was so not happening.  SO, here's a simple outfit from last weekend.  I wore this to Rawstock, a raw, vegan, and alternative food festival in town.  Turned out to be more of a lifestyle thing than a food thing, which really isn't my style (I don't even want my chakras aligned for free), and I suppose I was wearing a symbol of my persistent exploitation of bees (honey is delicious, I could never be vegan).  Anyhow, not my scene.

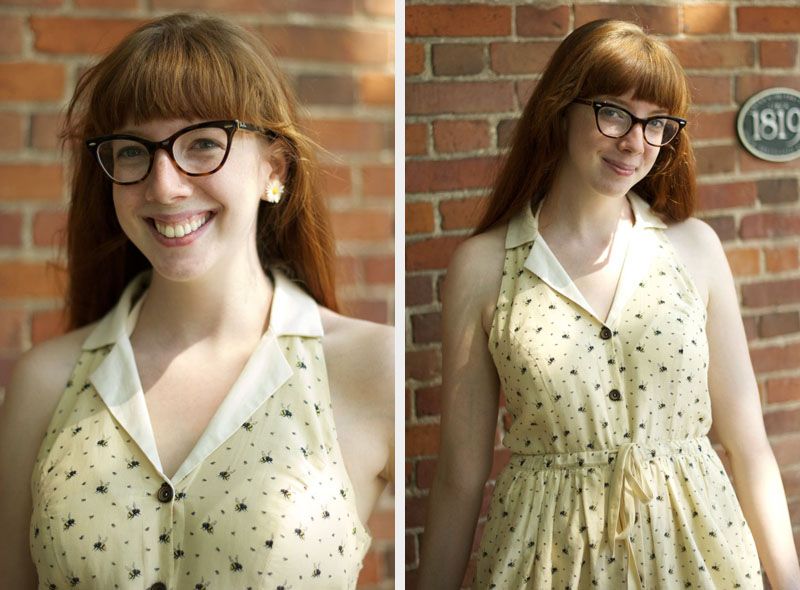
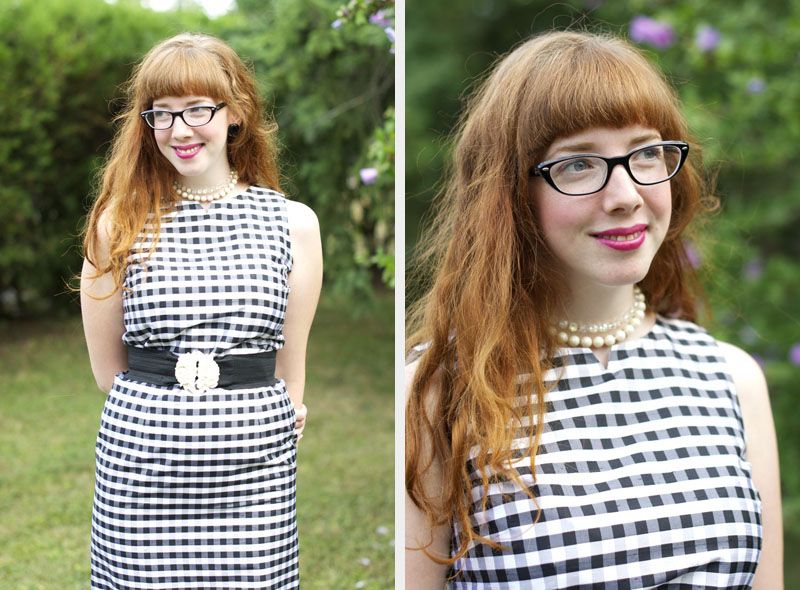
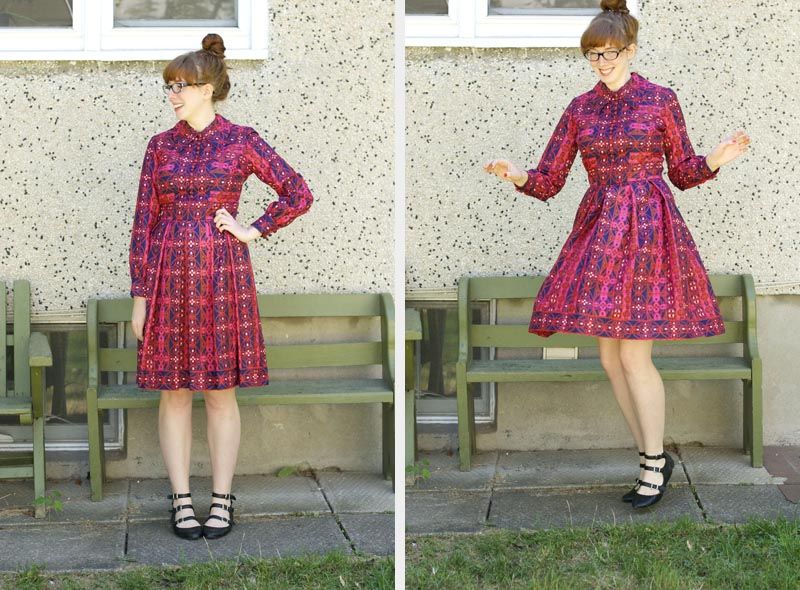
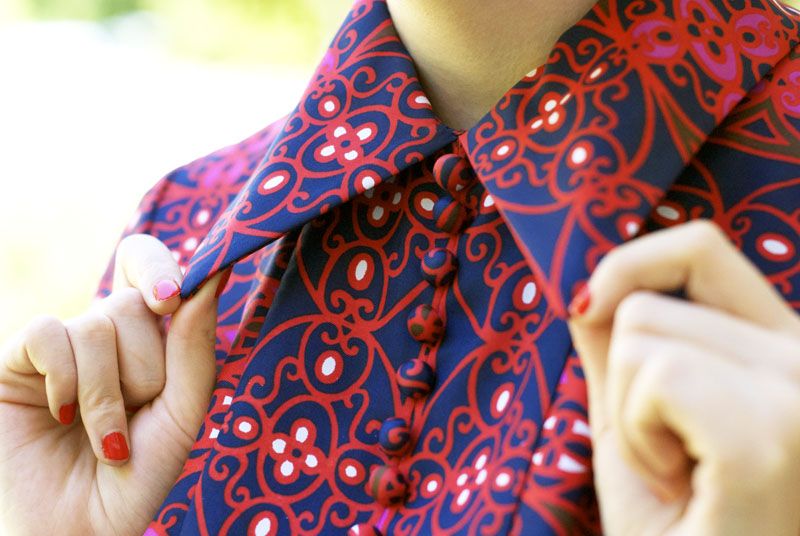
But I love this dress.  So. So. Much. 
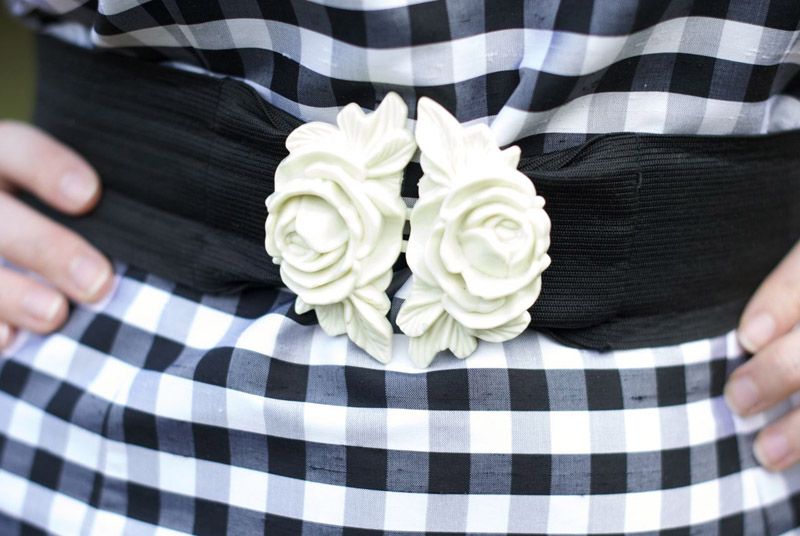
And these ivory antique clip on earrings are the perfect companion!
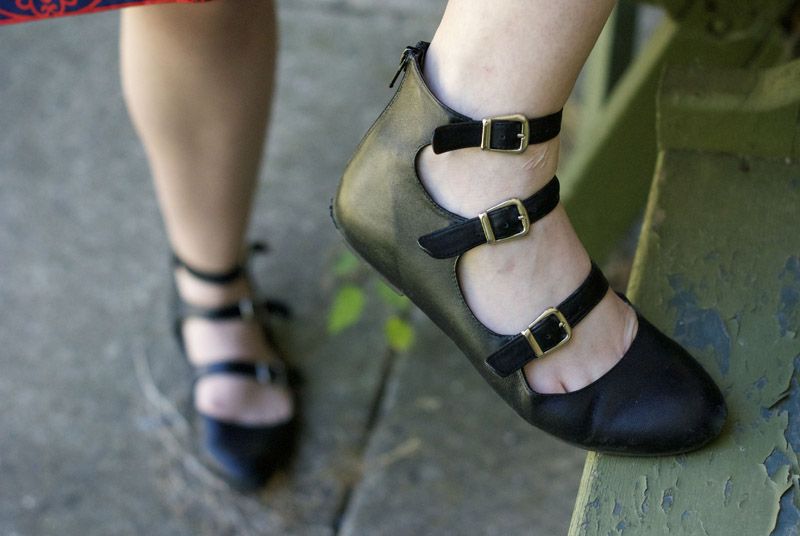
I'm not in love with how these shoes look with this dress, but they were the comfiest option for walking around town.  I had been wearing my JC cutout oxfords earlier, and I just had to change out of them.  I fear they may never break in.  Boourns!

The Deets: 
Glasses: Rayban
Earrings: Vintage
Dress: Anthropologie
Shoes: Jeffrey Campbell

--Erin

Tuesday, 28 August 2012

O.O.T.D: His and Hers - Anniversary Edition


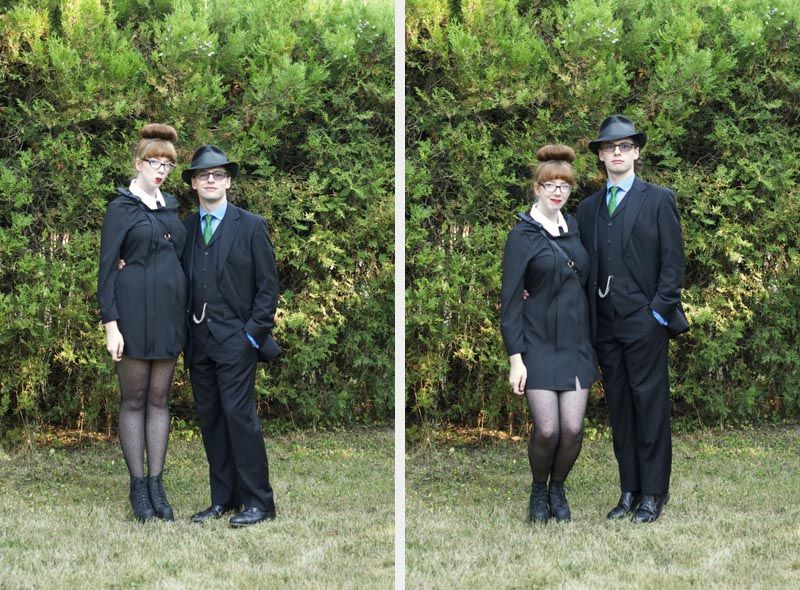
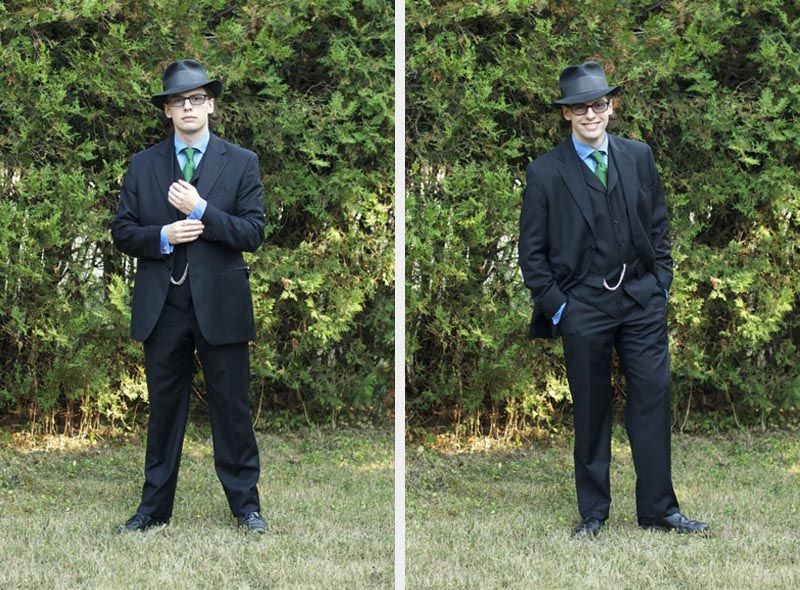
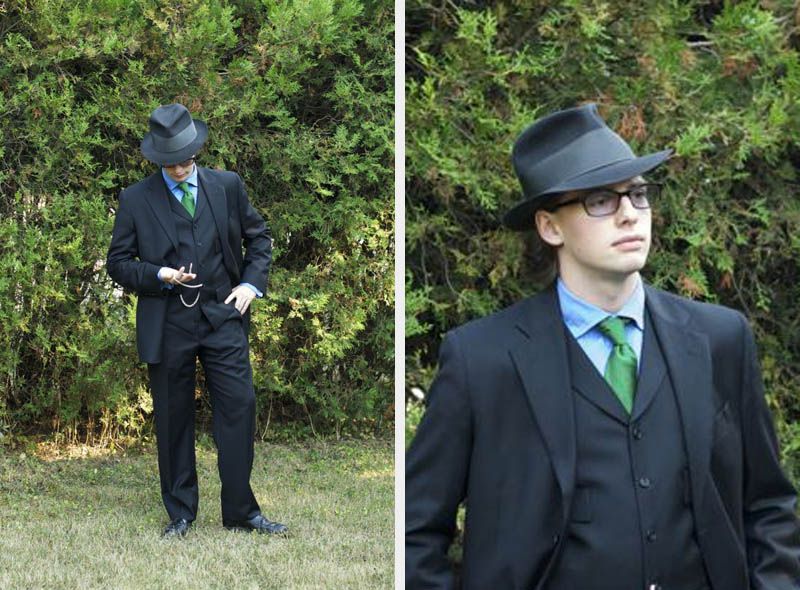
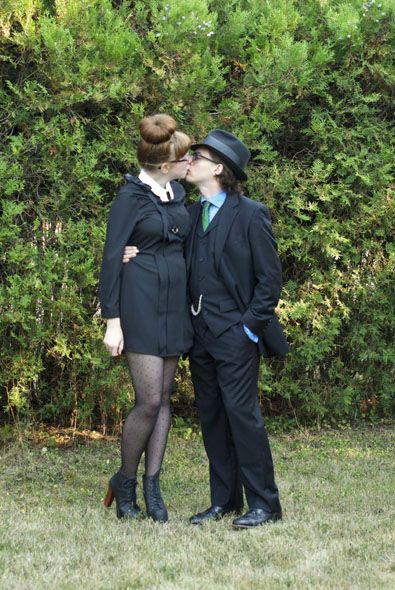
Happy Tuesday! There's no Retro Specs this week, as the fun part of my weekend relates nicely to this here outfit post.  This Saturday, Ephraim and I celebrated our first anniversary of dating.  We opted for going out to a nice fancy dinner, and then went to the drive in cinema! We wore these swanky outfits for dinner, then jetted home to change into some shorts and t-shirts for the movies.  I decided to leave my hair for the movie though, since sightlines aren't such an issue at the drive in.  One of the girls working the concessions said I looked like a model.  Aw yeah!

The Deets:
Hat: Vintage Dobbs, 1930's
Shirt:Hackett London
Tie: J Crew
Suit: Harry Rosen Coppley, made to measure
Shoes: Vintage
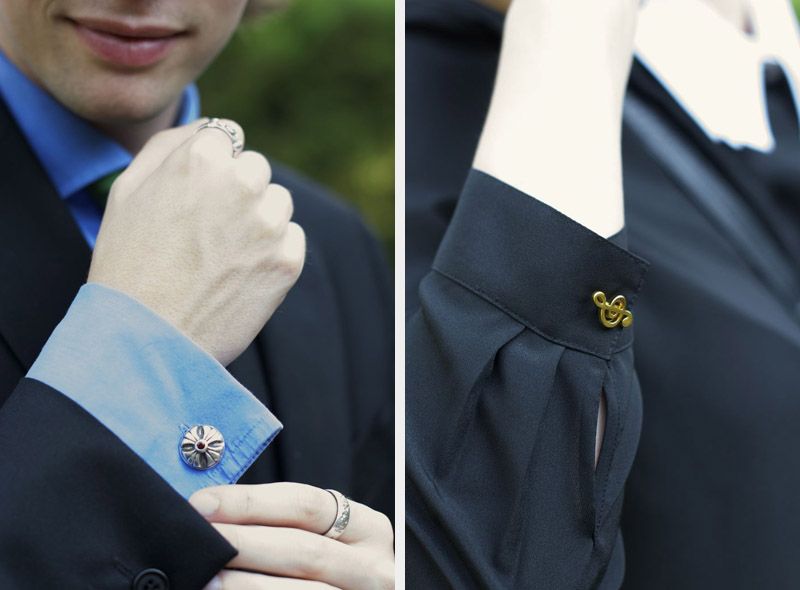
Cufflinks, watch chain and Rings: Paradigm Designs


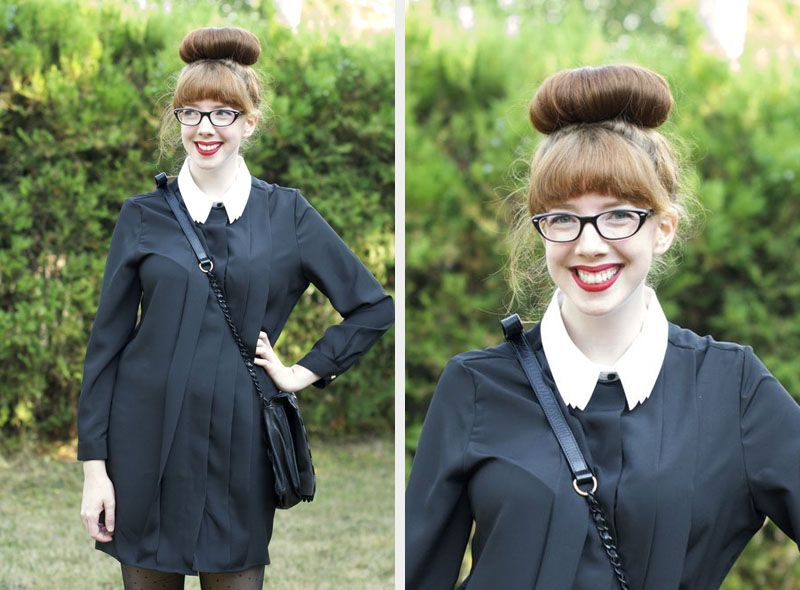
Flyaways are a way of life, man. And I am over the moon about this triple collar.  So sharp!
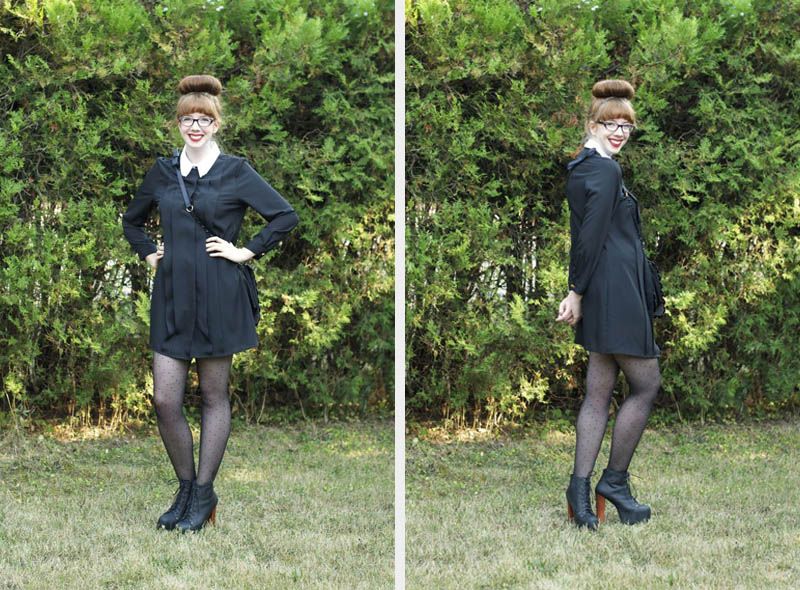
The Deets:
Dress: TBA (To Be Adored)
Purse: See By Chloe
Tights: Topshop
Shoes: Jeffrey Campbell "Litas"

I finally acquired a pair of Litas, after much hemming and hawing.  I'm not really much of a heels person, but I found myself wanting a pair of shoes that would look - and make me feel - like a total bad ass.  I tried on a similar pair of shoes at Topshop and BAM! It was love.  But it was not meant to be, as they were missing the left shoe in my size.  Yes, someone had made off with the right shoe of my pair.  A few weeks later I tried on the Litas, felt that wash of love again, and ordered a pair in my size.  Weeks later still and now those babies are mine! I can now wash my dishes and do my laundry like a proper bad ass.  It's awesome.  Plus, these shoes make me huge.  Like 6' tall kinda massive.  Ephraim and I are about the same height and in these puppies I look like a bloody Amazon.  But with both breasts.  Maybe that's why I'm crap at archery? Let's say it is.
Gratuitous kissing photo is gratuitous.  Deal with it!
--Erin

Sunday, 26 August 2012

Life as of Late: The Directors Project

Life lately has been hectic, to say the least.  It's been a lot of speed up, speed up, and all I want is to slow DOWN already! To say I'm feeling a bit burnt out right now is a pretty big understatement.  And as I begin to make some travel plans for my vacation coming up at the end of September, I really just wish this next month would be over in a snap so I could just stop feeling like I'm running a marathon every day.  This lack of a summer business is a hard adjustment straight out of University, despite the fact that I always worked full time on my summers.  For those 4 months, I was almost always working jobs that I could walk away from every night.  Design work isn't like that.  I didn't get into a profession, so much as a lifestyle!

These past few weeks and the weeks ahead have and are dedicated to the realization of The Director's Project, a short series of one act plays Directed by the two Intern Directors that Shaw employs each year.  If you'd like to hear about this process from the Directors' side (and trust me, you do, they're both very talented, creative individuals), you can check out their blog HERE.
The projects are sort of a Fringe festival style affair, intended to focus on the acting and the story.  Naturally, everyone involved gets very excited throughout the process and things grow to be much more than this.  I am thrilled to have these pieces as a part of my growing portfolio, but hell if getting these up and running won't kill me! Shaw provides a limited budget and some labour, but many of the tasks still trickle down the ladder and fall on yours truly.

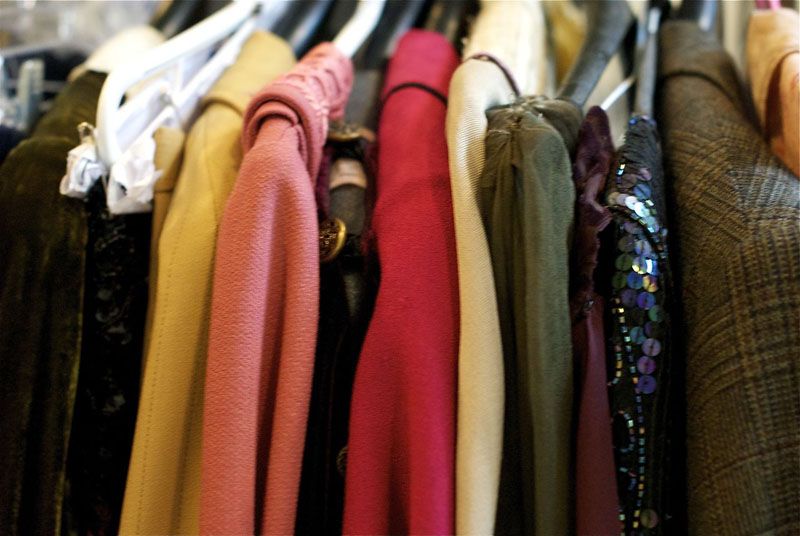
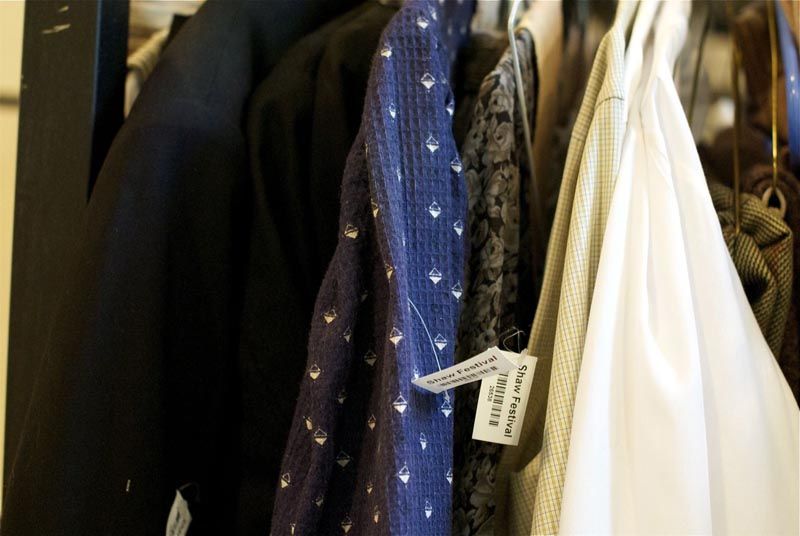
So, the last few weeks have been all about creating a cohesive look for each show.  We've finally dived head first into the process of costume fittings, and it's been amazing to see a really clear trend rise out of the pieces I picked from the warehouse along with Shaw's head of wardrobe, Tanya.  I've been lucky that many of my first choice items have worked out and made their way into the show.

I'm far from out of the woods yet, however.  I'm spending most of the coming week in the paint shop, working on a floor treatment, and painting a couple set pieces.  I love this hands on work, and really enjoyed my time in the paint shop previously.  If you're following me on Instagram (@efgerofsky), be prepared for LOTS of snaps of our progress getting everything painted.  I tend to get really excited about these kinds of things, and the instant gratification of a coat of paint is a great motivator!

--Erin

Wednesday, 22 August 2012

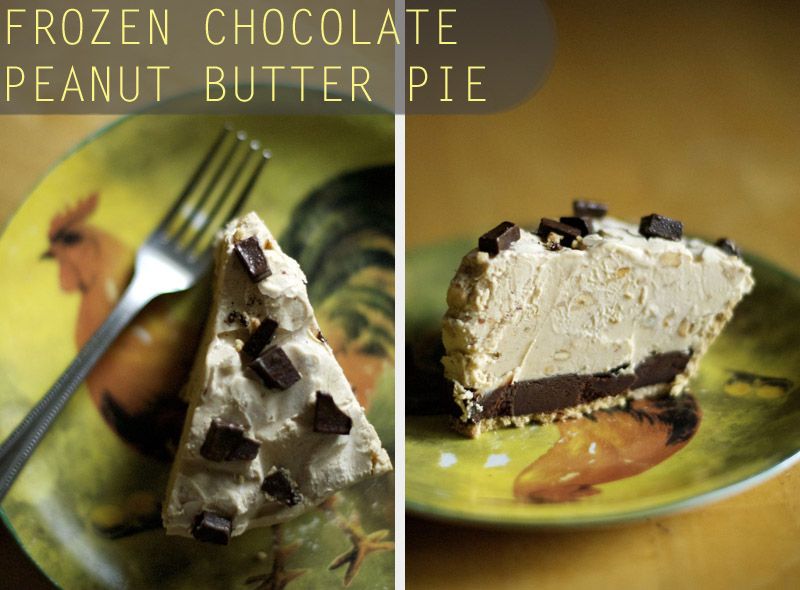
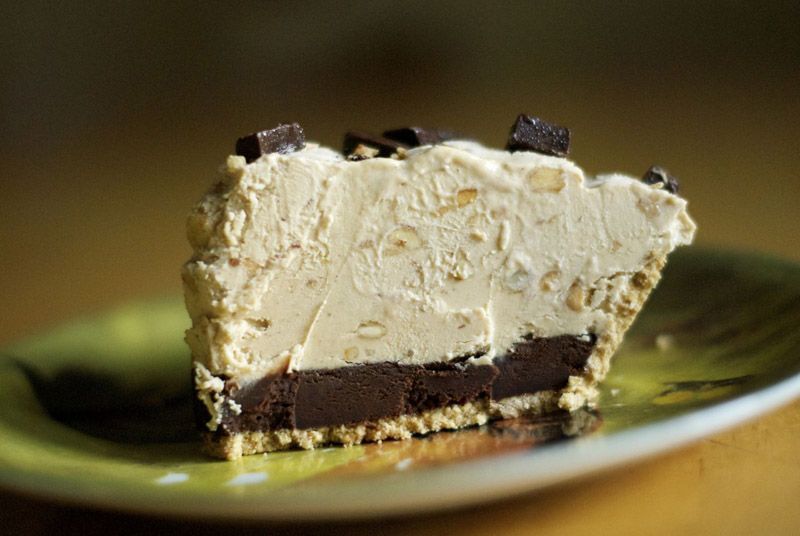
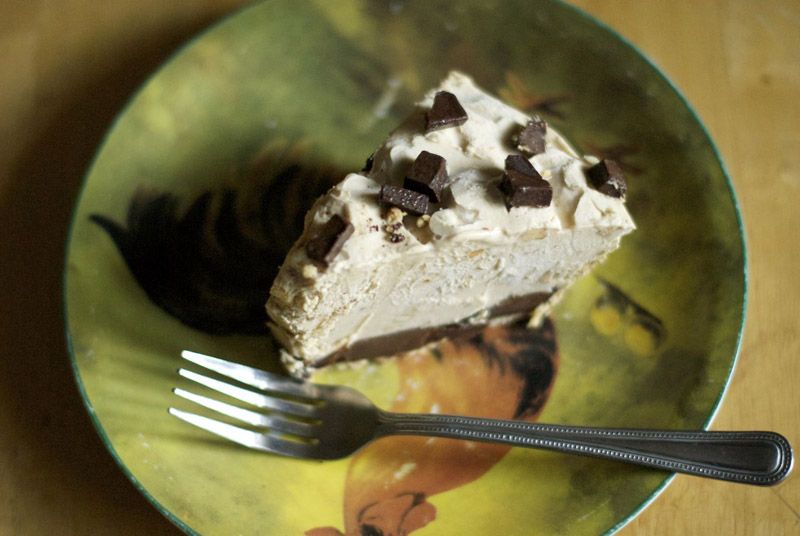
Frozen Chocolate Peanut Butter Pie

As intended, I made the frozen peanut butter chocolate pie from A Beautiful Mess, this weekend.

Luckily, this dessert was a hit, because it's definitely something you don't want to have around for long, or have a surplus of.  Because you will eat it.  All of it. 

On the difficulty scale, I'm giving this pie a rating of "Drunken Monkey", meaning a drunken monkey could make this with little difficulty.  I got fancy and melted my chocolate with a double boiler and it was STILL so ridiculously simple.  So find yourself an intoxicated primate and make this pie, your friends will thank you (your pancreas will not).

There are a few adjustments I'd make next time around to make this really spectacular.  I'd definitely want to switch up the crust, and I think go with a homemade chocolate crust.  There's already so much peanutty goodness going on, I think the pie needs a little more chocolate and a little something salty to really set it off.  Maybe an Oreo crust? Mmm!
My presentation also needs some work on this.  I really dropped the ball there.  Lucky it was still delicious so nobody noticed!
--Erin

Monday, 20 August 2012

D.I.Y: Drafting a Sweetheart Waistband

I personally think that waistbands are an opportunity for flair and character that is lost on modern clothing.  Pants and skirts end simply, bluntly, with no attempt to reinforce the aesthetic of the piece, except perhaps through the fastenings.  Boring!
So today we're looking to the fitted waistband, and how we can add some interest without detracting from the rest of the skirt, and still creating a nice trim waist!

This DIY does not cover sewing techniques for the waistband, we'll get to that for later.  I just hope this encourages you to think about waistbands differently when you are designing your own pieces to sew!

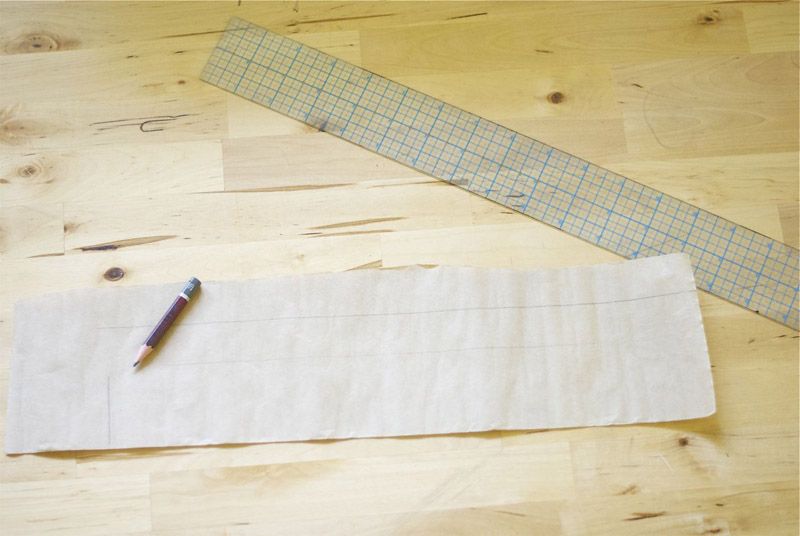
1. Draw out your basic block.  For mine I determined the total height of the waistband (3", sloping down to 2" for an elasticated back), with the length of the piece being half of your total waist measurement.  

2. Draw on your desired look.  Since I did the scalloped hem tutorial, I decided to do a sweetheart waistline and keep the trend going.
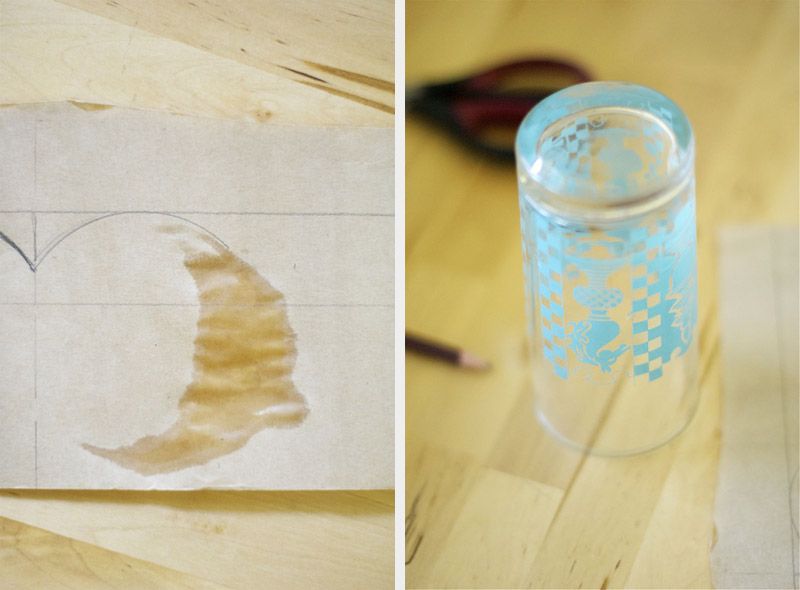
I probably should not have used my curve stencil straight from the drying rack.  Ooops!


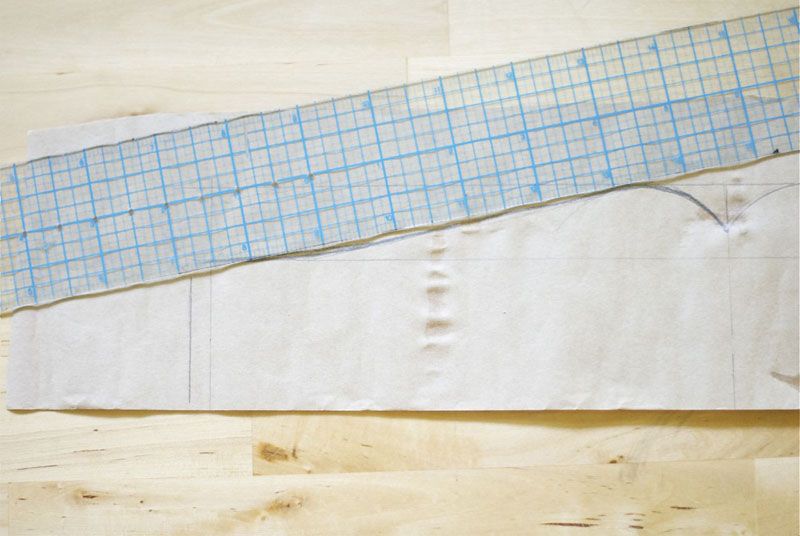
3. Using a ruler, draw a straight line down to the lowest point on your waistband, creating an angle you find pleasing.  Sloping all the way down to the corner creates the gentlest slope, bringing the outside end of that slope closer in to the centre makes it steeper. 

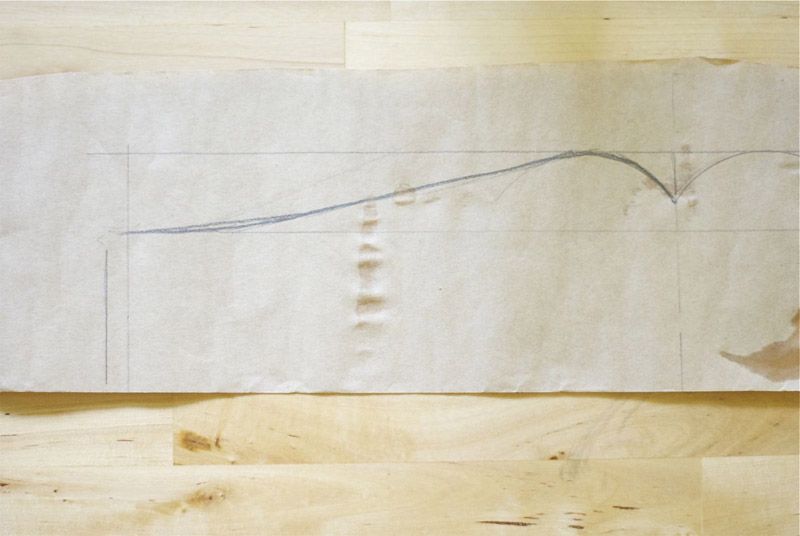
4. Go over the slope and add some curve to it so it blends into the rest of the waistband naturally.  I sloped mine down to 2", as I plan to use 2" elastic for the back of the waistband.  

5. Label your waistband, and cut it out. Because I plan on having the waistband symmetrical, I decided to create the pattern such that it requires to be cut on the fold (indicated with those 2 arrows in the centre-front).  

6. To create the top edge of the waistband when it is decorative, simply line with interfacing and sew exactly like the scallops DIY, or stay tuned for another tutorial with sewing instructions for the half-elasticated sweetheart waistband! 

In fact, you could use the scallops tutorial to create a fully scalloped waistband! This would only work for skirts or pants with zipper or button closures.  However, for a half-elastic waistband such as this one, you can make the structured front of the waistband scalloped.  Fun!

I like to label all of my pieces to keep well organized.  I create most of my own patterns, so knowing what everything is (and what article I made it for) is essential! I also like to mix and match, so it's good to know I can find the sleeve I drafted for a labcoat, when I decide it's just right for the trench coat I am making.  

What shape of waistband are you going to add to your next sewing project?

--Erin

My Weekend in Retro Specs v.6: Occupy NOTL

Howdy friends, and happy Monday!

This past weekend was a real blast.  I had a couple friends staying with me, so naturally there was much good food, some wine, some cheese, lots of laughter, the good stuff, ya know?

Some highlights:
  • Friends from different points in my life all hanging out together, getting friendly themselves
  • Wine and cheese!  7 year old cheddar.  Hell. Yes.
  • Treating my friends to a play.
  • Breakfast Massacre: Niagara Edition
  • Getting to make good use of my waffle iron at said massacre.  Tasty tasty carnage.
  • Talking and laughing till 4 am.
  • The most delicious of frozen chocolate peanut butter pies.
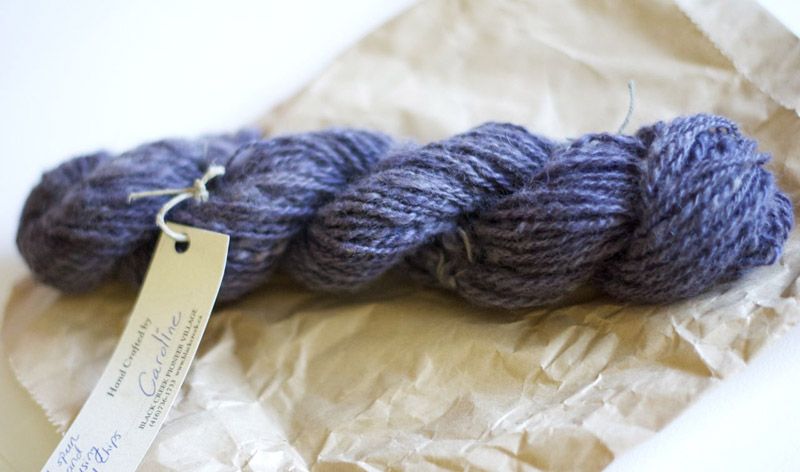
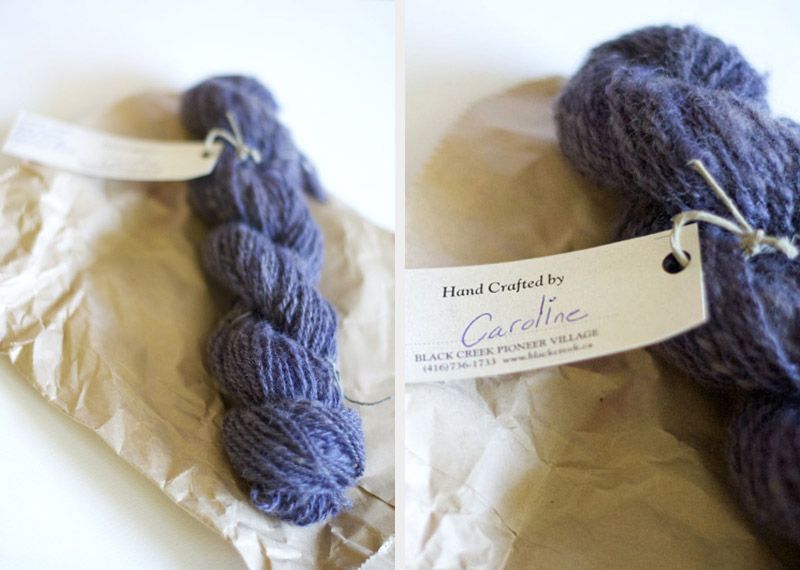
  • Receiving a skein of wool that my friend Caroline made! I'm talking cleaned the wool, spun into yarn with a spinning wheel and then hand dyed, all using techniques predating 1860.  Hardcore!!
I kept my camera in my purse and a smile on my face.  It really is the little things. 
LOGWOOD CHIPS MAKE THINGS PURPLE.  Natural dyes are weird, and totally cool.  BTW, logwood, is more than just logs of wood.  We learned this weekend!

I am so ridiculously impressed by this being even possible, let alone one of my friends doing this as her job.  If you visit Black Creek Pioneer Village, be sure to pick up some of Caroline's yarn from the gift shop. I hear they have trouble keeping the stuff in stock, and now that I have my own skein, I can see why! so cool!

In preparation for cooler temperatures, I think I'm going to use the yarn to make some boot toppers, though I think I'll need another skein.  I've totally given up on ever figuring out the heel turn, so socks are officially out of the question.  I'm not much of a knitter, but I'm learning! 

In other news, a year ago this evening I had the most amazing and ridiculously long (8.5 HOURS) first date.  Thankfully we went to a 24 hour coffee shop and bistro, because no where else would allow us to have just sat and talked and drank coffee/tea for 8 hours.  Well I suppose at some point we did order dinner, but we also witnessed a couple shift changes.
Needless to say, it has been a really, really, really great year.  I can't wait to celebrate with Ephraim next weekend!

But first, I have an insane work week to tackle.

--Erin

Friday, 17 August 2012

O.O.T.D: Casual Friday


Here's a super simple outfit from today.  I have been getting my house in order lately, gearing up to have friends come stay with me this weekend.  My roommate also moved out a couple weeks ago, and that always leaves such an odd gap in decor in the house.  So, I've been trying to fill in those empty spots, rethink some rooms, and also do the boring necessary cleaning - the trash bag, gloves and a mop kind.  So this week I've been wearing lots of denim, t-shits, and stuff I'm generally not too precious about, so I can keep my mind on the task at hand!

Wednesday, 15 August 2012

Fuzzy Peaches and Automocars

This past weekend, Niagara-on-the-Lake had its Peach Festival, and a Vintage Car Show! Now while I messed up the dates for the Town's peach festival (turns out that was on Saturday, whoops!), a church on the main street was having their own peach festival the day after.  I am not one to turn down the possibility of pie for breakfast, so we made a stop at the festival Sunday morning to enjoy some pie (with ice cream for some of us) and peach punch (basically just canned peaches with Sprite).  Breakfast of champions, clearly!

I had known about a car show down the street from me for a while now, but I had no idea how big it was going to be! They even charged admission, which is unusual for these parts.  I love old cars though, so it had to happen.  I had my camera charged up and ready to roll! Ephraim and I tend to gravitate toward some items for the same aesthetic reasons, and cars tend to highlight that.  Needless to say, we both enjoyed the eye candy, and passed the camera back and forth a lot!


Tuesday, 14 August 2012

O.O.T.D: Helen's Necklace

This past weekend the Shaw Festival had its final round of openings for this season! This is the outfit I put together for the last show to open of the season, Helen's Necklace.  The show is a two-hander, which is unusual for Shaw, and takes place in Jordan, which is also unusual! In the play, Helen is backtracking her steps through Jordan trying to find a "lighter-than-air" pearl necklace that she has lost.  The show featured outstanding performances by Sanjay Talwar and Tara Rosling, and particularly effecting lighting design that really helped to define the locations in Judith Bowden's cavernous set.  It was definitely not like anything I've seen at Shaw before, and I like the the company is so dedicated to shaking things up; even if only in its studio theatre space.  Likewise, it was cool to see something mounted in this space, as I am designing 2 shows which will play in the studio theatre in late September! In fact, we have our design presentations and first read through tomorrow.  Exciting!!
The Deets:
Dress: Thirfted
Tights:Filene's Basement
Shoes: Hand-me-downs (Bubie)
Bracelet: self made
Earrings: Vintage
Belt: Urban Outfitters
Necklace: Hand-me-down (Mum)

This outfit features not one but two hand-me-downs.  I love getting people's old things! I'm lucky enough to have women in my family with very distinguished  - and very different - senses of style.  When they decide a piece just doesn't work with enough of their things, they give them to me because they know I NEVER say no! Even if I cut that old jacket up and use the fabric to make a pillow cover, I can't let a good piece of clothing (or jewelry! or shoes!) go straight to the landfill or thrift store or whatever.  All items must make a stay in my closet first.  Do not pass GO, do not collect $200. 

Do you get the hand-me-downs in your family? Love it or loathe it?

--Erin

Monday, 13 August 2012

My Weekend in Retro Specs v.5: Revenge of the Thrift

Happy Monday!

I hope you all had very restful weekends.
While my weekend was not terribly restful (I have a big design deadline coming up in a couple days), I did manage to work some thrifting and garage sale-ing into my errands on Saturday morning.  I swear there must have been some divine intervention, the cosmos knew what a stressful time I've been having at work, and sent to me some amazing finds to brighten up my day! I found some great button up shirts (which have been on my thrift list for some time now) and a couple belts, but the really special stuff from this weekend were all decor and house items. 

And oh baby, are they ever perfect.  Here are the highlights!
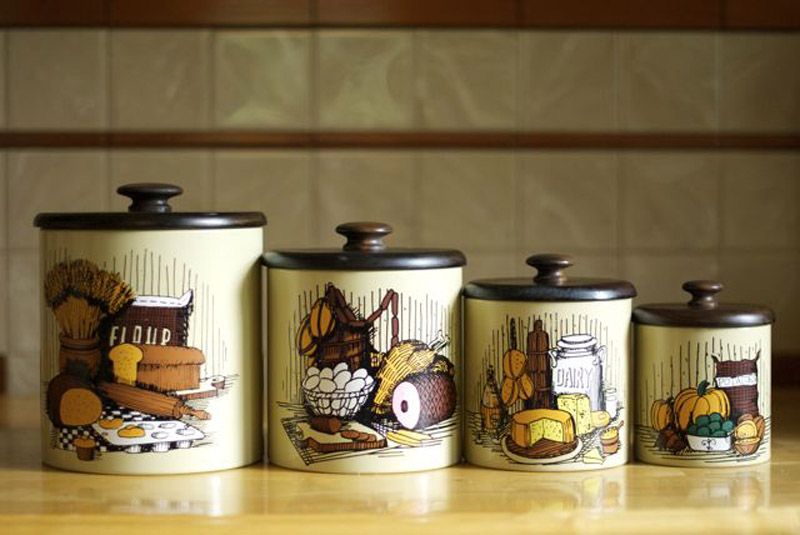
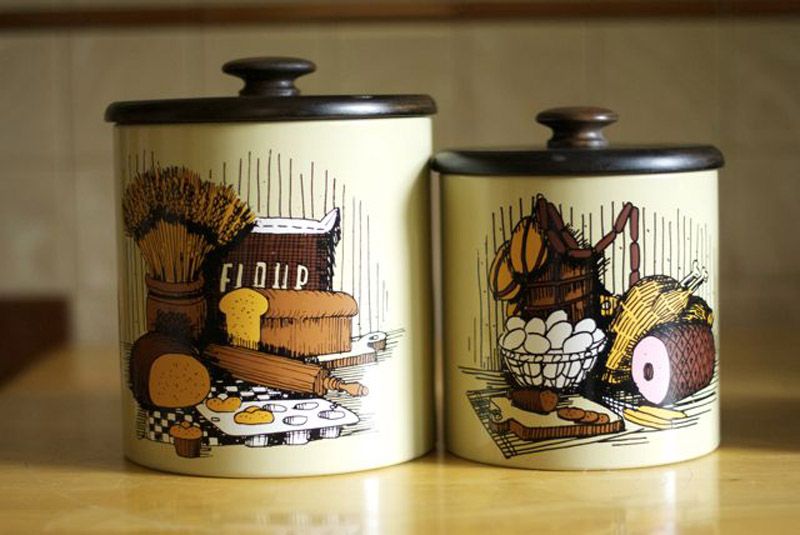
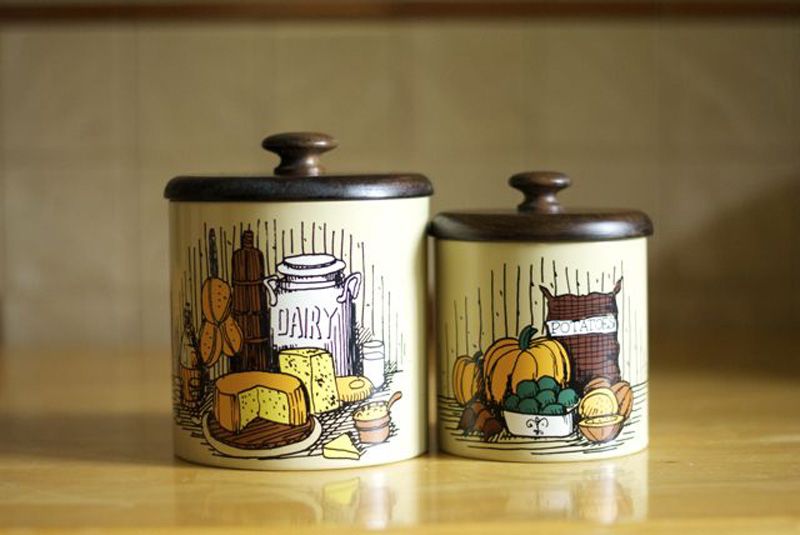
I picked up this set of canisters for $8.  Pricey, but they're 40 years old and never used.  They match my KITSCHen perfectly!
Seriously, how cute are these? The wooden lids are what caught my eye, the ink drawing labels sold me!
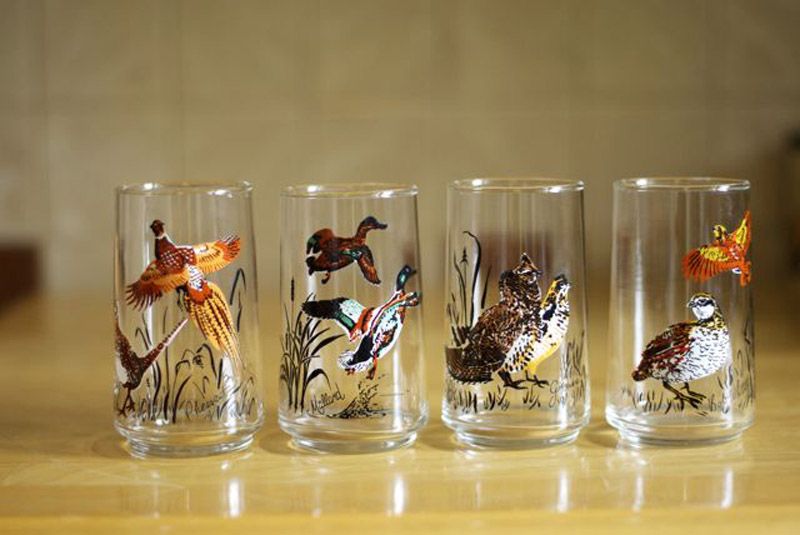
Bird Glasses ($4 or so?). I'm collecting several small sets of kitschy drinking glasses.  These were too good to pass up.
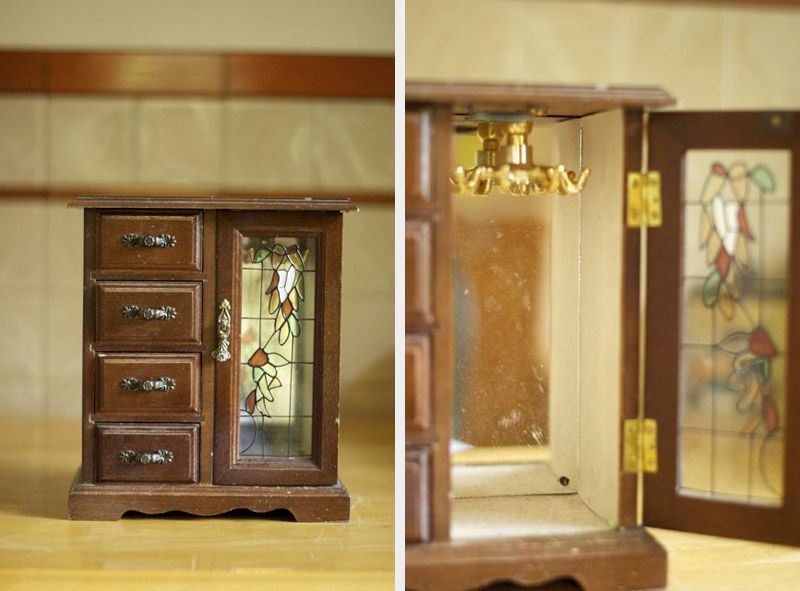
Jewelry box, same garage sale as the glasses, $4. Loved the stained glass and necklace hangers.  Going to paint this up real nice!
I've saved the best for last... I wonder what's inside?? ...........
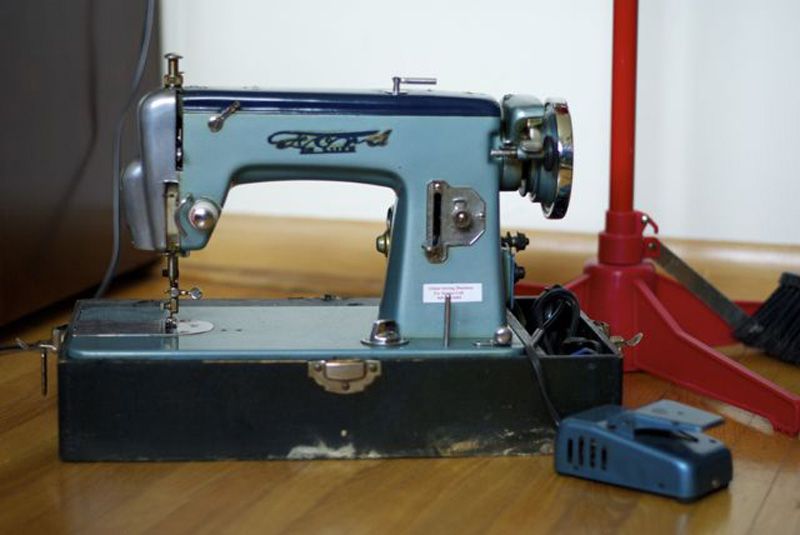
Oh yes!!! There were 2 at the Goodwill, but only one had the carrying case/base. 
Japanese made from 1957.  Not actually made by the Ford Auto company haha! Mint, these go for $500-$700.  I paid $35, and it's mostly just grimy!! :D
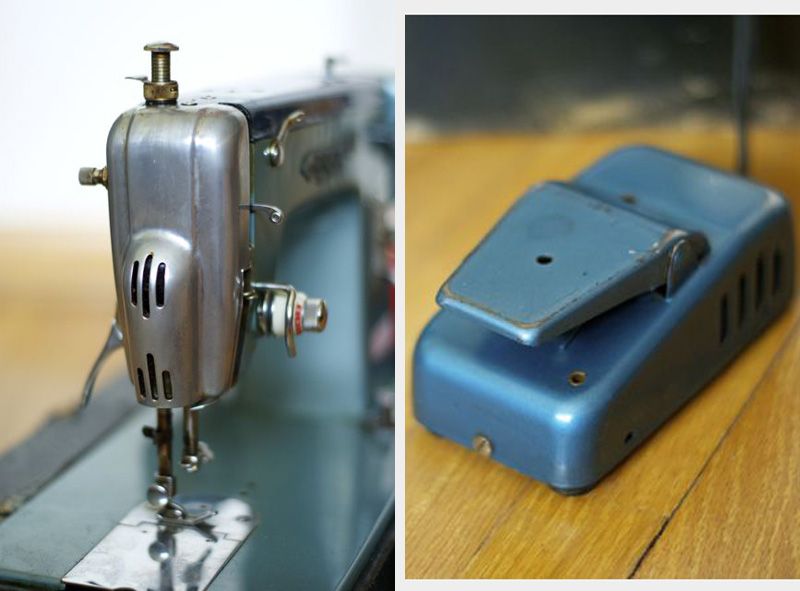
The metal head and the matching foot pedal were just too good to be true.  It had to be mine!
 The machine isn't in working condition yet, but I'll take it in for service once I've cleaned her up.  She has all her parts and actually had a number taped to it to have it serviced, in the Niagara area.  I looked the model up online and apparently they're very good machines, and have enough power to sew denim with ease, which my domestic machine struggles with.  

This is my fourth sewing machine, and the second I've bought for secondary sewing (and admittedly largely for their looks!).  I just love collecting useful things that are also beautiful, don't you??

Oh, and I think I'm going to name her Betty, but I'm not firm on that yet.  The colour makes me think of my friend Jesslyn who moved across the country a year ago, I'd like to name it something that makes me think of her without using her actual name (cause I've already done that with my machine Doris, and that might be kind of weird hahaha!).  Jess makes a MEAN Apple Betty, so I think Betty is currently the forerunner.  

Have you made any exciting thrift scores that made you squeal like a small child in public? Be not ashamed, and join the club!

--Erin


Thursday, 9 August 2012

O.O.T.D: Trying to Catch Some Butterflies


 The Deets:
Dress: Vintage
Shoes: Jeffrey Campbell
Glasses: Rayban

Here's the little ensemble I put together to go to the Butterfly Conservatory.  I read that butterflies are attracted to bright, saturated colours and floral patterns, and this was the best I had. Turns out that butterflies actually prefer pale colours and don't give a damn about patterns, but there you have it! 

I bought this dress a couple months ago from a vintage shop in Toronto.  The second I saw it on the racks I fell in love.  It's a great deal louder than most of the stuff I own, so I was a little afraid to buy it, thinking I might nt wear it much.  Truthfully, this is only the second time I've worn it out, and only the first time I've worn it out all day, in public (last time I wore it to the theatre, which doesn't count!).  I got a couple weird stares, but no worse.  I just put on my best "don't give a fuck" face, and lived my own damn life. 

Ah, yes, that bull stance.  I was recreating a scene from Baz Luhrmann's Strictly Ballroom, one of my favourite movies.  The film takes place in Australia, and there's a character in the film named Tina Sparkle, which sounds hilarious with an Aussie accent. Before taking these photos, Ephraim and I had been saying "Teeena Spaaahkle", so I thought that striking a few epic dance poses was in order.  And if you haven't seen Strictly Ballroom, please do, it is one of the greatest films of all time.  And if you think Baz Luhrmann sounds familiar, that's because you probably know him from his little films Romeo and Juliet  and Moulin Rouge.  Guy knows how to create a beautiful spectacle.  So you can bet I am WAY pumped for The Great Gatsby to come out this winter!!

--Erin

Wednesday, 8 August 2012

A Trip to the Butterfly Conservatory

This holiday Monday, Ephraim and I headed to the Butterfly Conservatory in Niagara Falls.  The last time I was there I must have been 8 years old, and though the place is smaller than I remembered, there are butterflies everywhere.  Seriously.  Everywhere.

And despite a specially selected outfit that failed to entice even a single butterfly to land on me, somebody had no problems whatsoever attracting some butterfriends.  Lucky.  Instead I went ridiculously snap-happy, so I give to you, gratuitous photos of butterflies and flowers!

--Erin

These are about 5" across.  Beautiful!

Tuesday, 7 August 2012

D.I.Y: Sewing Scallops

Got a skirt that could use a cuter hemline? Scallops.

Want a collar that stands out? Scallops.
 
Pillowcases putting you to sleep? Scallops.

Today I'm all about scalloped edges.  This super-sweet hem style has an awesome retro vibe that can be dressed up or down.  But getting crisp scallops as a seamstress can seam (haha get it??) a daunting task.

I'm here to tell you all that scallops are actually really easy, and with a couple tips, you'll be ready to sew that shit on 'errythang.

Let's get started.  You'll need:
Fabric of your choice (I'm using old pillowcases with a cute pattern!)
Fusible interfacing in a medium weight
Coordinating thread
Ruler
Pencil (something soft, 2b or higher)
A template of the diameter of each scallop (I used a drinking glass).
Sewing Machine
Good sharp shears
optional: needle and thread for hand finishing.
optional: trim (ribbon etc.)
1. Iron your hem inside out (good faces in) about 1/2" longer than your desired finished length. This will create the front and back of the scallops.  Turn in (good face out) 1/2" of the raw end.  This will end up sewn into the hem.

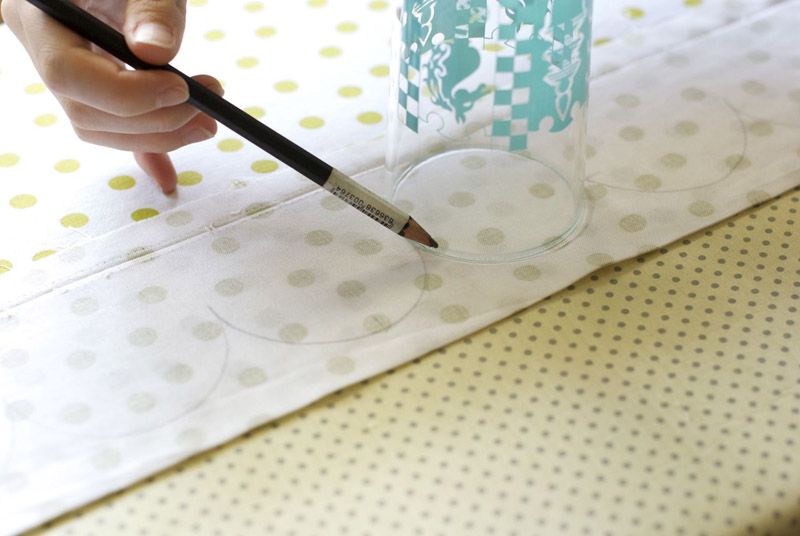
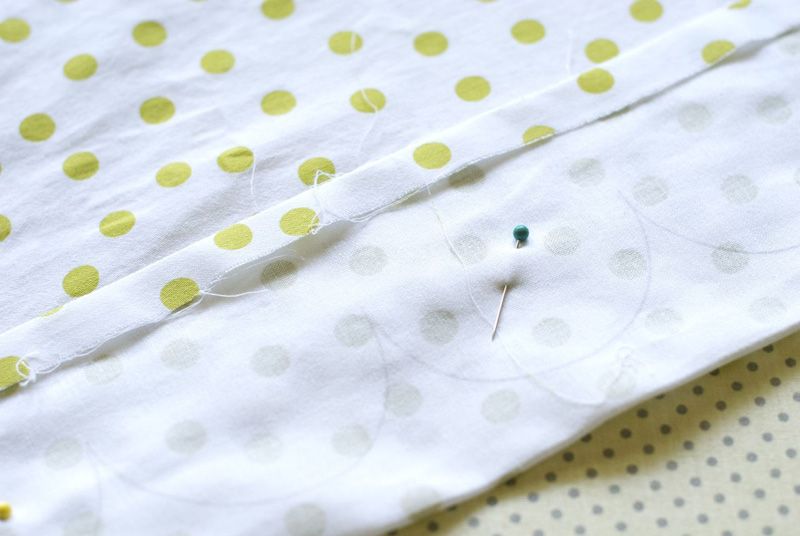
2. Draw on your scallops onto the inside of the hem, using your template, with the lowermost edge 1/2" above the ironed edge.  You can keep the scallops consistent by marking the centre of your template at even intervals, or eyeball it if you feel comfortable.  The inner points where each scallop meets must sit at least 1/2" under where the hem ends on the inside, so that the turned in fabric will lay flat.

3. Cut a strip of fusible interfacing as long as the edge being hemmed, and the width of the total hem, less 1/8" to keep the sewn edge crisp.  Iron this strip onto the bad side of the outside fabric.  So, the interfacing isn't on the hem that has been ironed, but rather onto the back of the "face" of the finished piece.  This will help keep the scallops very crisp looking. 

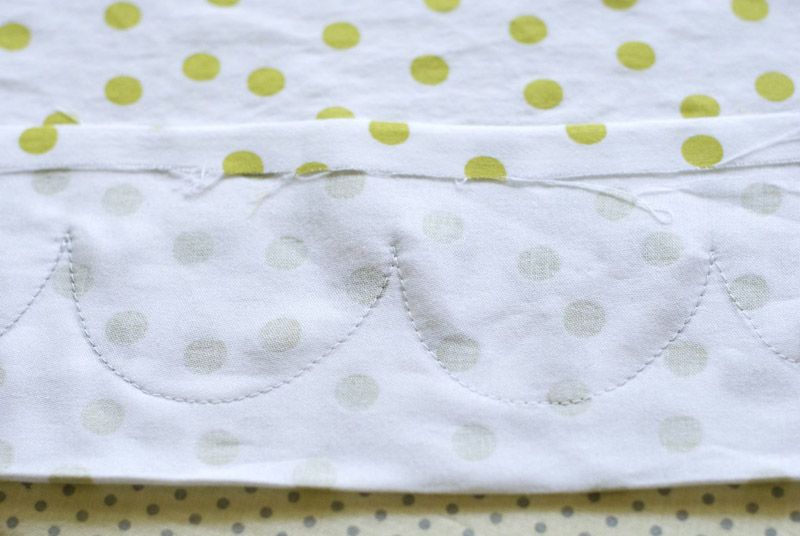
4. Pin sporadically through the scallops.  Sew the scallops using the curves drawn inside the hem earlier as your guide.  Take it slow, and stay on your line.  I like to do a little back stitch (2-3 stitches) on either side of those innermost points.  This reinforces the stitches, and adds some stability to an area that will be clipped very close to stitching.

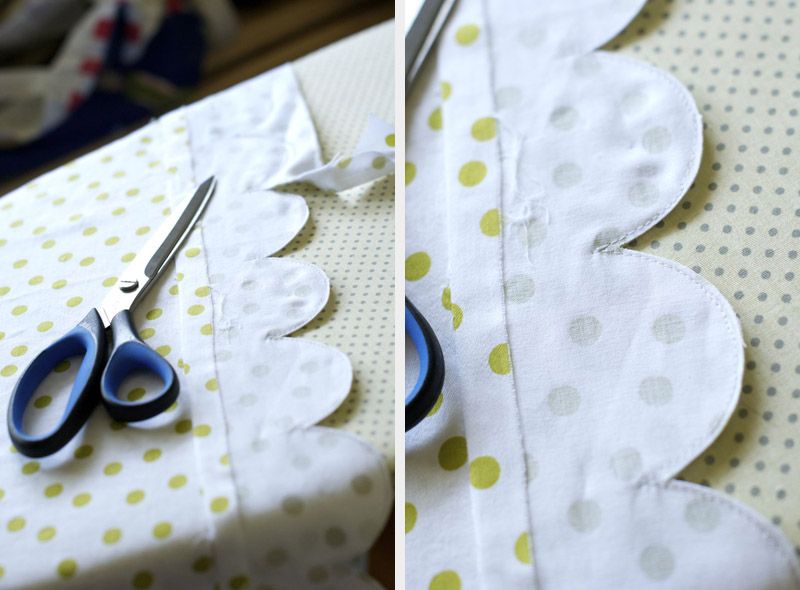
5. Trim the allowance on top of the scallops (the edge that you folded over and ironed to decide the total length.  This is the old hem, cut it away to reveal the scallops! To avoid having to clip my scallops, I like to trim VERY close to my stitching line ( between 1/16-1/8").  Be careful, it's easy to snip the stitching! In the innermost corners, carefully clip through the centre up towards your stitching line.  Get as close as you can, but don't cut the stitching! 
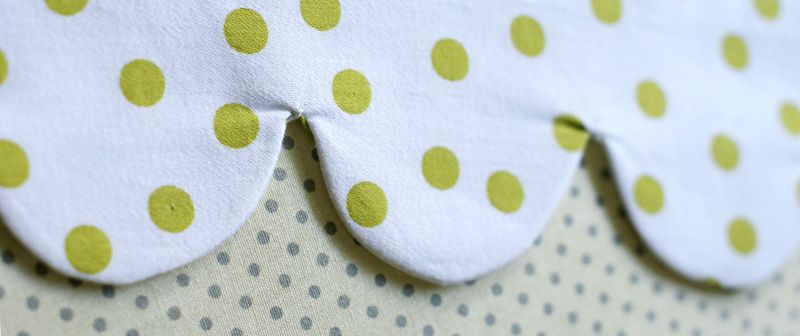
6.  Turn the scallops right side out, revealing the good side of the fabric.  Carefully shape them with your fingers, checking for any holes from trimming.  Press the scallops like your life depends on it. If you notice puckering at the innermost points when your scallops are turned inside out, it's because the stitched line extends too far down. If you backstiched these points like a paranoid maniac like me, you can snip away the first stitch of thread you see in the point.  Repress.  Better.
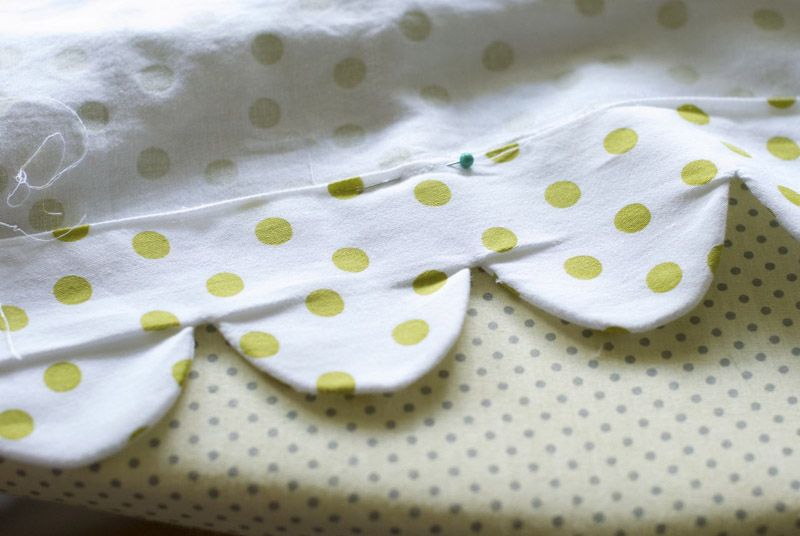
See how badly puckered the points are? Snipping just one thread made them sit much flatter.  See below!
7. Optional: You can topstitch the edge of the scallops to encourage them to sit as flat as possible.
8. Secure the top edge of the hem.  You can use machine stitching, but this leaves a stitching line that is visible on the face of the project.  This can always be covered with trim, of course! Otherwise, sew by hand using a pick-stitch or other hidden stitch.  

**note: as scallops are a hem, always sew scallops on edges that are already perfectly sized.  You won't be able to adjust the width once the scallops are done, so double check your measurements before you get started**

There you have it, folks.  Those steps may look dense, but that's just because I've included some advice I wish I'd had the first time I sewed scallops! The images illustrate what an easy project it is to tackle.  So don't be intimidated, get sewing! 

If you make any scallop projects, please comment with a link! I'd love to see what ordinary items you spruce up with scallops, from pants to place mats!

--Erin