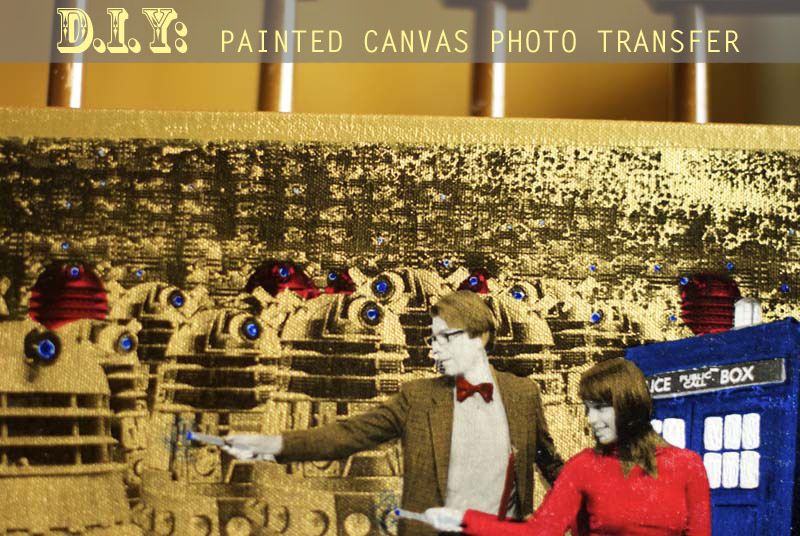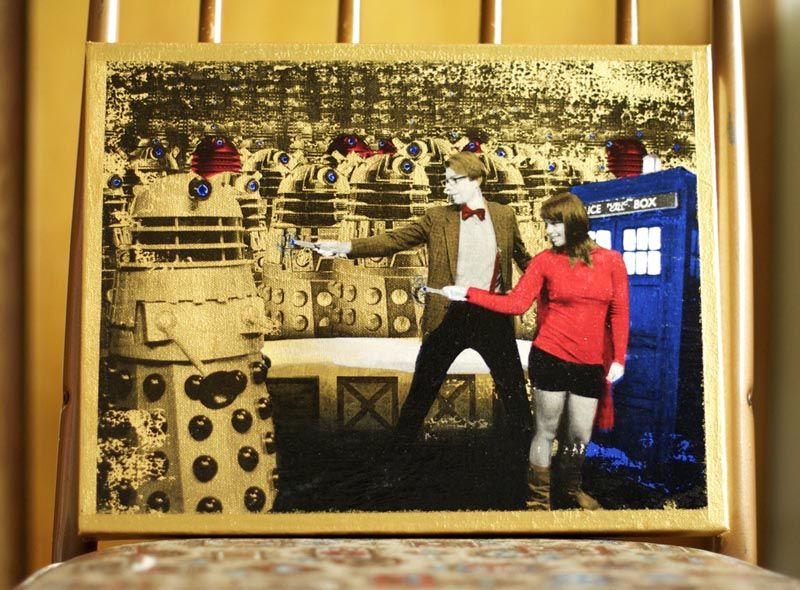
As promised, here's a little DIY showing the step by step process of how I made my photo transfer. It was really fun to work on, though it was a touch time consuming. Most of the work is pretty mindless though, so you can have yourself a little movie marathon while you work. I know I did. Aw yeah, The Two Towers and Newsies.
Anyhow, I digress.
Here's what you need!
- Gel or gloss medium. I used liquitex liquid gloss medium, as I already had a (giant!) bottle.
- Canvas (your choice of size, I used a gallery depth 11x14")
- A computer with photoshop
- pencils
- scissors
- paper of appropriate size and laser printer
- paints and brushes
- washcloth or rag and hot water
- movies and/or patience.
- Edit the photo/s into the desired format, sized to fit your canvas. For this project, I combined a photo the couple had taken at a convention, and the promotional photo for the new season of Dr.Who. Why? Because the provided convention background was lame. Moving on.
- Using photoshop, convert the image to black and white. Make sure that you have ti set to include as many white portions as possible, as the white areas will show the colour you lay down the best.
- print out 2 versions of your image: one in the format you would like to see it in, and one that has been flipped across the horizontal axis. The flipped image is the one you will use for your transfer, as the image will transfer reversed (and thus normal. Double negative style).
- Using the print out that has not been reversed, cut out sections to create stencils based on the colours you want to paint. I chose to use a limited colour palette, and let the shading of the black and white image spice things up for me. Think of the finished product as being an Andy Warhol-esque screen print!
- Paint in your colours block by block. I started with the gold, so that I could keep checking with my stencil to make sure that the floating bits of red were lined up properly.
- Continue on to your secondary colours, checking your allignment as you go. It doesn't have to be perfect (a little shift looks super cool actually!), but you want it to be close so as not to look confusing to the eye).
- Finish painting your colours and let completely dry.
- brush on a thick coat of gloss medium, and press your reversed image printed face down onto the wet gloss. Smooth it out and burnish it on with a blunt object. Be gentle, you don't want to warp the canvas! Let dry over night.
- Lay a hot, damp cloth over the paper, until the paper is soaked through. Gently rub with the washcloth to remove the paper and reveal the image beneath. Be patient, and repeat this step several times. You can see in my image above that until all the paper is gone, the image will appear cloudy. Don't despair, it's worth taking it slowly and making sure you've removed it all! Toward the end, I rubbed the paper off with my damp fingers, so as to avoid taking off too much of the transferred image along with the paper.
- When the paper is all gone, brush on a coat of gloss and let dry.
- Add some fun details on top of your transfered image! I added in the white panels on the Tardis, glowing eyes for the Daleks, a clean gold border and the Sonic Screwdrivers. Have fun, and get creative!
- Hang that sucker up!!
If you use this DIY, I'd love to see your project!! Feel free to leave a link in the comments letting me know how it turned out!!
--Erin
**This project and DIY were the first completed goal of my 4 simple goals before 2013. Check out my list of goals HERE**


This looks SO awesome! I am pledging RIGHT HERE, RIGHT NOW to do this over Christmas break from school. I must insist you hold me to this... Thanks for sharing!
ReplyDeleteDoing this in little chunks over a few days is the PERFECT way to it! Lots of drying time. Though I used a hairdryer to pick up the pace a bit for the like... 5 layers of gold paint.
DeleteI am totally holding you to it!! Can't wait to see what you come up with!!
This is way cool! I never would have thought of doing this. I must give it a try.
ReplyDeletehttp://heidiswanderings.blogspot.com/
This came out so wonderfully, and what a wonderfully fun photo to do as well! I'm going to have to give this a try!
ReplyDeleteThe bride and I were suuuuch nerds growing up, and fostered a love of scifi in one another. So when I decided I'd like to do something like this for them, the choice of photo was really obvious!
DeletePlease post about it if you use the DIY!
--Erin